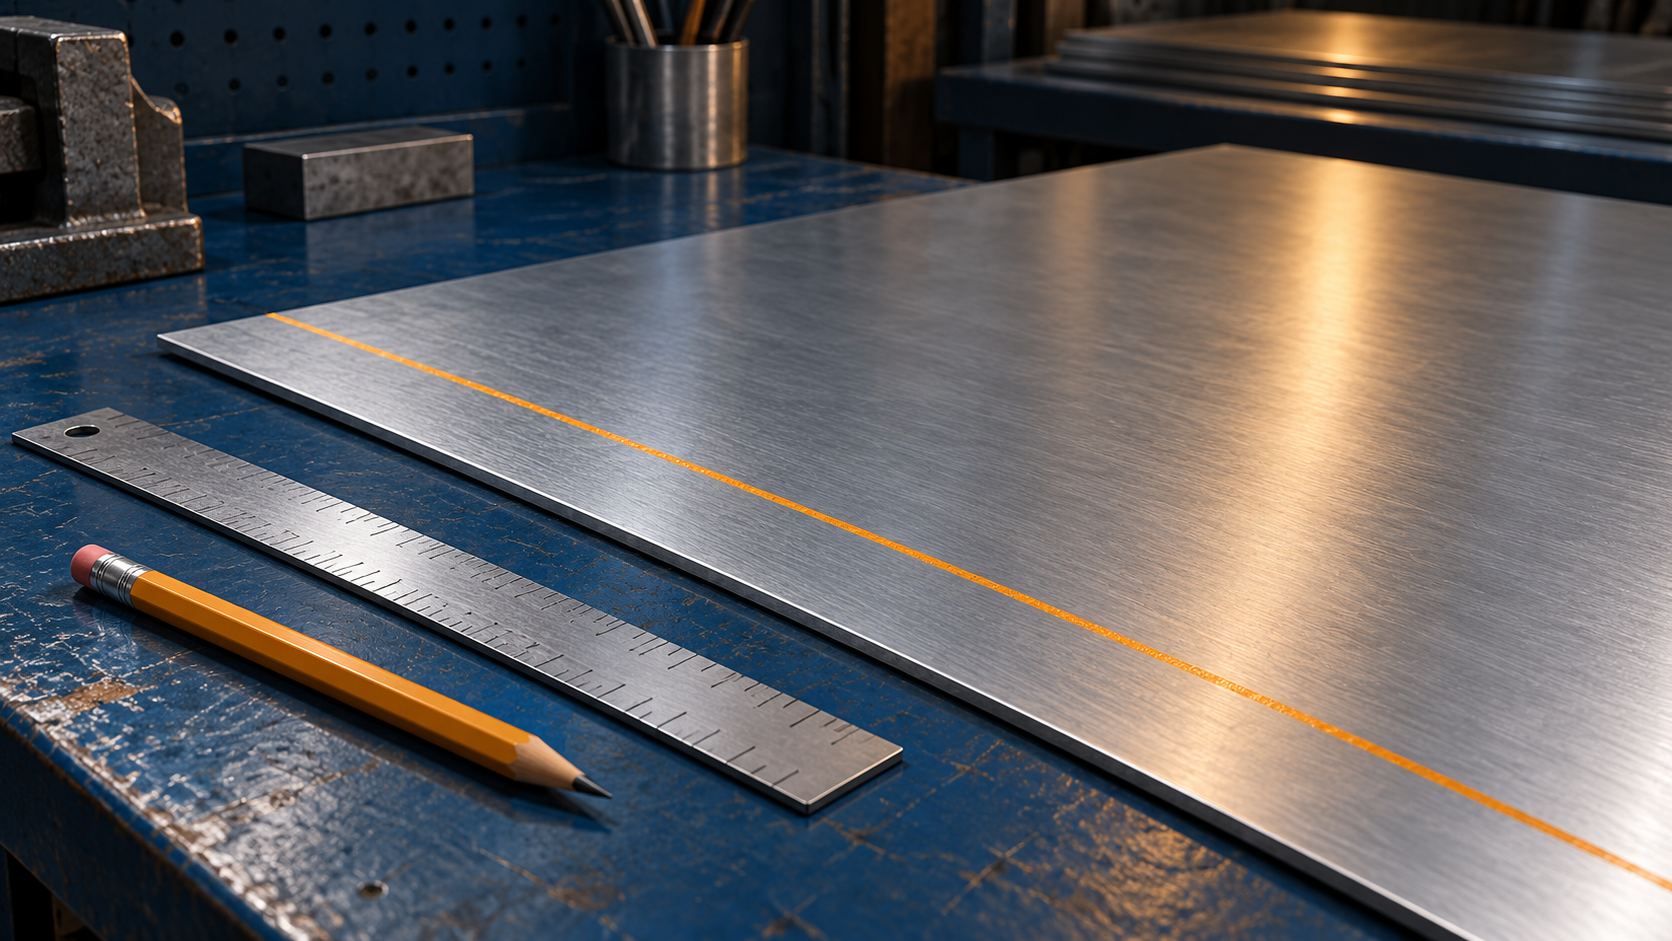
A trim line can look tidy and still be measured from the wrong place. On a sheet-metal blank, the useful question is not simply whether the line follows an edge. It is whether that edge is the reference called for by the drawing, and whether the marked distance is the one the next operation needs. An adjustable scriber helps carry a selected offset along an edge. It cannot select the reference for you.
The Malco A60 is an edge-following adjustable scriber. This guide focuses on setting up that narrow job: choosing a reference, setting the offset and checking the first mark before repeating it. It is not a method for calculating bend allowances, deciding finished dimensions or establishing a project’s inspection tolerance.
Start with the edge the drawing actually uses
Before setting the scriber, identify the line you are trying to create. Is it a trim boundary, a layout reference or a line whose purpose still needs clarification? Write that purpose alongside the dimension in your work notes. Similar-looking lines can mean different things once the piece reaches the next person.
Then identify the reference edge. Avoid picking the nearest convenient edge simply because the tool fits there. If the drawing measures from another feature, transferring that dimension needs its own approved layout method. A consistent offset from an unintended edge is still an unintended location.
Inspect the edge along the intended travel. The A60’s stop follows the edge it touches; a questionable reference should be resolved before treating the resulting mark as useful. Do not use extra pressure to persuade the tool past an obstruction. Stop and decide whether the edge needs preparation or whether a different approved layout method is required.
Set the depth for the actual offset
Malco’s product page gives the A60 a depth range of 1/4 to 12-1/2 inches, with graduations in 1/8-inch increments. Its instructions describe setting the extension and tightening the knob. For the deeper range, above 6-1/2 inches, the extension and knob assembly reverses end for end. Consult the linked A60 instructions for the arrangement before making the mark.
Treat those graduations as the tool’s setting references. They are not a published accuracy guarantee for your finished part. A dimension that falls between marks, a different reference geometry or a tighter inspection requirement may call for another measuring or marking method. The presence of a scale does not settle that decision.
Use the dimension specified for this stage of work. Do not add a personal allowance for cutting or finishing unless the job instructions call for it. If the dimension is unclear, resolve it while the blank is still unmarked. A note that says which dimension was used is more helpful than a confident guess carried into every part of a batch.
Check the first mark independently
Before committing the setup to repeated work, check it on an approved test piece or a permitted area using the job’s measuring method. Confirm the distance from the intended reference to the mark. Check more than one location where the task requires it; the appearance of a parallel line by itself is not a dimensional check.
Keep the checking tool separate from the assumption being checked. Looking again at the same scale setting tells you that the setting appears unchanged. Measuring the result from the reference answers a different question: where did the mark actually land? Both observations can be useful, but they should not be recorded as though they are identical.
If the result does not meet the requirement, stop before repeating the setup. Review the selected edge, the interpretation of the dimension and the tool arrangement. Correct the cause and make another permitted test. Do not average a questionable first mark into a later cutting decision.
Carry the reference through the batch
Once the setup is accepted, keep the reference edge identifiable as pieces move around the bench. A rotation or flip can make a familiar-looking edge stand in for the intended one. Use whatever identification method the job permits so that the operator does not have to reconstruct the decision from memory.
Recheck after changing the setting or reversing the extension. Also pause when the work changes enough to make the earlier check unrepresentative. A new blank shape, a different reference edge or an interrupted setup deserves a deliberate decision about the next check. The job’s quality procedure determines the required checking frequency; this guide does not replace it.
Keep the line’s purpose visible to the next operation. A small record of reference, offset and completed check can be more useful than a long description of how carefully the line was made. It gives the next person something concrete to verify before acting on the mark.
Match the tool to the permitted marking method
A scribed line physically marks the surface. Confirm that this is acceptable before using it on a finished, protected or otherwise restricted surface. If the work instructions call for a removable mark or prohibit scratching, choose the approved method rather than assuming every layout tool is interchangeable.
For maintenance identification, Malco lists replacement point HW6X3/8ZX and knob 12027. Use those identifiers to ask for the correct component instead of relying on the appearance of a loose screw or knob. This is a parts-identification reference, not an instruction to fit an unverified substitute.
Check the listing before ordering
The linked Amazon item is ASIN B003NFOAKU, identified as Malco model A60. Confirm the selected model and pack description when ordering, especially if the page offers other choices. This article does not promise a current price, delivery date or inventory quantity. Seller terms and the final selected offer need checking at the time of purchase.
As an Amazon Associate I earn from qualifying purchases.

- MEASURE, MARK, AND SCRIBE TRIM LINES IN ONE SINGLE OPERATION: Set your desired depth on the scriber extension and lock it down. The stop at the end of the sleeve glides smoothly along the edge of your work while the screw point scribes a clean, consistent, hard line in a single pass. No separate measuring step. No repositioning. No guesswork. Faster layout, cleaner cuts, less rework.
- 1/4″ TO 12-1/2″ ADJUSTABLE DEPTH RANGE IN 1/8″ GRADUATIONS: The A60 covers the full range of trim depths you encounter on sheet metal work. From tight 1/4-inch margins to wide 12-1/2-inch scribes with 1/8-inch graduation markings for repeatable precision on every setting.
- ZIP-IN SHEET METAL SCREW POINT – REPLACEABLE WITH A COMMON FASTENER: When the scribe point wears, replace it with a standard 6 × 3/8″ Zip-In sheet metal screw – a fastener already in your pouch, not a proprietary part you have to order. Two spare Zip-Ins are stored directly in the handle so you’re never caught without a replacement on the job.
- STRIP-PROOF HARDENED STEEL KNOB INSERT: The knob assembly is reinforced with a hardened steel bolt insert that prevents stripping under repeated tightening, a common failure point on cheaper scribers. The pocket-size body is constructed from rust-resistant nickel-plated steel that holds up to daily use in HVAC shops, roofing trucks, and metal fabrication environments. Screw point retracts and is protected when the tool is closed.
- WORKS ON SHEET METAL, STAINLESS STEEL, ALLOY STEEL & PLASTIC: The A60 scribes clean, accurate layout lines on a wide range of materials including; standard sheet metal, stainless steel, alloy steel, and plastic. The A60 is the go-to marking tool for HVAC technicians, metal roofers, duct fabricators, and sheet metal tradespeople. Weighs just 6.1 oz. and fits in any tool pouch or apron pocket. Made in USA.
Last update on 2026-10-20 / Affiliate links / Images from Amazon Product Advertising API
The useful buying question is whether this edge-offset marking job is the one you need to do. Start with the drawing and the permitted marking method, then check the tool’s range and arrangement against that task. A verified first mark gives the rest of the setup a clear starting point.
Manufacturer references
See Malco’s A60 adjustable scriber product page and linked A60 instructions for the tool’s adjustment arrangement and stated range.
Leave a Reply