Tag: wire feed

  • How to Fix MIG Contact Tip Burnback: Diagnosis & Solutions

    How to Fix MIG Contact Tip Burnback: Diagnosis & Solutions

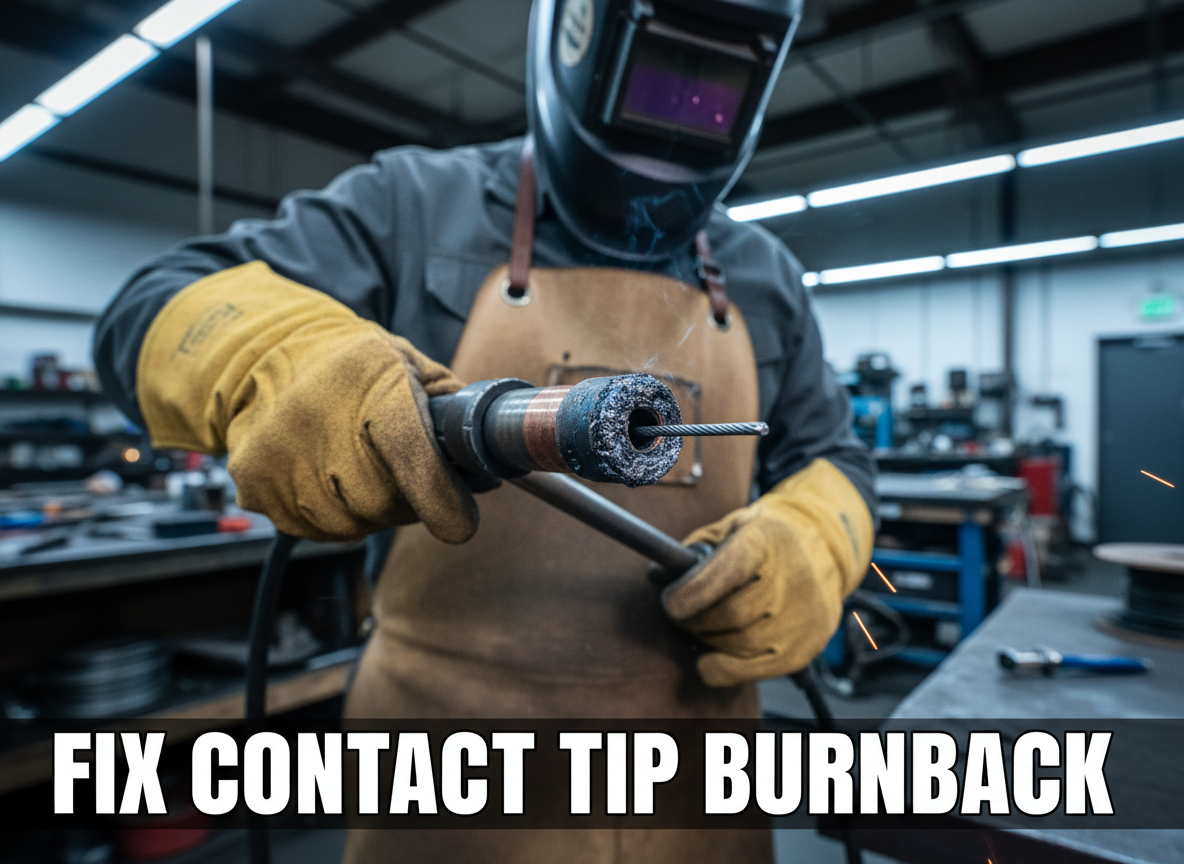
    Your MIG wire is burning back and fusing to the contact tip, stopping your weld cold. This happens when the wire arcs at the tip instead of at the workpiece—a sign of poor contact, dirty metal, or feeding issues. Fix it in 10 minutes with the right diagnosis.

    Key Takeaways

    • Contact tip burnback stops the arc and wastes time; most fixes are free or under $30
    • Root causes: dirty contact tip, poor base metal prep, wire feed tension, or loose electrical connections
    • Quick fix: clean the tip, prep your metal, check wire tension, and verify electrical connections
    • Prevent burnback: replace tips every 50–100 hours of welding, use fresh wire, and keep the gun cable straight

    Quick Diagnosis

    What You’ll See:

    • Wire sticks to the contact tip instead of feeding smoothly
    • Arc won’t start or cuts out mid-weld
    • Tip glows red or shows visible discoloration
    • Wire may be bent or balled up inside the tip

    Most Likely Causes (Ranked by Frequency):

    1. Dirty or worn contact tip (most common)
    2. Rusty or mill-scale base metal (prevents good arc start)
    3. Wire feed tension too tight or too loose
    4. Loose electrical connections (gun, ground clamp, or machine)
    5. Bent gun cable or kinked liner (restricts wire flow)

    Safety Notes

    • PPE: Wear ANSI Z87.1-rated helmet (down), welding gloves, and long sleeves. Contact tip burnback can cause sudden arc flare.
    • Ventilation: MIG welding produces fume; ensure adequate shop ventilation or use a fume extractor per ANSI Z49.1.
    • Electrical: Disconnect the machine or switch to standby before removing the tip or inspecting the gun.
    • Hot Tip: Contact tips retain heat; let cool for 30 seconds before touching.

    Step-by-Step Troubleshooting

    Step 1: Inspect the Contact Tip (Free)

    • Remove the nozzle and diffuser from the gun.
    • Look inside the tip opening. If you see spatter, discoloration, or a balled-up wire, the tip is dirty or worn.
    • Why: Spatter buildup reduces contact between the wire and tip, causing arcing instead of feeding.
    • Fix: Use a small wire brush or a contact tip cleaner to scrub the inside of the tip. If the opening is enlarged or pitted, replace the tip (see Step 5).

    Step 2: Check Your Base Metal (Free)

    • Inspect the area where you’re welding. Look for rust, mill scale (gray/black oxide), or paint.
    • Why: Dirty metal prevents good electrical contact, forcing the wire to arc at the tip instead of the workpiece.
    • Fix: Use a wire brush, flap disc, or grinder to clean the weld area to bare metal. Wipe away dust.

    Step 3: Verify Wire Feed Tension (Free)

    • Locate the wire drive roll tension knob on your machine (usually on the side of the feeder).
    • Loosen it slightly, then tighten until you feel light resistance when pushing the wire by hand.
    • Why: Too much tension deforms the wire and causes slipping; too little causes the wire to slip in the rolls, starving the arc.
    • Fix: Adjust to a gentle grip—the wire should feed smoothly without binding.

    Step 4: Check Electrical Connections (Free)

    • Verify the ground clamp is clamped directly to clean, bare metal on the workpiece.
    • Check that the gun cable is plugged firmly into the machine.
    • Inspect the gun trigger connection for corrosion or looseness.
    • Why: Loose connections increase resistance, weakening the arc and causing burnback.
    • Fix: Clean corroded connections with a wire brush and re-tighten.

    Step 5: Inspect the Gun Cable and Liner (Free to $30)

    • Straighten the gun cable. If it’s kinked or coiled, it restricts wire flow.
    • Look inside the cable for a white or clear plastic liner. If it’s cracked, burnt, or clogged, the wire binds.
    • Why: A damaged liner creates friction, slowing the wire and causing it to arc at the tip.
    • Fix: If the cable is kinked, straighten it. If the liner is damaged, replace the gun cable or just the liner (see Step 6).

    Step 6: Replace the Contact Tip and Liner (if needed) ($20–$50)

    • If the tip is pitted, enlarged, or won’t clean, replace it with a new one matching your wire size (0.035″, 0.8mm, etc.).
    • If the liner is clogged or damaged, replace it too.
    • Why: A worn tip has poor contact; a clogged liner starves the arc.
    • Fix: Install new consumables and test.

    Fix Options (Ranked)

    1. Adjustment (Free) — Clean the tip, prep the metal, adjust wire tension, and check electrical connections.
    2. Consumable Change (~$20–$50) — Replace the contact tip and/or liner if they’re worn or clogged.
    3. Gun Cable Replacement (~$50–$150) — If the cable is kinked or the liner is damaged beyond cleaning.
    4. Machine Check (~$100+) — If burnback persists after all above steps, the machine’s wire feeder or power supply may need service.

    Recommended Fix: Contact Tip Replacement Kit

    If you’ve cleaned the tip and it still won’t work, or if you’re welding regularly, a multi-pack of contact tips ensures you always have a fresh tip on hand. Worn tips are the #1 cause of burnback; replacing them every 50–100 hours of welding prevents the problem before it starts.

    Why It Works:

    • New copper tips have perfect contact geometry, ensuring smooth wire feed and strong arc start.
    • High-quality copper resists spatter buildup and heat damage longer than worn tips.
    • A 30-pack gives you backups, so you’re never stuck mid-job.

    When to Use It:

    • Your tip is pitted, enlarged, or won’t clean.
    • You weld more than 10 hours per week.
    • You want to prevent burnback before it happens.

    When NOT to Use It:

    • If the problem is dirty metal or loose electrical connections (fix those first).
    • If the gun cable is kinked (straighten or replace the cable first).

    What to Check Before Buying:

    • Match the tip size to your wire (0.035″, 0.8mm, etc.).
    • Confirm compatibility with your gun type (15AK, 24KD, MB15, etc.).
    • Verify the tip is copper, not steel (copper conducts better).
    • Check reviews for spatter resistance and durability.

    No products found.

    Comparable Options

    If you prefer a smaller pack or different wire size:

    Common Mistakes

    • Using a worn tip and hoping it works. A pitted tip won’t conduct current evenly; replace it.
    • Not cleaning the base metal. Rust and mill scale block the arc; always prep the metal first.
    • Over-tightening wire feed tension. This deforms soft wire (especially aluminum) and causes slipping.
    • Ignoring a kinked gun cable. A bent cable restricts wire flow just as much as a clogged liner.
    • Blaming the machine when the problem is the tip. 90% of burnback is a dirty or worn tip; check it first.

    FAQ

    Q: Can I clean a burnt contact tip and reuse it? A: Yes, if it’s just spatter. Use a contact tip cleaner or small wire brush. If the opening is enlarged or pitted, replace it—a worn tip won’t conduct properly.

    Q: How often should I replace my contact tip? A: Every 50–100 hours of welding, or sooner if you see spatter buildup or burnback. Frequent welders replace tips monthly.

    Q: Why does my wire burn back even after I cleaned the tip? A: Check your base metal (is it rusty?), wire feed tension (is it too tight?), and electrical connections (is the ground clamp clean?). Burnback is rarely just the tip.

    Q: Can a kinked gun cable cause burnback? A: Yes. A bent cable restricts wire flow, starving the arc. Straighten the cable or replace it if it’s cracked.

    Q: What’s the difference between burnback and wire sticking? A: Burnback is when the wire fuses to the tip (arc at the tip, not the workpiece). Wire sticking is when the wire jams in the tip but hasn’t melted. Both have similar causes: dirty tip, poor prep, or feeding issues.

    Next Steps

    1. Clean your contact tip and base metal — most burnback stops here.
    2. Check wire feed tension and electrical connections — free fixes that work 80% of the time.
    3. Replace the tip if it’s pitted or worn — use the kit above for a reliable spare.
    4. Explore related guides:

    For more welding fixes and gear options, see our full resource page: https://blog.weldsupportparts.com/links/

  • Title: Worn MIG Contact Tips Causing Porosity? Here’s the Fix

    Intro

    Your MIG welds look porous. You’ve checked your gas flow, cleaned the base metal, and verified your settings—but the problem persists. The culprit is often sitting right at the end of your gun: a worn contact tip. A damaged or burnt-back contact tip disrupts the electrical arc and wire feed, creating weak welds and wasted material. This guide walks you through diagnosis and replacement in under 10 minutes.

    Key Takeaways

    • Worn contact tips cause porosity, spatter, and inconsistent arc
    • Burnback happens when the tip overheats from improper voltage/wire speed ratio or poor contact
    • Replace tips every 50–100 hours of welding or when you see damage
    • Always match wire size to tip size (e.g., .035″ wire = .035″ tip)
    • Stock replacement tips on hand to avoid downtime

    The Problem

    A contact tip is a small copper tube that carries current to your wire. Over time, it erodes from heat and electrical wear. When the tip is damaged or burnt back, several things go wrong:

    • Poor electrical contact: The wire doesn’t seat properly, creating resistance and weak arc initiation.
    • Inconsistent wire feed: A damaged tip can catch or bind the wire, causing feed stutters.
    • Arc instability: The arc becomes erratic, leading to porosity and spatter.
    • Weld quality drops: Porosity, lack of fusion, and surface defects become common.

    You’ll notice:

    • Spatter clustering around the weld
    • Dull, unstable arc
    • Wire feed hesitation or grinding sounds
    • Visible burnback or erosion on the tip itself

    Why It Matters

    A bad weld costs money. Porosity weakens the joint, spatter wastes time cleaning, and rework eats into your schedule. In structural or pressure-vessel work, porosity can fail inspection. Replacing a $2–5 contact tip takes 2 minutes and prevents hours of rework.

    The Fix

    1. Power down the welder and wait 30 seconds.
    2. Unscrew the contact tip from the gun nozzle (usually hand-tight or one-quarter turn with a wrench).
    3. Inspect the old tip for burnback, erosion, or debris.
    4. Clean the gun nozzle with a wire brush to remove spatter buildup.
    5. Install the new tip, hand-tight. Don’t over-tighten.
    6. Test the wire feed before welding—pull the trigger briefly to confirm smooth feed.
    7. Strike a test bead on scrap to verify arc stability.

    Why This Product Solves It

    The S19391-1 Lincoln Style Contact Tip .035 – Arc Weld by Masterweld Pack of (25) is a direct replacement for Lincoln-style MIG guns. It’s made from high-quality copper, ensuring reliable electrical conductivity and durability. At .035″ bore, it matches the most common MIG wire size. A pack of 25 means you’ll always have spares on hand, eliminating downtime from tip searches.

    Product Link: S19391-1 Lincoln Style Contact Tip .035 - Arc Weld by Masterweld Pack of (25)

    ” target=”_blank” rel=”noreferrer noopener”>
    S19391-1 Lincoln Style Contact Tip .035 - Arc Weld by Masterweld Pack of (25)

    S19391-1 Lincoln Style Contact Tip .035 – Arc Weld by Masterweld Pack of (25)

    $30.75

    In Stock

    View Product

    What to Check Before You Buy

    • Wire size: Confirm your wire diameter (.023″, .030″, .035″, .045″). Tip size must match.
    • Gun compatibility: Lincoln-style guns (most common). If unsure, check your gun nameplate or contact ArcWeld support.
    • Thread pitch: Most tips are standard, but some older guns differ. Verify fitment before ordering.

    Real-World Use

    A fabrication shop running 8-hour shifts was seeing porosity in every third weld. The operator had replaced the liner and checked gas—but hadn’t changed the contact tip in 3 months. After swapping in fresh tips, arc stability returned immediately, and porosity dropped to near zero. Cost: $3 per tip. Downtime saved: 2 hours per week.

    Common Mistakes

    • Using the wrong tip size: A .045″ tip won’t work with .035″ wire. Confirm before installing.
    • Over-tightening the tip: Hand-tight is correct. Over-tightening can crack the nozzle.
    • Not cleaning the nozzle: Spatter buildup around the tip restricts gas flow and causes porosity.
    • Ignoring the liner: A worn liner can damage a new tip. If tips fail quickly, check the liner next.
    • Skipping the test bead: Always verify arc and feed before production welding.

    Safety Notes

    Always follow the manufacturer’s instructions and your shop’s safety procedures. If you’re unsure about fitment or ratings, verify before you buy or install.

    Related Reading

  • Why Your MIG Wire Stops Feeding (And How to Fix It in 5 Minutes)

    Intro

    Your MIG welder fires up fine, but halfway through the bead, the wire quits feeding. You hear the motor grinding. Nothing comes out. It’s frustrating, costly downtime, and it happens more often than it should. The fix is usually simple—but only if you know where to look.

    Key Takeaways

    • Wire feed failure is usually caused by liner wear, drive roll tension, or spool brake issues
    • A worn or dirty liner creates friction that stops the wire cold
    • Replacing the liner is the fastest fix and costs under $20
    • Check drive roll pressure and spool tension before assuming the worst
    • Keep a spare liner on hand to avoid shop downtime

    The Problem

    MIG wire feed failure shows up as:

    • Wire stops mid-weld with motor still running
    • Grinding or clicking sound from the feeder
    • Inconsistent feed speed (stuttering)
    • Wire bunching or bird nesting at the contact tip

    The culprit is almost always friction inside the liner. As you weld, the wire slides through a plastic or steel tube (the liner) thousands of times. Over time, the liner gets scored, kinked, or contaminated with spatter and oxidation. When friction builds up, the drive rolls can’t push the wire forward—it just slips and grinds.

    Why It Matters

    A dead wire feed kills productivity. You stop mid-bead, troubleshoot, waste time, and restart. On a production job, that’s money. On a tight deadline, it’s a missed commitment. Plus, repeated grinding wears out your drive rolls faster, turning a $15 liner replacement into a $60+ drive roll replacement.

    The Fix

    1. Disconnect the gun and remove the spool. Unplug the welder or kill the power.
    1. Inspect the liner. Pull the wire out and look inside the liner with a flashlight. If it’s scored, kinked, or clogged with spatter, it’s done.
    1. Measure the old liner. Note the length and diameter (usually .035″ or .045″ for MIG).
    1. Install the new liner. Feed it through the feeder, conduit, and gun. Make sure it seats flush at both ends—no gaps.
    1. Reload the wire and test. Run a test bead at low amp to confirm smooth feed.

    Why This Product Solves It

    The LM3A-15 Miller Acculock MDX Liner (15′ Liner, 035/.045) is a direct replacement for Miller Acculock systems and compatible MDX guns. It’s the exact spec you need for smooth, consistent wire feed without grinding or slipping. Miller liners are precision-engineered to tight tolerances, so you get the same feed quality as factory equipment.

    Product Link:  Product not found.

    “>
    Product not found.
     

    What to Check Before You Buy

    • Liner length: Measure your old liner or check your gun manual (15′, 25′, or custom length)
    • Wire size compatibility: This liner handles .035″ and .045″ wire
    • Gun model: Confirm it’s Miller Acculock or compatible (check your gun label)
    • Conduit fit: The liner should slide smoothly into your gun conduit without binding

    Real-World Use

    A fabricator running a Miller MDX-250 noticed wire feed stuttering on 0.035″ mild steel. Swapped the liner in under 5 minutes. Feed was smooth again. No more grinding, no more restarts. One liner lasted 6 months of regular use before needing replacement.

    Common Mistakes

    • Replacing the contact tip when the real problem is the liner
    • Forcing a liner that doesn’t match your gun model (causes kinking)
    • Not checking for spatter buildup inside the conduit before installing a new liner
    • Ignoring drive roll tension—a worn liner + loose rolls = guaranteed failure
    • Buying a generic liner instead of the OEM spec (fit and feed quality suffer)

    Safety Notes

    Always disconnect power before removing the spool or working on the feeder. If you’re unsure about liner length or compatibility, verify your gun model and check the manual. Improper liner installation can cause erratic arc and poor weld quality.

    Always follow the manufacturer’s instructions and your shop’s safety procedures. If you’re unsure about fitment or ratings, verify before you buy or install.

    Related Reading

  • Try Amazon Prime Free