Routine PPE inspection helps reduce welding injuries, exposure incidents, arc flash risk, burns, respiratory hazards, and equipment-related downtime. This checklist is designed for fabrication shops, maintenance departments, welding booths, and industrial welding environments where daily PPE verification is required.
The goal is simple: identify damaged, contaminated, expired, improperly fitted, or non-compliant protective equipment before welding starts.
Key Takeaways
- Inspect PPE before every shift and after high-exposure work.
- Replace cracked lenses, damaged gloves, contaminated respirator filters, and heat-damaged clothing immediately.
- Verify ANSI, OSHA, AWS, and manufacturer markings where applicable.
- Do not assume PPE is safe because it “looks usable.”
- Respirators, helmets, gloves, jackets, and hearing protection all have wear limits.
- Fit, seal condition, and contamination matter as much as visible damage.
Problem / Context
Many welding PPE failures happen gradually. Helmet shells weaken from UV and heat exposure. Respirator seals harden. Gloves absorb oil and solvents. Auto-darkening lenses become unreliable. Grinding debris damages face shields and hearing protection.
Without a structured inspection process, damaged PPE often stays in service longer than it should.
Shops performing MIG, TIG, flux-core, stick, plasma cutting, carbon arc gouging, or grinding operations should maintain documented PPE inspection procedures and replacement criteria.
Daily Welding PPE Inspection Checklist
| PPE Item | Inspection Check | Common Failure Signs | Action Required |
|---|---|---|---|
| Welding Helmet | Inspect shell, headgear, lens frame, sensors, and controls | Cracks, loose headgear, failed auto-darkening response, damaged shell | Remove from service if lens response fails or shell is damaged |
| Auto-Darkening Lens | Test switching function before welding | Flickering, delayed darkening, inconsistent shade | Replace batteries, cover lenses, or filter cartridge |
| Safety Glasses | Inspect lenses and side shields | Scratches, cracks, missing side shields | Replace immediately |
| Face Shield | Check visor clarity and mounting | Clouding, deep scratches, loose pivots | Replace damaged visor |
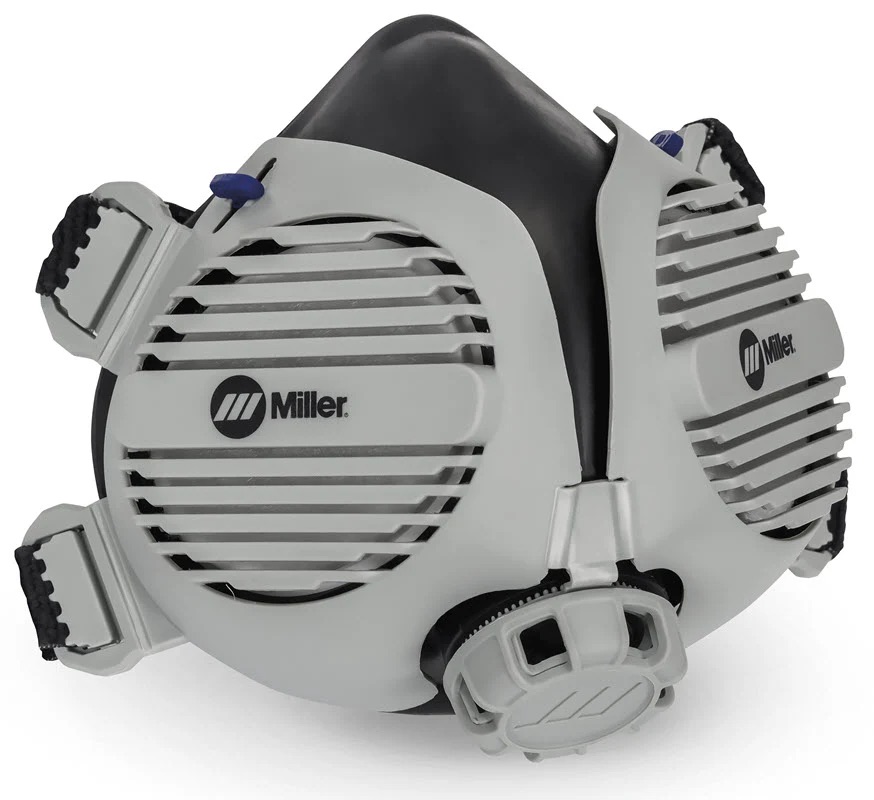
| Respirator | Inspect seal, straps, valves, and filters | Seal deformation, cracked housing, clogged filters | Replace filters or respirator components |
| PAPR System | Verify airflow, battery condition, and filter status | Low airflow alarms, damaged hoses, weak battery | Service before use |
| Welding Gloves | Inspect palms, seams, cuffs, and insulation | Burn-through, oil saturation, holes, stiff leather | Replace gloves |
| Welding Jacket | Inspect sleeves, snaps, and flame-resistant areas | Burn holes, contamination, torn cuffs | Repair or replace |
| FR Sleeves / Aprons | Check stitching and heat damage | Loose seams, spark damage | Replace if compromised |
| Hearing Protection | Inspect ear plugs or earmuffs | Dirty foam, cracked cushions, loose fit | Replace disposable plugs regularly |
| Welding Boots | Check soles, metatarsal guards, and laces | Heat damage, exposed toe caps, sole separation | Remove from service if protection compromised |
| Gas Hose PPE Area | Verify hoses do not contact clothing or hot surfaces | Burn marks, abrasion, leaks | Replace damaged hoses immediately |
Welding Helmet Inspection Procedure
- Inspect helmet shell for cracks, warping, or heat damage.
- Verify headgear tightens correctly and holds position.
- Check cover lenses for pitting, scratches, and spatter damage.
- Perform a safe function test on auto-darkening filters before welding.
- Confirm shade settings match the welding process and amperage.
- Inspect sensor areas for blockage from dirt or spatter.
- Verify ANSI Z87.1 markings where applicable.
Do not use a welding helmet with intermittent darkening performance, cracked filter housings, or damaged retaining frames.
Respiratory Protection Inspection Steps
- Inspect face seal for cracking, stiffness, or deformation.
- Verify straps maintain proper tension.
- Inspect inhalation and exhalation valves.
- Check filter expiration and contamination level.
- Confirm filters match the welding hazard.
- Perform a seal check before entering the work area.
- Verify airflow on powered air systems.
- Inspect hoses and blower connections on PAPRs.
P100 filters are commonly used for welding particulate, but gas, vapor, stainless steel, galvanized coatings, confined-space work, and chemical exposure may require additional verification.
For workplace use, respirator selection and maintenance should follow OSHA 1910.134 requirements and the site respiratory protection program.
Glove and Protective Clothing Inspection
| Item | What Usually Wears Out First | Visual Wear Indicators | Field Fix vs Proper Fix |
|---|---|---|---|
| MIG Gloves | Finger seams and palm area | Thin leather, burn-through | Tape is not a safe repair — replace gloves |
| TIG Gloves | Finger sensitivity zones | Heat hardening, seam splits | Replace once dexterity drops |
| FR Jacket | Sleeves and front closure | Burn holes, oil contamination | Repair minor stitching only if the FR rating is maintained |
| Leather Sleeves | Forearm exposure zones | Heat cracking and sparks embedded in leather | Replace if flexibility is lost |
| Welding Aprons | Lower spark zones | Burn-through and torn straps | Replace heavily damaged aprons |
Common Wrong-PPE Mistakes
- Using grinding face shields without safety glasses underneath.
- Using expired or overloaded respirator filters.
- Wearing oil-soaked gloves or jackets near sparks.
- Using cracked auto-darkening lenses.
- Ignoring damaged helmet headgear.
- Using non-FR clothing around sparks or molten metal.
- Wearing hearing protection incorrectly during grinding operations.
- Failing to inspect PPE after plasma cutting or carbon arc gouging.
Compatibility Notes
Verify helmet lens size, respirator fitment, filter part number, cartridge compatibility, battery type, PAPR airflow rating, and headgear configuration before replacement.
Compatibility may vary by helmet shell, respirator platform, welding process, and work environment.
Unknown (Verify) for undocumented aftermarket compatibility claims.
Related Failure Paths
- Lens contamination is causing poor visibility and weld defects
- Respirator seal failure increases fume exposure
- Burn-through in gloves increases electrical and thermal injury risk
- Helmet sensor blockage is causing flash exposure
- Oil-contaminated clothing increases fire risk
- Damaged hearing protection is contributing to long-term hearing loss
- Improper boot condition increases slip and crush hazards
Safety Notes
- Follow ANSI Z49.1 for welding safety practices.
- Use ANSI Z87.1-compliant eye and face protection where required.
- Inspect PPE before every shift.
- Replace damaged PPE immediately.
- Maintain respirators according to OSHA respiratory protection requirements.
- Do not modify PPE outside manufacturer guidance.
- Do not use damaged FR clothing contaminated with oil or solvents.
- Always maintain proper ventilation and fume extraction.
FAQ
How often should welding PPE be inspected?
Basic inspection should occur before every shift. More detailed inspections should occur weekly or monthly depending on shop exposure conditions.
When should respirator filters be replaced?
Replace filters according to manufacturer schedules, site exposure requirements, or sooner if breathing resistance increases.
Can cracked welding helmet shells be repaired?
Generally no. Cracked helmet shells should be removed from service and replaced.
Do safety glasses still matter under a welding helmet?
Yes. Many shops require ANSI-rated safety glasses to be worn under welding helmets for additional impact protection.
What is the most commonly ignored PPE issue in welding shops?
Respirator fit and filter condition are commonly overlooked, especially in high-fume environments.
Next Step
Create a documented PPE inspection log for each welding station, grinding station, and fabrication area. Standardized inspection routines improve consistency, reduce missed hazards, and simplify safety audits.
Internal Links
- Welding Safety Equipment
- OSHA Welding Fumes
- Best Low-Profile Welding Respirators That Fit Under a Hood
- Filter Replacement
- ANSI Z49.1
Sources Checked
- AWS ANSI Z49.1 Safety in Welding, Cutting, and Allied Processes
- OSHA 1910.132 Personal Protective Equipment
- OSHA 1910.134 Respiratory Protection
- NIOSH respirator guidance
- Manufacturer PPE inspection guidance
- Weld Support Parts internal safety content