Tag: TIG welding

  • How to Reduce TIG Tungsten Grinding Dust in a Small Shop

    How to Reduce TIG Tungsten Grinding Dust in a Small Shop

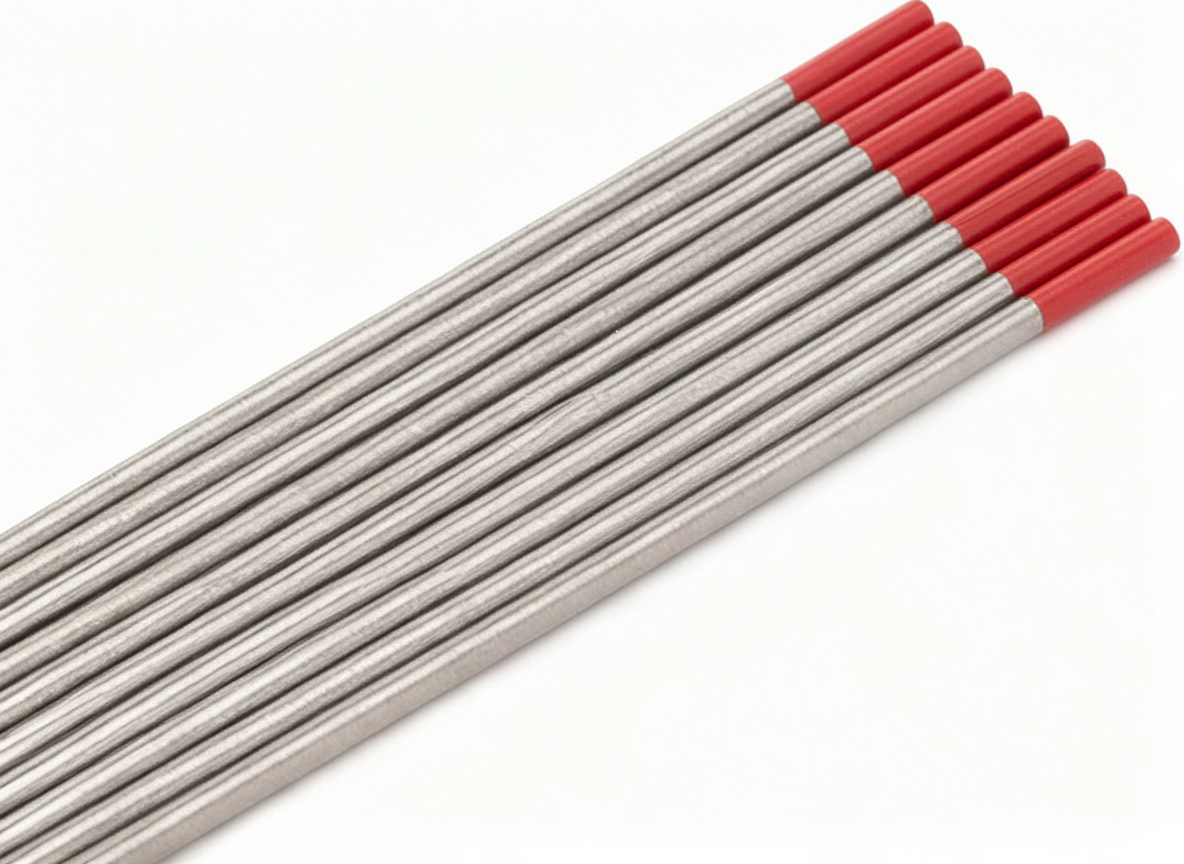
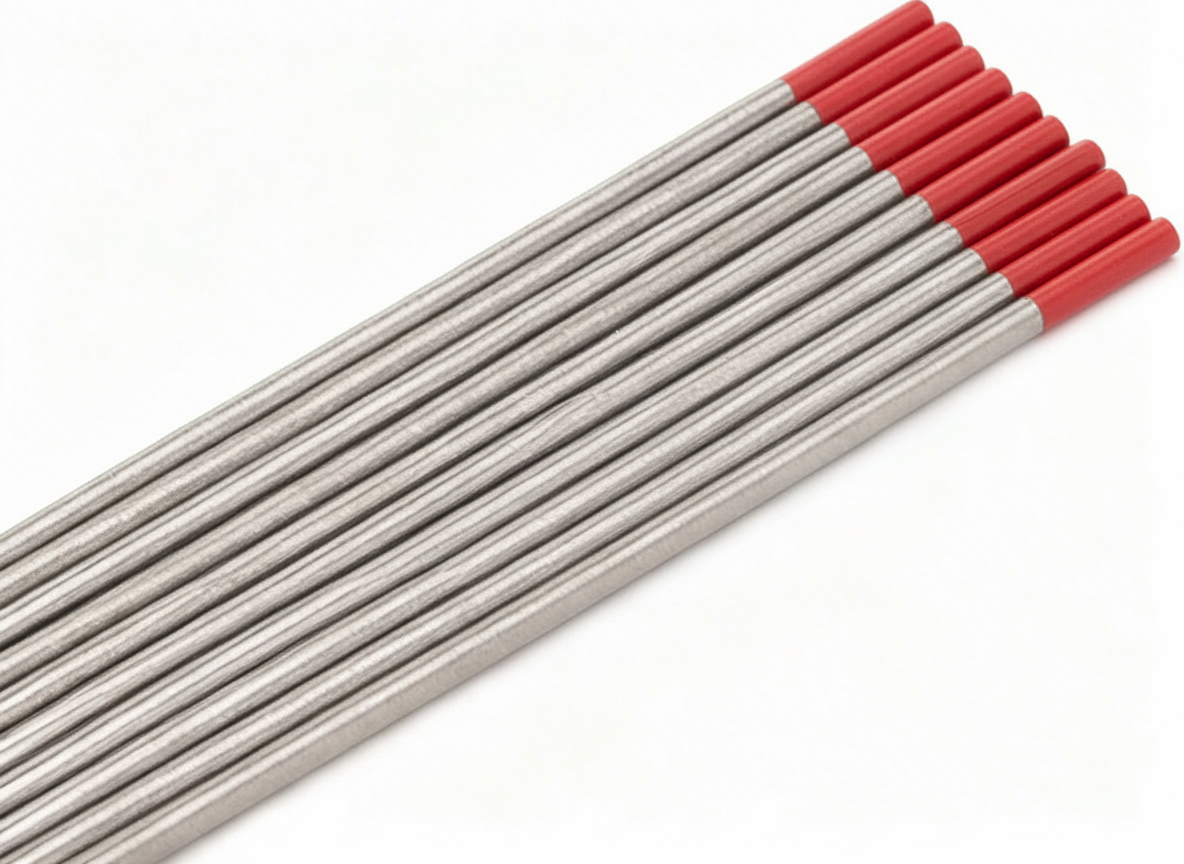
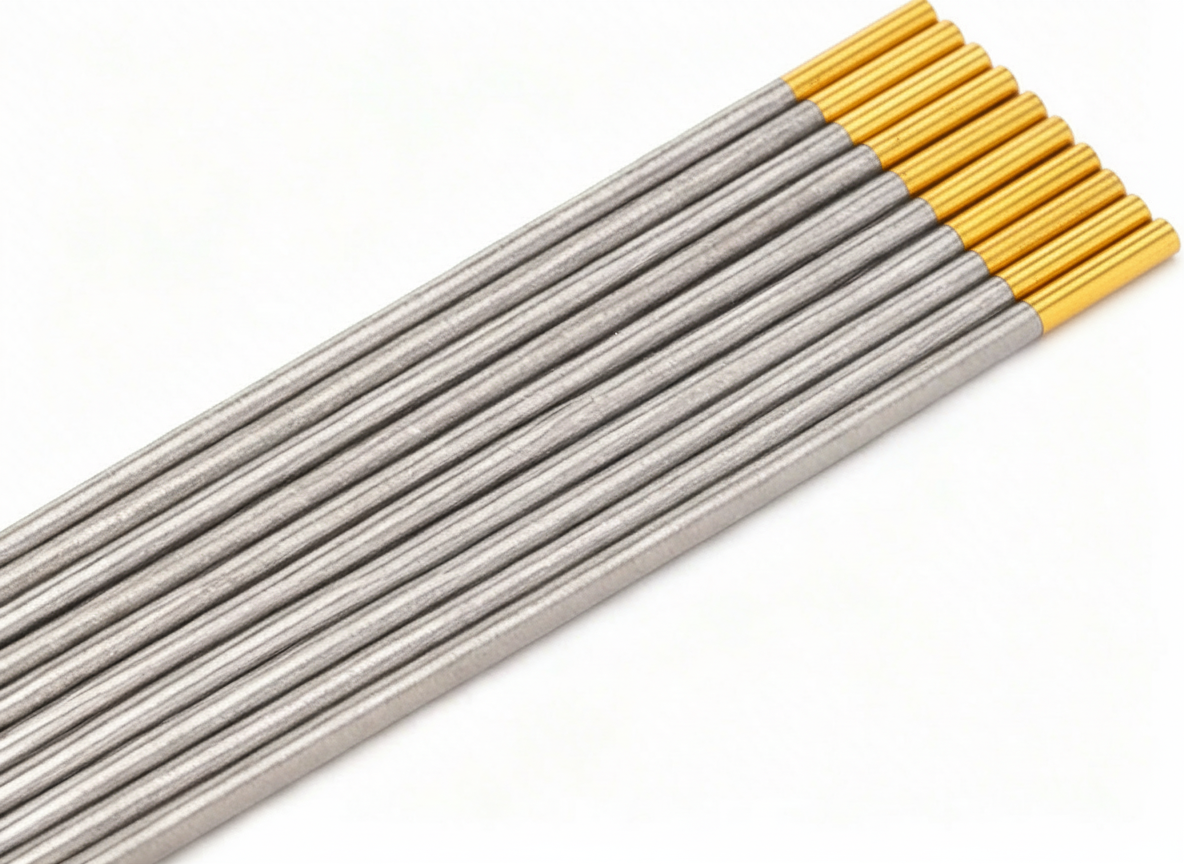
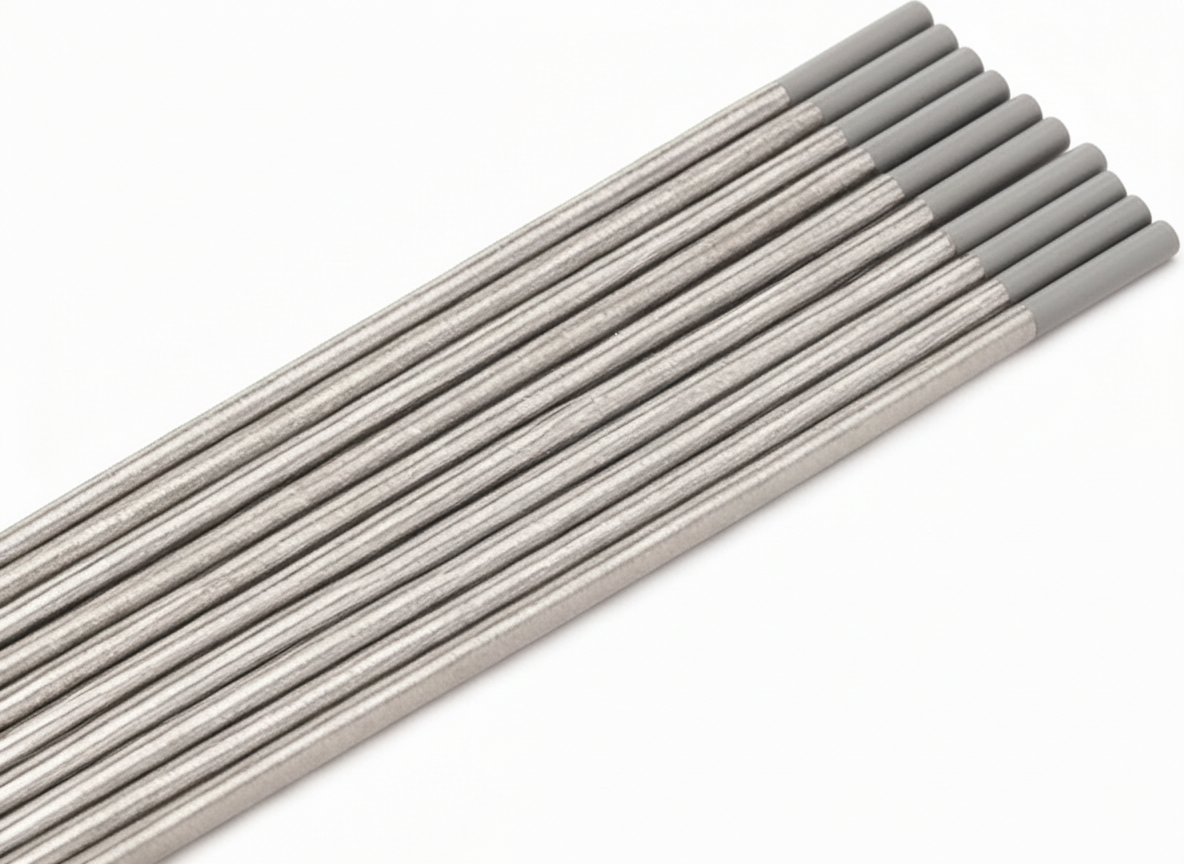
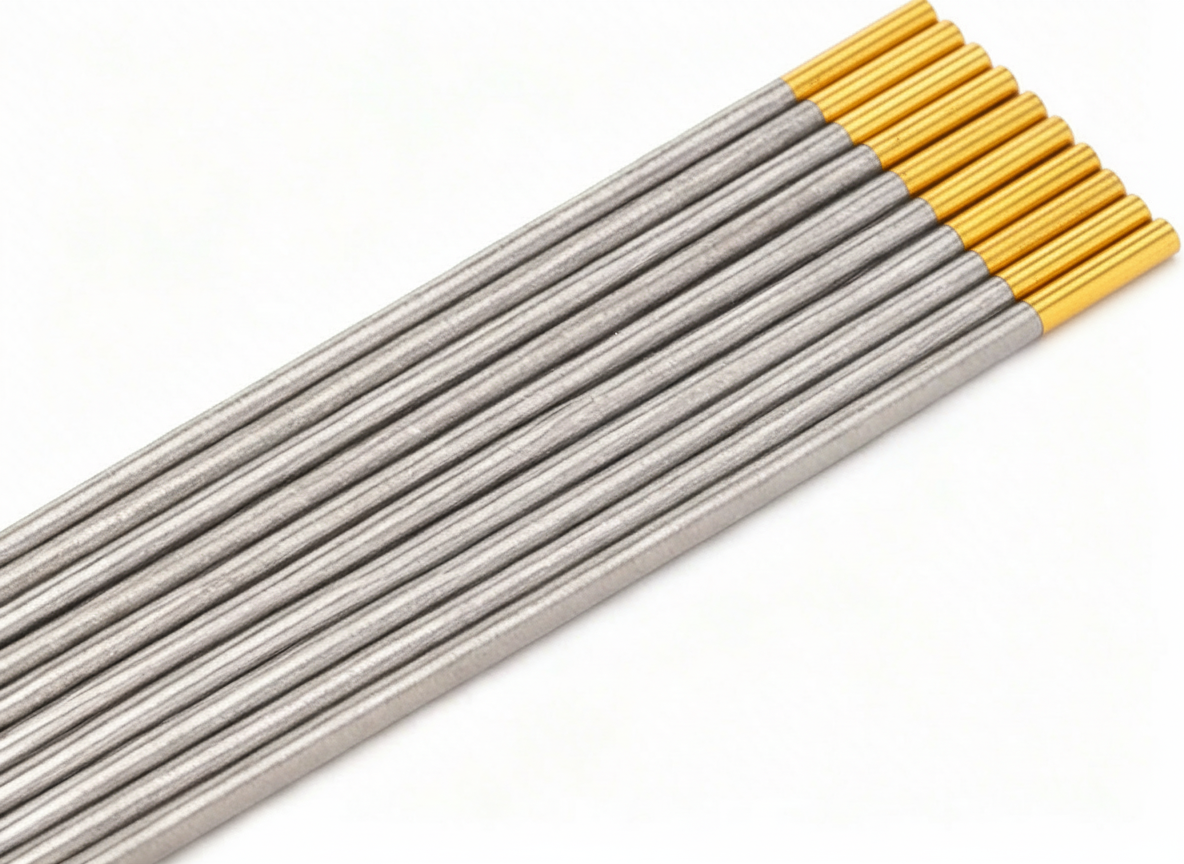
    TIG welding often depends on a clean, consistent tungsten point. The problem is that grinding tungsten electrodes can create fine dust, especially when older 2% thoriated tungsten is used. A simple shop setup can reduce exposure, improve point consistency, and keep tungsten prep from contaminating other grinding work.

    Key Takeaways

    • Dedicated tungsten grinding is cleaner than using a shared bench grinder wheel.
    • Thoriated tungsten grinding dust deserves extra control because thorium is radioactive.
    • Local exhaust, dust collection, and good housekeeping are more important than speed.
    • Lanthanated tungsten is a common non-radioactive alternative for many AC and DC TIG jobs.
    • Always verify tungsten type, diameter, current range, and job procedure before changing electrodes.

    Problem / Context

    A small TIG station may have a good machine, clean filler rod, and proper shielding gas, but still struggle with arc wandering, tungsten inclusions, and inconsistent starts. One overlooked cause is poor tungsten preparation. A shared grinder can load the tungsten with steel, aluminum, abrasive grit, or shop dirt. A poorly controlled grind can also send fine tungsten dust into the work area.

    This matters most when grinding thoriated tungsten. AWS safety guidance notes that thoriated tungsten contains thorium and that grinding dust can create an inhalation or ingestion concern. The safest approach is to control dust at the source and avoid casual dry grinding in open shop air.

    Root Causes

    • Using a shared grinder wheel that has already touched steel, stainless, or aluminum.
    • Grinding across the tungsten instead of lengthwise with the electrode axis.
    • Using thoriated tungsten without a dust-controlled sharpening process.
    • Letting grinding dust accumulate on benches, grinder guards, shelves, or nearby tools.
    • Switching tungsten types without checking procedure requirements and arc performance.
    • Using the wrong tungsten diameter for the amperage range. Unknown (Verify).

    Solution

    Set up a dedicated tungsten prep area instead of treating tungsten sharpening as a general grinding task. The setup should include a dedicated grinding surface, controlled dust capture, clear labeling for tungsten types, and a cleaning method that does not blow dust into the air.

    • Use a dedicated tungsten grinder, diamond wheel, or tungsten-only grinding attachment.
    • Position local exhaust or dust collection close to the grinding point.
    • Grind lengthwise so grind marks run toward the electrode tip.
    • Keep thoriated tungsten separate from lanthanated, ceriated, or other non-thoriated electrodes.
    • Clean with a HEPA-rated vacuum or other approved dust-control method. Do not use compressed air to scatter dust.
    • Store prepared tungstens in labeled tubes so clean points do not pick up bench contamination.

    Specs / Verification Notes

    Item to VerifyWhy It MattersStatus
    Tungsten classificationConfirms whether the electrode is thoriated, lanthanated, ceriated, pure tungsten, or another type.Unknown (Verify)
    Tungsten diameterDiameter must match the machine setting, torch capacity, and job procedure.Unknown (Verify)
    Welding polarityDCEN, AC, and special waveforms may require different tungsten choices and tip geometry.Unknown (Verify)
    Shielding gasGas type and flow affect arc behavior and tungsten life.Unknown (Verify)
    Dust-control methodOpen grinding is not the same as local capture or dust collection.Unknown (Verify)

    Product Section

    The following product was checked for a visible Amazon ASIN and cross-checked against manufacturer or welding-supply listings for the same Weldcraft part number. Verify diameter, package quantity, tungsten type, and seller listing before purchase.

    No products found.

    Comparison Table

    OptionUse CaseDust ConcernVerification Needed
    2% thoriated tungstenLegacy DC TIG procedures and qualified work where specifiedHigher concern when grinding because thorium is presentConfirm procedure requirement and dust controls
    2% lanthanated tungstenCommon non-radioactive option for many AC and DC TIG applicationsNo thorium dust, but grinding dust still needs controlConfirm machine, material, and procedure acceptance
    Pre-ground tungstenRepeat work where consistent tip geometry mattersReduces in-shop grindingConfirm point angle, flat, diameter, and tungsten type
    Dedicated tungsten grinderShops that sharpen oftenCan improve containment if paired with dust controlConfirm collector, wheel type, and electrode size range

    Safety Notes

    ANSI Z49.1 covers safety in welding, cutting, and allied processes, including protection of personnel, ventilation, fire prevention, and confined spaces. TIG welding still requires proper helmet shade, eye protection, gloves, clothing, ventilation, and protection from hot metal and ultraviolet radiation.

    AWS safety guidance for thoriated tungsten recommends dust-collecting grinders, local exhaust, and respiratory protection where needed to prevent inhalation of dust. Treat grinder dust as a controlled waste stream and follow workplace, local, and regulatory disposal rules.

    Do not use compressed air to clean tungsten grinding dust from a bench or grinder. Do not grind thoriated tungsten near food, drinks, open toolboxes, welding coupons, or clean filler rod. Do not assume a non-radioactive tungsten eliminates all respiratory risk; fine grinding dust should still be controlled.

    FAQ

    Is thoriated tungsten banned?

    Not universally. Some workplaces restrict or phase it out, while some qualified procedures still specify it. Verify the job requirement, employer policy, and local rules before use.

    Can lanthanated tungsten replace thoriated tungsten?

    Often, but not automatically. Lanthanated tungsten is widely used as a non-radioactive alternative, but procedure, machine type, base metal, amperage, and acceptance requirements must be verified.

    Should tungsten be sharpened on a belt sander?

    Only if the belt is dedicated to tungsten and dust is controlled. A shared belt can contaminate the tungsten and spread dust across the shop.

    Why does the arc wander after sharpening?

    Common causes include cross-grinding marks, an off-center point, contamination from a shared wheel, an oversized ball, incorrect tungsten diameter, or poor gas coverage.

    Is a tungsten grinder required?

    No, but a dedicated grinder or controlled sharpening setup can improve consistency and reduce contamination. The key requirement is a clean, repeatable grind with appropriate dust control.

    Next Step

    Build a small tungsten prep checklist at the TIG bench: tungsten type, diameter, point style, grinding direction, dust control, and storage tube. Keep the checklist with the torch consumables so every tungsten is prepared the same way before welding starts.

    Sources Checked

    • AWS Safety and Health Fact Sheet No. 27, Thoriated Tungsten Electrodes.
    • AWS Safety and Health Fact Sheet No. 2, Radiation.
    • ANSI Z49.1:2021, Safety in Welding, Cutting, and Allied Processes.
    • Miller Weldcraft product listing for Weldcraft 2% Lanthanated Tungsten WL2332X7.
    • Amazon product listing showing ASIN B00VMH8T6M for Miller Weldcraft WL2332X7.
    • Cyberweld listing for Weldcraft 2% Lanthanated Tungsten WL2332X7.
  • Why Your TIG Weld Is Getting Contaminated (And How to Fix It)

    TIG contamination shows up as a dull, dirty weld, unstable arc, or blackened tungsten. Itโ€™s usually caused by poor shielding, dirty material, or tungsten issues, and it will quickly ruin weld quality if not corrected.

    Key Takeaways

    • Contamination is usually caused by air exposure or dirty surfaces
    • Tungsten condition directly affects arc stability
    • Shielding gas problems are a top cause
    • Cleanliness is critical for TIG welding success

    Whatโ€™s Causing the Problem

    1) Poor Shielding Gas Coverage

    • Gas flow is too low or disrupted
    • Drafts pulling shielding gas away
    • Leaks in hoses or fittings

    2) Dirty Base Material

    • Oil, grease, oxidation, or coatings
    • The aluminum oxide layer was not removed
    • Stainless contamination from improper tools

    3) Contaminated Tungsten

    • Touching the puddle or filler rod
    • Improper grinding direction
    • Using the wrong tungsten type for the job

    4) Incorrect Gas Flow Settings

    • Too low โ†’ inadequate shielding
    • Too high โ†’ turbulence pulling in air

    5) Bad Technique

    • Long arc length exposing the weld to the atmosphere
    • Improper torch angle
    • Inconsistent filler rod feeding

    How to Fix It

    Step 1: Set Proper Gas Flow

    • Typical range: 15โ€“25 CFH (7โ€“12 L/min)
    • Use lower end indoors, higher if needed for coverage

    Step 2: Clean the Material Thoroughly

    • Use a dedicated stainless steel brush for aluminum/stainless steel
    • Remove all oil and grease with acetone
    • Grind or wire brush to clean the metal surface

    Step 3: Prepare Tungsten Correctly

    • Grind longitudinally (not around)
    • Keep a sharp, clean point for DC welding
    • Replace tungsten if contaminated

    Step 4: Check Equipment

    • Inspect gas lines and connections for leaks
    • Clean the nozzle and check the gas lens if installed
    • Ensure proper cup size for coverage

    Step 5: Improve Technique

    • Keep arc length short and consistent
    • Maintain proper torch angle (~10โ€“15ยฐ)
    • Feed the filler rod smoothly without touching the tungsten

    Common Mistakes to Avoid

    • Welding on dirty or oxidized metal
    • Letting tungsten touch the weld puddle
    • Running gas flow too high or too low
    • Using contaminated filler rods
    • Ignoring drafts in the work area

    Best Settings / Guidelines

    ParameterTypical Range
    Gas Flow15โ€“25 CFH (7โ€“12 L/min)
    Arc LengthShort and consistent
    Torch Angle10โ€“15ยฐ
    Tungsten PrepSharp point (DC), clean grind
    Filler RodClean, matched to material

    Always verify with your machine settings and material requirements.

    Safety Notes

    • Wear proper eye protection (ANSI Z87.1) and a welding helmet
    • Avoid breathing shielding gas in confined areas
    • Use proper ventilation when cleaning with solvents
    • Keep gloves clean to prevent contaminating filler rods

    FAQ

    Why does my tungsten turn black?
    This usually indicates poor shielding gas coverage or contamination.

    Can I reuse contaminated tungsten?
    Yes, but it must be re-ground properly before reuse.

    Does gas type matter for contamination?
    Yesโ€”pure argon is standard for TIG and provides proper shielding.

    Why is aluminum more prone to contamination?
    Aluminum forms an oxide layer that must be removed before welding.

    Can drafts really affect TIG welding?
    Yesโ€”even small air movement can disrupt shielding gas.

    Sources Checked

    • American Welding Society
    • Lincoln Electric TIG welding resources
    • Miller Electric application and troubleshooting guides

  • Weldmark 13N26 TIG Collet Body Review: .040″ Replacement Parts for #9, #20, and #25 TIG Torches

    If your TIG torch setup uses a #9, #20, or #25 style torch, the Weldmark 13N26 collet body is a small but important consumable to keep on hand. This 5-pack is made for .040″ tungsten setups and helps hold the collet and tungsten in the proper position during TIG welding.

    No products found.

    Key Takeaways

    • Fits #9, #20, and #25 TIG torch styles.
    • Made for .040″ tungsten setups.
    • Sold as a 5-pack.
    • Useful for shop inventory, repair kits, and TIG consumable drawers.
    • Verify torch compatibility before ordering.

    What This Product Is

    The Weldmark 13N26 is a TIG torch collet body. It threads into the front end of a compatible TIG torch and works with the collet, tungsten, cup, and back cap to hold the electrode securely.

    This part is listed for:

    ItemDetail
    ProductWeldmark TIG Collet Body
    Part Number13N26
    Tungsten Size.040″
    Torch Fitment#9, #20, #25
    Pack Size5
    ASINB071LQVCMK

    Best For

    This part is best for welders who already run #9, #20, or #25 TIG torches and need replacement front-end consumables.

    Common use cases:

    • TIG torch maintenance
    • Replacing worn collet bodies
    • Stocking consumables for a fab shop
    • Keeping spare TIG parts in a service kit
    • Supporting .040″ tungsten applications

    Pros and Cons

    Pros

    • Comes in a 5-pack
    • Common TIG consumable size
    • Fits popular #9, #20, and #25 torch styles
    • Small part that is easy to stock in bulk

    Cons

    • Only for .040″ tungsten
    • Not universal across all TIG torches
    • Specs should be verified against your torch setup before buying

    Compatibility Notes

    This listing indicates compatibility with #9, #20, and #25 TIG torches. Before ordering, confirm:

    • Your torch series
    • Tungsten diameter
    • Existing collet body part number
    • Cup and collet compatibility

    If you are switching tungsten sizes, you may also need matching collets and cups.

    Where to Buy

    Amazon option:

    No products found.

    Affiliate disclosure: As an Amazon Associate, Weld Support Parts may earn from qualifying purchases.

    Safety Notes

    TIG torch consumables are small parts, but they still affect weld quality and torch reliability. Always inspect your torch front end before welding.

    Basic checks:

    • Confirm all torch parts are tight before use.
    • Do not weld with damaged cups, collets, or collet bodies.
    • Wear proper welding PPE.
    • Use ANSI Z87.1-rated eye protection when grinding, cutting, or working near welding operations.
    • Follow your machine, torch, and tungsten manufacturerโ€™s setup guidance.

    FAQ

    What torch does the Weldmark 13N26 fit?

    This listing identifies it for #9, #20, and #25 TIG torch styles.

    What tungsten size is this for?

    This version is for .040″ tungsten.

    Is this a single part or a pack?

    This listing is for a 5-pack.

    Will this fit every TIG torch?

    No. TIG torch parts are not universal. Verify your torch series and part number before ordering.

    What other parts may I need with it?

    Depending on your setup, you may also need matching collets, cups, back caps, and tungsten.

    Sources Checked

    • Uploaded Arc Weld / Amazon inventory export
    • Product title and ASIN from inventory file
    • Unknown specs not confirmed beyond uploaded product data

  • ARCCAPTAIN TIG Torch Consumables Kit: Complete 11-Piece Setup for WP-17/18/26 Torches

    TIG welding demands precision, and that starts with reliable consumables. A worn collet, damaged cup, or mismatched gas lens can derail your arc quality and waste time troubleshooting. The ARCCAPTAIN 11-piece TIG torch consumables kit bundles the essential parts you need to keep your torch running clean and consistent.

    What’s Included in This Kit

    The ARCCAPTAIN kit covers the core consumables for WP-17, WP-18, and WP-26 torches:

    • 1x Alumina Nozzle โ€” Ceramic cup for shielding gas flow
    • 2x Collets โ€” Electrode holders (standard sizes for 1/16″ and 3/32″ tungsten)
    • 2x Back Caps โ€” Torch body connectors
    • 2x Gas Lenses โ€” Improved gas coverage and shielding
    • 2x Ceramic Cups โ€” Replacement nozzles for wear
    • 2x Insulating Bushings โ€” Electrical isolation components

    This multi-pack approach means you have spares on hand, reducing downtime when a part fails mid-job.

    Who Should Buy This Kit

    This kit is ideal for:

    • Hobby and shop welders stepping up from single-piece replacements to a complete consumables set
    • TIG welders running WP-17/18/26 torches who want to avoid emergency supply runs
    • Fabricators and instructors who need backup parts for multiple torches or training setups
    • Budget-conscious shops looking for a multipack at a reasonable price point

    No products found.

    Performance & Use

    What to Compare Before You Buy

    • Torch Compatibility โ€” Verify your torch model (WP-17, WP-18, or WP-26); this kit is NOT compatible with WP-9 or larger industrial torches
    • Tungsten Size โ€” Confirm whether you run 1/16″, 3/32″, or mixed tungsten sizes; collet sizing matters for arc stability
    • Gas Lens vs. Standard Cup โ€” Gas lenses improve shielding in drafty environments; standard cups work fine for bench work
    • Material Grade โ€” Alumina cups are standard; some shops prefer ceramic for specific applications
    • Quantity โ€” This is an 11-piece set; if you run multiple torches daily, consider buying two kits

    Comparable Amazon Picks (Optional)

    Installation & Maintenance

    Swapping consumables is straightforward:

    1. Cool the torch โ€” Let it sit for 2โ€“3 minutes after your last weld
    1. Unscrew the back cap โ€” Use a 7/16″ or 1/2″ wrench; don’t force it
    1. Remove the old collet and cup โ€” They slide out together
    1. Insert new collet and cup โ€” Align the collet with the torch body; it should sit flush
    1. Reattach the back cap โ€” Hand-tighten, then snug with a wrench; over-tightening can crack the collet

    Maintenance tip: Clean the torch body and collet threads every 20โ€“30 hours of welding to prevent carbon buildup and stuck parts.

    Durability & Lifespan

    Consumables wear at different rates depending on amperage, duty cycle, and shielding gas:

    • Collets โ€” 40โ€“80 hours of active welding before replacement
    • Ceramic cups โ€” 30โ€“60 hours; cracks indicate replacement time
    • Gas lenses โ€” 50โ€“100 hours; clogging reduces gas coverage
    • Back caps โ€” 100+ hours; rarely need replacement unless cross-threaded

    At $25โ€“$35 for this 11-piece kit, you’re looking at roughly $2โ€“$3 per consumable part, making it a cost-effective backup supply.

    Safety Notes

    • Always wear welding gloves when handling hot torches or consumables
    • Ensure your torch is cool before disassembly
    • Check gas lens alignment; misaligned lenses can cause poor shielding and porosity
    • Use only argon or argon/COโ‚‚ blends with this torch; check your machine’s gas compatibility

    When to Replace This Kit’s Parts

    Replace consumables when you notice:

    • Erratic arc โ€” Worn collet or misaligned cup
    • Visible cracks or pitting on ceramic cups
    • Gas coverage loss โ€” Clogged gas lens or damaged nozzle
    • Difficulty inserting tungsten โ€” Worn collet

        1. TIG Welds Turning Black and Sooty? Fix Gas Coverage Fast

          If your TIG welds are coming out black, sooty, or โ€œdirty,โ€ youโ€™re not aloneโ€”this is one of the most common early warning signs of shielding gas problems. It usually shows up mid-bead when everything seems set correctly. Hereโ€™s why it happens and how to fix it.

          Symptoms (what youโ€™ll see)

          • Black soot around the bead (sometimes a โ€œsmoke trailโ€ look)
          • Tungsten turns dark/sooty or balls up unexpectedly
          • Porosity starts showing up even on clean steel
          • Arc feels unstable or wanders
          • Weld color looks dull/gray instead of clean and consistent

          Root cause (whatโ€™s actually happening)

          Black soot is typically a sign that your weld puddle (and/or hot tungsten) is seeing oxygen and contaminants because shielding gas coverage is breaking down. That can come from too little flow, turbulent flow, a leak, a blocked cup/screen, or drafts pulling the argon away.

          On steel, poor shielding can leave soot and surface oxidation; on stainless, it can show up as heavy discoloration; on aluminum, it often stacks with porosity and โ€œdirtyโ€ looking puddle behavior. The key point: argon has to form a stable envelope around the tungsten and puddleโ€”when it doesnโ€™t, contamination happens fast.

          The fix (step-by-step)

          1. Check flow rate and stop turbulence
            Start around 15โ€“20 CFH (0.42โ€“0.57 mยณ/h) for typical cups, then adjust. Too low starves coverage; too high can create turbulence that pulls air in.
          2. Inspect the cup, collet body, and gas lens screen
            Remove the cup and look for spatter, dust, or a partially blocked gas lens screen. If the screen is dirty or damaged, replace it.
          3. Leak-check the gas path
            Confirm tight connections from the regulator to the torch. If you suspect leaks, isolate sections (regulator, hose, torch) and re-test. Leaks can cause inconsistent shielding and โ€œrandomโ€ soot.
          4. Increase stickout control (or switch to a gas lens)
            If youโ€™re running long tungsten stickout (common in corners/fillets), a standard setup can lose coverage. A gas lens helps laminar flow and supports longer stickout without losing shielding.
          5. Fix post-flow and regrind tungsten
            If the tungsten is sooty/contaminated, stop and regrind. Also ensure post-flow is long enough to protect the tungsten as it cools.

          Safety note during troubleshooting

          If youโ€™re chasing shielding issues, donโ€™t โ€œtestโ€ by hovering the torch and blasting gas near your face. Keep your hood down and gloves onโ€”hot tungsten and UV exposure are still hazards even during quick checks.

          Real-world tip (what experienced welders do)

          When soot shows up, experienced TIG welders donโ€™t keep pushing the bead hoping it clears. They stop, regrind the tungsten, and do a fast gas-system sanity check: flow, leaks, cup/lens condition, and drafts. If theyโ€™re working with longer stickout or tight joints, they often move straight to a gas lens setup because it reduces sensitivity to small technique changes.

        2. STARTECWELD TIG 17F Series: 150 Amp Air-Cooled TIG Torch with Flexible Head & 25 ft Cable

          Introduction

          The STARTECWELD TIG 17F is a mid-range air-cooled TIG torch kit designed for welders who need reliable performance without premium pricing. It features a flexible head for maneuverability, a 25 ft power cable, and includes the 105Z57 connector for broad compatibility. This post breaks down what you get, how it compares to alternatives, and whether it fits your welding setup.

          Key Takeaways

          • 150 amp rating supports most hobby and semi-professional TIG welding tasks
          • Flexible head design improves access in tight or awkward positions
          • 25 ft cable length reduces the need for extension hoses
          • Includes 105Z57 connector; verify your machine’s input before ordering
          • Price-to-performance ratio competitive in the $200โ€“$250 range

          What’s Included

          The STARTECWELD TIG 17F kit ships with:

          • TIG torch body (WP17F-25R-ST model)
          • 25 ft power cable with rubber insulation
          • 105Z57 connector/adapter for machine compatibility
          • Flexible head design (60ยฐ articulation for tight spaces)
          • Handle with ergonomic grip

          Torch Specifications

          SpecificationValue
          Amperage Rating150 A
          Cooling MethodAir-cooled
          Cable Length25 ft
          Head TypeFlexible
          Connector105Z57 (Dinse)
          Wire Size Compatibility10โ€“25 mmยฒ
          Duty CycleDepends on machine; verify with your welder

          Performance & Use

          The 150 amp rating handles aluminum, stainless steel, and mild steel in the 1/16″ to 3/16″ thickness range. The flexible head is a practical feature for welding inside corners, around tubing, or in confined spaces where a rigid torch would be awkward.

          Air cooling is sufficient for intermittent to moderate duty cycles. If you’re running continuous high-amperage passes, monitor the torch for heat buildup; water-cooled alternatives exist for heavy production work.

          Cable & Connector Notes

          The 25 ft cable reduces hose clutter and eliminates the need for extension hoses in most shop setups. The 105Z57 connector is standard on many Hobart, Miller, and aftermarket machines, but verify your machine’s input before purchasing. Some machines use different connectors (e.g., Tweco, Stud, or proprietary fittings).

          What to compare before you buy

          • Machine compatibility: Confirm your welder accepts 105Z57 connectors; if not, you’ll need an adapter or different torch.
          • Cable length: 25 ft is standard; if your machine is farther from the work area, consider extension hoses or a longer cable option.
          • Amperage headroom: 150 A is mid-range; verify your machine can deliver this amperage and that your power supply is adequate.
          • Cooling method: Air-cooled torches are lighter and cheaper but generate more heat than water-cooled alternatives; choose based on your duty cycle.
          • Flex vs. rigid head: Flexible heads are convenient for tight spaces but slightly less rigid; rigid heads offer better control for precision work.

          Comparable Amazon picks (optional)

          No products found.

          Safety Considerations

          Always inspect the torch cable for cracks, burns, or exposed wire before use. Damaged cables can cause electrical hazards and poor arc quality. Keep the torch dry and store it away from moisture and extreme temperatures.

          Ensure your machine is properly grounded and that all connectors are tight. Loose connections can cause arcing, overheating, and equipment damage.

          Verdict

          The STARTECWELD TIG 17F offers solid value for welders stepping up from 110V equipment or looking for a secondary torch. The flexible head and 25 ft cable are practical features, and the price is competitive. The main caveat: verify connector compatibility before ordering. If your machine uses a different connector type, you’ll need an adapter or a different torch.

        3. TIG Torch Slipping Tungsten? Your Collet Body Is Worn (Here’s the Fix)

          Intro

          You’re TIG welding and the tungsten keeps slipping out of the collet. You tighten the back cap, it holds for a few seconds, then slides again. The arc starts inconsistent, the puddle wanders, and your bead looks rough. The problem isn’t the tungstenโ€”it’s a worn collet body that can’t grip anymore.

          Key Takeaways

          • Tungsten slipping is almost always caused by a worn or damaged collet body, not the tungsten itself
          • A collet body wears from repeated insertion and removal of tungsten
          • Replacement collet bodies are cheap ($5โ€“$15) and take 30 seconds to swap
          • Gas coverage improves dramatically with a fresh collet body
          • Keep spares on hand for every torch size you use

          The Problem

          A worn collet body shows up as:

          • Tungsten slides out even when the back cap is tight
          • Inconsistent arc initiation
          • Poor gas coverage (visible oxidation on the weld)
          • Difficulty maintaining arc length
          • Collet body threads are stripped or loose

          The collet is a small tapered sleeve that grips the tungsten. Every time you insert or remove tungsten, the collet compresses and expands. Over hundreds of cycles, the taper wears out. The grip weakens. Eventually, no amount of back cap tightening will hold the tungsten in place.

          Why It Matters

          A slipping tungsten means an unstable arc. Your puddle control suffers. Weld quality drops. On precision work (aerospace, stainless, thin-wall), a wandering arc is a reject. On production runs, it’s rework and lost time. Plus, a loose tungsten can break mid-weld and contaminate your shielding gas.

          The Fix

          1. Disconnect the torch and let it cool. Safety first.
          1. Unscrew the back cap and remove the old collet body.
          1. Inspect the threads. If they’re stripped, you may need a new torch head (rare).
          1. Install the new collet body. Slide it in and hand-tighten the back cap.
          1. Insert tungsten and tighten firmly. The tungsten should not move when you pull on it.
          1. Test the arc. You should see immediate improvement in arc stability and gas coverage.

          Why This Product Solves It

          The TIG Gas Lens Collet Body #17, 18, 26 Torch 2PK (45V27-1/8″) is a direct replacement for standard TIG torches and includes a gas lens design that improves shielding gas flow. The tapered bore is precision-machined to grip tungsten consistently, and the gas lens allows larger tungsten stick-out for better visibility and control. Two-pack means you have a spare.

          Product Link:  Product not found.

          “>
          Product not found.
           

          What to Check Before You Buy

          • Torch series: This fits #17, #18, and #26 torches (most common sizes)
          • Tungsten size: This collet is sized for 1/8″ (3.2mm) tungsten
          • Gas lens compatibility: Confirm your torch head accepts a gas lens (most do)
          • Thread type: Standard collet body threads (verify if you have an older torch)

          Real-World Use

          A TIG fabricator working on stainless tubing noticed poor gas coverage and arc wander. Swapped the collet body. Tungsten stayed put, arc was stable, and the bead came out clean. One collet body lasted 18 months before needing replacement.

          Common Mistakes

          • Tightening the back cap excessively (damages the new collet body)
          • Using the wrong collet size for your tungsten diameter (loose fit)
          • Not replacing the collet body when it’s visibly worn (keeps struggling with slipping)
          • Forgetting to clean the collet body threads before installation (cross-threading)
          • Buying a single collet body instead of keeping spares (downtime when it fails)

          Safety Notes

          Always let the torch cool before handling. Collet bodies get hot during welding. Wear gloves when removing hot components. If tungsten slips during welding, stop immediatelyโ€”a loose electrode can break and contaminate your argon supply.

          Always follow the manufacturer’s instructions and your shop’s safety procedures. If you’re unsure about fitment or ratings, verify before you buy or install.

          Related Reading

      1. TIG Torch Consumables Wearing Out Fast? Stock Up With This 123-Piece Kit

        TIG Torch Consumables Wearing Out Fast? Stock Up With This 123-Piece Kit

        Intro: TIG torch consumables wear out fastโ€”especially with aluminum or stainless jobs. This 123-piece kit gives WP-17/18/26 users a complete, ready-to-go stock of nozzles, collets, and gas lenses for pro-level results without the downtime of waiting for parts.

        Key Takeaways

        • 123 pieces: nozzles, collets, gas lenses, and ceramic cups for WP-17/18/26 torches
        • Precision-manufactured for reliable fit and consistent gas coverage
        • Heatproof glass cups and alumina nozzles resist cracking under high temps
        • Supports both AC and DC TIG work; ideal for aluminum, stainless, and mild steel
        • One-time stock eliminates repeated small orders and shop delays

        No products found.

        Performance & Use

        All parts are precision-manufactured for reliable fit and gas coverage. Designed for both AC and DC TIG work (verify for your machine). Suits most US-shop WP-17/18/26 torches.

        What to compare before you buy

        • Torch compatibility: Verify your torch model (WP-17, WP-18, or WP-26) before ordering
        • Collet sizes: Kit includes 0.040″, 1/16″, 3/32″, and 1/8″ colletsโ€”confirm your electrode diameter
        • Glass vs. ceramic: Kit includes both heatproof glass cups and alumina nozzles; choose based on your material and duty cycle
        • Gas lens setup: Verify whether you run stubby or regular gas lens configuration
        • Storage: Check if included storage case or organizer meets your shop layout needs

        Comparable Amazon picks (optional)

        Durability & Build

        Heatproof glass cups and alumina nozzles resist cracking under high temps. All collets and lenses are built for repeated useโ€”ideal for daily welding or instructional settings. Precision tolerances ensure tight, consistent seals that minimize gas leakage and porosity.

        Who It’s For

        • TIG welders running WP-17/18/26 torches on aluminum, stainless, or mild steel
        • Fabrication shops that need backup consumables in stock to avoid downtime
        • Instructors teaching TIG welding who need a complete parts kit for multiple torch setups
        • Hobbyists and pros upgrading from single-part orders to bulk stock

        Quick FAQ

        Q: Will this fit my torch?
        A: Compatible with WP-17, WP-18, WP-26 (verify torch model before ordering).

        Q: Are all parts included for aluminum and stainless?
        A: Yes, supports both (verify machine settings and gas type).

        Q: Are the cups glass or ceramic?
        A: Both heatproof glass and alumina nozzles included.

        Q: Can I use this for AC and DC TIG?
        A: Yes (verify for your machine).

        Q: Does it include a storage case?
        A: Unknown (Verify on listing).

        Safety Notes

        • Always allow torch to cool before handling consumables
        • Inspect collets and gas lenses for cracks or damage before use; replace if compromised
        • Verify gas flow and coverage before starting production welds
        • Follow ANSI Z49.1 safety standards for TIG welding
      2. TIG Gas Lens Cups Cracking? Replace Them Before Porosity Hits

        Intro

        Your TIG welds are starting to show porosity or inconsistent gas coverage. You’ve checked your argon flow, regulator pressure, and torch angle. Everything checks outโ€”except the welds still look rough.

        The problem might be hiding in plain sight: a cracked or worn gas lens cup.

        A damaged gas lens cup disrupts shielding gas flow, allowing air to contaminate the weld pool. Even a hairline crack can cause porosity that ruins structural welds. Unlike contact tips, gas lens cups get less attentionโ€”but they’re just as critical.

        Key Takeaways

        • Cracked or worn gas lens cups allow air into the shielding gas stream
        • Porosity, discoloration, and rough beads are signs of gas coverage failure
        • Gas lens cups wear faster with high amperage or prolonged duty cycles
        • Replacement is quick and inexpensiveโ€”$2โ€“$8 per cup
        • Proper fitment requires matching your torch size and collet type

        The Problem

        A gas lens cup (also called a ceramic cup or nozzle) sits at the end of your TIG torch and directs shielding gas around the weld pool. Over time, thermal cycling and spatter impact cause:

        • Cracks: Hairline fractures that let air seep in
        • Erosion: The ceramic wears thin, reducing gas flow efficiency
        • Discoloration: Brown or white deposits indicate heat stress and gas leakage
        • Porosity: Air contamination creates gas pockets in the weld

        A cracked cup might look minor, but even a 1mm hairline fracture is enough to ruin a structural weld.

        Why It Matters

        Porosity from a bad gas lens cup is expensive:

        • Rework: Cutting out and re-welding porosity costs hours of labor
        • Inspection failures: Radiographic or ultrasonic testing will reject porosity
        • Safety risk: Porosity weakens the joint and can cause failure under load
        • Material waste: Scrap parts and wasted filler material
        • Reputation: Failed welds on customer parts damage trust

        A $5 replacement cup prevents all of this.

        The Fix

        Replace your gas lens cup as part of routine torch maintenance:

        1. Stop the welder and let the torch cool (5โ€“10 minutes for high-amperage work)
        2. Unscrew the nozzle from the torch head (usually hand-tight or with a small wrench)
        3. Remove the collet body (the small metal piece holding the cup)
        4. Slide out the old cup and inspect the collet body for damage
        5. Install the new cup (check the size: 3/8″, 7/16″, 1/2″, etc.)
        6. Re-assemble: Collet body โ†’ new cup โ†’ nozzle
        7. Hand-tighten and resume welding

        Total time: 3โ€“5 minutes.

        Why This Product Solves It

        The CK TIG Gas Lens Collet Body (available in multiple sizes) is a precision replacement for standard TIG torches (#17, #18, #26). It includes the collet body and gas lens cup assembly, ensuring proper gas flow and consistent shielding.

        Key benefits:

        • Precision fit: Engineered for standard torch sizes
        • Improved gas coverage: Larger diameter design provides better shielding gas distribution
        • Durability: Quality ceramic resists thermal cracking
        • Compatibility: Works with most standard TIG torches
        • Affordable: Packs of 2 cover extended service intervals

        Replace every 100โ€“200 hours of welding or immediately if you see porosity or discoloration.

        What to Check Before You Buy

        • Torch size: Standard torches are #17, #18, or #26 (small torches are #9, #20, #24W, #25)
        • Cup size: Available in 3/8″ (3/32″), 7/16″ (1/8″), 1/2″ (5/32″), and larger
        • Collet type: Standard collet body vs. gas saver (gas saver is more efficient but less common)
        • Fitment: Unknown (Verify) โ€” confirm your torch model and cup size before ordering

        Real-World Use

        A stainless steel fabrication shop doing heavy TIG work at 150โ€“200 amps noticed porosity on every other weld. They replaced the gas lens cup and the porosity disappeared. The old cup had a hairline crack invisible to the naked eye. Now they replace cups every 150 hours as preventive maintenance.

        Common Mistakes

        • Ignoring discoloration: Brown or white staining on the cup is a sign of gas leakageโ€”replace it immediately
        • Wrong cup size: Installing a 3/8″ cup on a 1/2″ collet body leaves gaps and allows air in
        • Over-tightening the nozzle: Hand-tight is enough; over-tightening can crack the cup
        • Not cleaning the torch head: Spatter and oxidation on the torch head can interfere with gas flowโ€”clean it when you replace the cup
        • Waiting for complete failure: Replace cups at the first sign of porosity, not after multiple failed welds

        Safety Notes

        • Always wear ANSI Z87.1-rated safety glasses or a helmet when welding
        • Let the torch cool for 5โ€“10 minutes before removing the cupโ€”ceramic cups retain heat and can cause burns
        • Ensure proper ventilation; TIG welding produces fumes that require respiratory protection (OSHA guidelines)
        • Never touch the cup or nozzle immediately after welding

        Always follow the manufacturer’s instructions and your shop’s safety procedures. If you’re unsure about fitment or ratings, verify before you buy or install.

        Where to Buy

        Available at ArcWeld.store (stock and shipping: Unknown โ€“ verify)

      3. TIG Welding Fingertip Heat Shield (B0DQQ7DSV9): A Simple Add-On That Can Save Gloves (and Skin)

        TIG Welding Fingertip Heat Shield (B0DQQ7DSV9): A Simple Add-On That Can Save Gloves (and Skin)

        TIG is slow, close, and heat-soaked. Even with good gloves, the index finger is usually the first place you feel itโ€”especially when youโ€™re steadying the torch, walking the cup, or doing long beads where heat builds in the glove. A fingertip heat shield is a small accessory, but it can meaningfully reduce glove wear and finger heat exposure when used correctly.

        This post is built around one specific Amazon listing with a verified ASIN so you can avoid โ€œlooks the sameโ€ swaps.

        No products found.

        Product (verified)

        Amazon listing title: 2PCS Glass Fibre Finger Cots Thermal Insulation Finger Covers, TIG Welding Fingertip Protector
        Verified ASIN: B0DQQ7DSV9
        Amazon URL used to confirm ASIN:https://www.amazon.com/Thermal-Insulation-Welding-Fingertip-Protector/dp/B0DQQ7DSV9?tag=weldsupport-20

        What this is (plain-English)

        This is a set of fingertip covers intended to be worn over or on the fingertip area (often over a glove finger) to reduce heat transfer and abrasion at the point where TIG welders tend to โ€œrideโ€ the work.

        Unknown (Verify): exact material composition beyond โ€œglass fibreโ€ wording, temperature rating, and whether the product is intended to be worn directly on skin vs over a glove. Confirm on the listing before use.

        Where it helps (real use cases)

        • Walking the cup / steadying the torch: reduces hot-spot burn-through on glove fingertips.
        • Long beads on warm parts: helps when heat soak builds and your glove starts to feel โ€œthin.โ€
        • Bench TIG on stainless: when youโ€™re close to the puddle and repositioning frequently.

        Where it wonโ€™t help

        If your glove choice is wrong for the amperage, or youโ€™re resting your hand too close to the arc, a finger cot wonโ€™t fix the underlying technique or PPE mismatch. Treat it as a wear item, not primary protection.

        Performance & Use

        The value is simple: less glove damage and less fingertip heat, which can improve control because youโ€™re not constantly backing off due to discomfort.

        What to compare before you buy

        • Sizing and fit: too loose slips; too tight kills dexterity (Unknownโ€”Verify sizing guidance).
        • How youโ€™ll wear it: over-glove vs under-glove (verify intended use on listing).
        • Dexterity impact: if it changes your torch angle control, it may not be worth it.
        • Durability expectations: these are typically consumable wear itemsโ€”plan to replace.
        • Your amperage and duty cycle: higher heat work may require heavier gloves first.

        Comparable Amazon picks (optional)

        (Verified ASINs; plain affiliate links only.)

        Practical buying notes

        • If youโ€™re burning through glove fingertips weekly, this is a low-cost experiment that can reduce consumable spend.
        • If you rarely feel fingertip heat, spend the money on better gloves or better bench setup first.

        Safety note

        Do not treat a fingertip cover as โ€œheat proof.โ€ Maintain safe hand distance from the arc, and keep gloves appropriate to the process. If a product has no clear rating or instructions, assume conservative limits and verify before relying on it.

      4. Read with Kindle Unlimited