When your stick electrode keeps sticking to the workpiece, it usually means the arc isn’t stable enough to stay lit. This is one of the most common frustrations in stick welding and is typically caused by low amperage, poor technique, or improper setup.
Key Takeaways
- Rod sticking is usually caused by low amps or weak arc starts
- Correct amperage and arc length are critical
- Moisture and rod condition can affect performance
- Technique (especially arc striking) plays a big role
What’s Causing the Problem
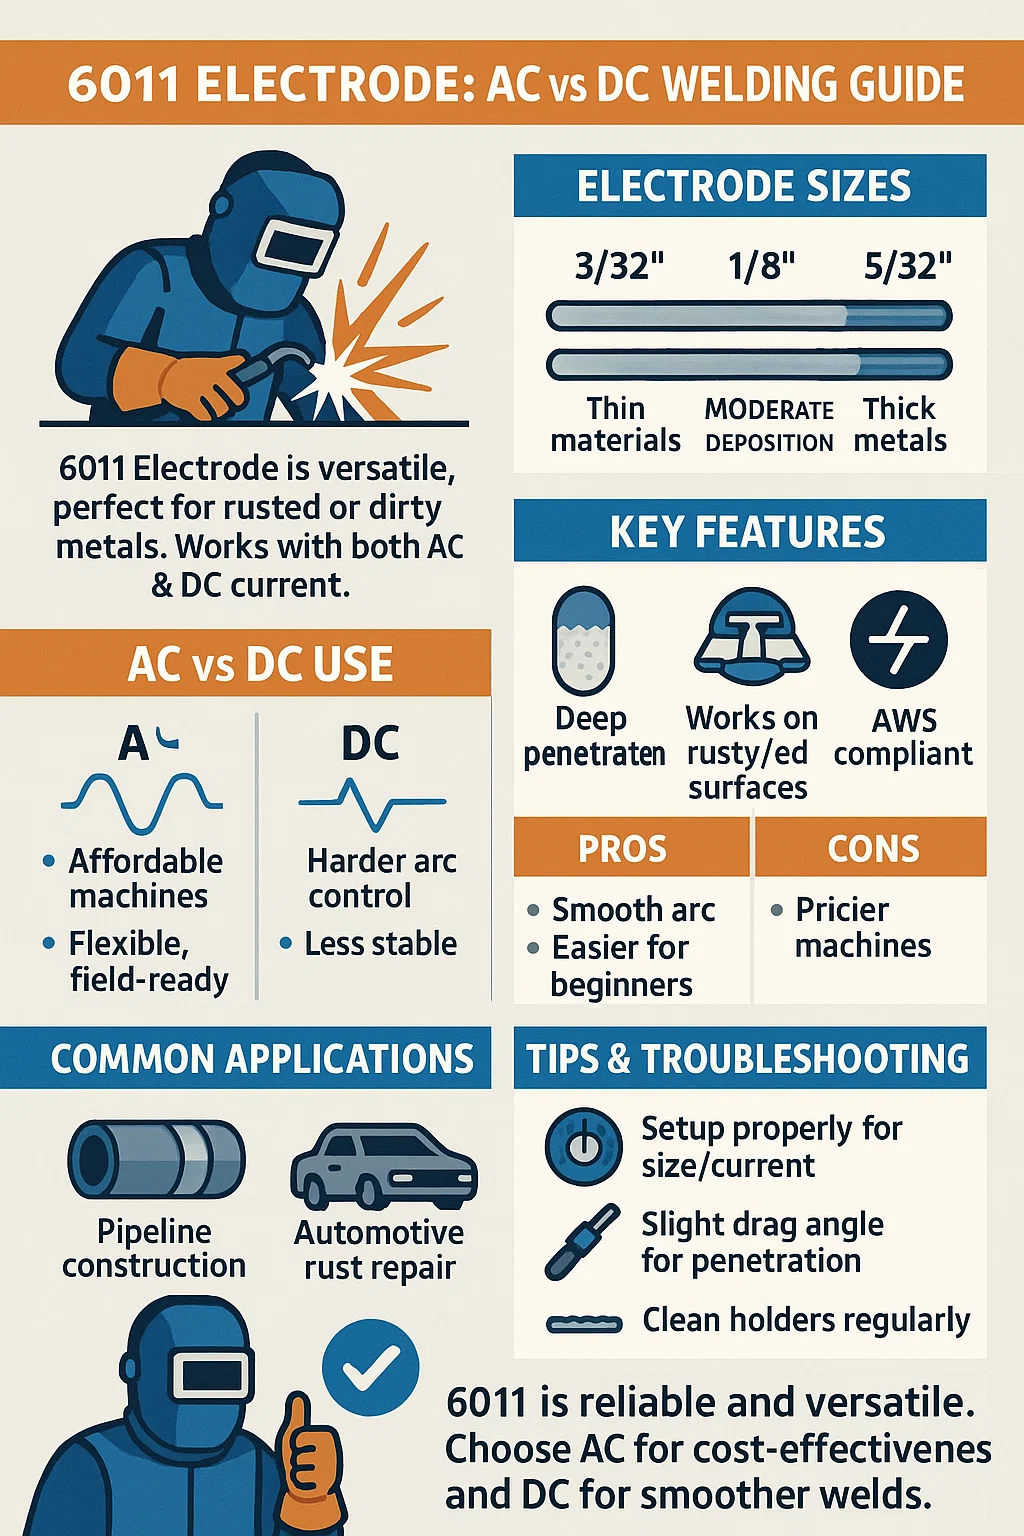
1) Amperage Too Low
- Not enough heat to maintain the arc
- The electrode fuses to the base metal instead of melting properly
2) Poor Arc Start Technique
- Tapping too lightly or dragging incorrectly
- Not establishing a strong initial arc
3) Incorrect Arc Length
- Holding the rod too close chokes the arc
- Too far causes instability and extinguishing
4) Damp or Contaminated Rods
- Moisture affects arc stability and slag formation
- Especially common with 7018 rods
5) Improper Ground Connection
- Weak or inconsistent electrical circuit
- Causes erratic arc behavior
How to Fix It
Step 1: Increase Amperage
- Adjust amps based on rod size:
- 1/8″ (3.2 mm) rod → ~90–130 amps
- Start in the middle of the range and adjust as needed
Step 2: Improve Arc Start
- Use a scratch or tap method with confidence
- Strike the arc like lighting a match, then lift slightly
Step 3: Maintain Proper Arc Length
- Keep arc length about equal to rod diameter
- Too short = sticking
- Too long = unstable arc
Step 4: Use Dry Electrodes
- Store rods in a dry environment
- Use a rod oven for low-hydrogen electrodes (like 7018)
Step 5: Check Ground Clamp
- Attach to clean, bare metal
- Ensure a tight connection
Common Mistakes to Avoid
- Running amps too low “to be safe.”
- Hesitating during arc start
- Welding with damp rods
- Ignoring poor ground connections
- Holding too tight or an inconsistent arc length
Best Settings / Guidelines
| Parameter | Typical Range |
|---|---|
| Amperage | 90–130A (1/8″ / 3.2 mm rod) |
| Arc Length | Equal to rod diameter |
| Rod Condition | Dry, properly stored |
| Ground Contact | Clean, solid connection |
| Travel Speed | Moderate, consistent |
Always verify amperage with rod manufacturer recommendations.
Safety Notes
- Wear proper eye protection (ANSI Z87.1) and welding helmet
- Stick welding produces significant fumes—ensure ventilation
- Keep gloves dry to avoid shock risk
- Inspect electrode holder and cables for damage
FAQ
Why does my rod stick immediately when I strike an arc?
Usually due to low amperage or poor arc start technique.
Can moisture really affect stick welding?
Yes—especially with low-hydrogen rods like 7018.
What’s the best rod for beginners?
6013 is more forgiving and easier to start than 7018.
Does polarity matter for sticking?
Yes—incorrect polarity can cause poor arc stability.
Should I increase amps if my rod sticks?
Yes—slightly increasing amperage often solves the issue.
Sources Checked
- American Welding Society
- Lincoln Electric stick welding guides
- Miller Electric setup and troubleshooting resources