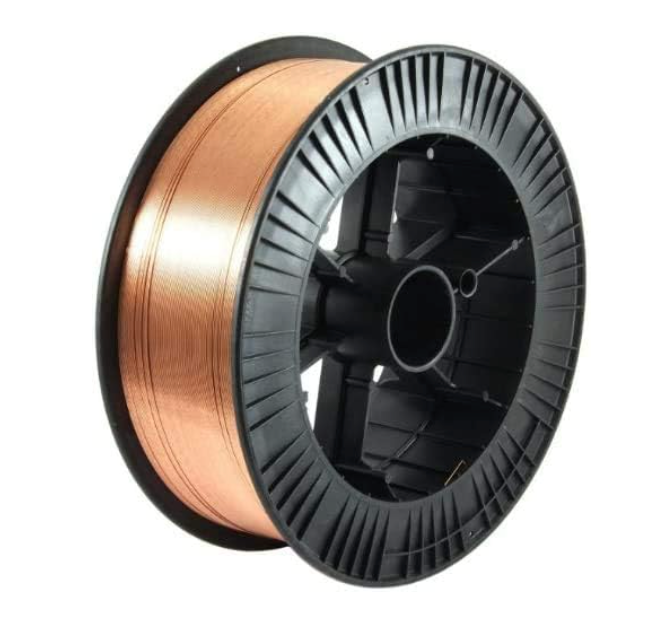
Arc Air 94-433-193 Insulator Assembly for K2000/K3000 Carbon Arc Gouging Torch – Durable & Reliable
$29.78
In Stock
View Product
$29.78
In Stock
View Product
When carbon arc gouging produces a ragged groove, the cut is usually being driven too hard, too fast, or with poor torch control. In carbon arc gouging, groove shape is controlled by electrode angle, travel speed, air flow, amperage, and torch condition. If one of these is off, the groove edge can tear instead of staying clean.
Use a steady angle and keep it consistent through the cut. If the torch is rolled too far, the arc can wash one side of the groove and leave the other side ragged. If the angle changes during travel, groove width and depth will vary.
Start with the torch positioned so the arc is directed into the work, not skimming across the surface. Small changes in angle can have a large effect on groove quality.
Travel speed must match amperage and work thickness. If you move too fast, the arc does not remove material evenly and the groove becomes torn or narrow. If you move too slow, the gouge can widen excessively and the sidewalls can become rough.
Make one pass and inspect the groove. If the groove is ragged and shallow, reduce travel speed slightly. If the groove is overly wide or undercut, increase speed and recheck arc control.
Carbon arc gouging depends on air pressure and air direction to remove molten metal and carbon. Low or uneven air flow can leave debris in the groove and create a rough surface. Excessive or poorly aimed air can disturb the arc and make the groove irregular.
Verify that the air delivery is stable at the torch and that the nozzle path is clear. If the air stream is weak, pulsing, or misdirected, correct that before changing other settings.
Amperage that is too low can make the arc unstable and leave a ragged groove with incomplete removal. Amperage that is too high can force the arc to dig aggressively, overheat the edges, and create sidewall damage. Use the current range recommended for the electrode and torch setup. Unknown (Verify).
If the groove shows heavy spatter-like debris, erratic bite, or excessive sidewall erosion, test a small adjustment to amperage and inspect the result.
Arc length should stay controlled. A long arc can spread heat and make the groove rough. A short, unstable arc can chatter and leave a broken edge. Keep the electrode in good condition and replace it if it is worn, uneven, or contaminated.
Worn or damaged torch components can reduce control during gouging. Check the torch for loose connections, heat damage, carbon buildup, and worn insulation. If the torch body or insulating parts are degraded, the operator may struggle to hold a stable angle and consistent arc.
If the torch is a K2000 or K3000 setup, inspect the insulator assembly as part of the troubleshooting process. A damaged insulator can affect torch condition and handling during gouging.
Arc Air 94-433-193 Insulator Assembly for K2000/K3000 Carbon Arc Gouging Torch
Introducing the Arc Air 94-433-193 Insulator Assembly, a crucial component designed to enhance the performance of your K2000 and K3000 carbon arc gouging torches. This high-quality insulator assembly is essential for ensuring optimal functioning and reliability during your gouging tasks. The Arc Air insulator assembly is engineered to withstand the demanding conditions of arc gouging. It is crafted with durable ma…
View at Arc Weld StoreUse this part only if it matches your torch model. Compatibility beyond the stated K2000/K3000 reference is Unknown (Verify).
Ragged grooves can also appear when carbon pockets remain in the cut. See: Why Carbon Arc Gouging Leaves Carbon Pockets in the Groove
Common causes are torch angle drift, uneven travel speed, or air flow that is not centered on the arc. Check torch control first.
Yes. Low or unstable air flow can leave molten metal and carbon in the groove, which makes the surface irregular.
Yes. Too little current can make the arc unstable. Too much current can overcut the edges and roughen the groove.
If the torch shows wear, heat damage, looseness, or insulation issues, inspect and replace the damaged parts as needed. If the exact part match is uncertain, verify the torch model before ordering.
$29.78
In Stock
View Product
If a carbon arc gouging rod will not strike, start with the basics: current path, air supply, holder contact, and the rod itself. Most no-strike complaints come from loss of contact, poor clamp connection, low air, or damaged insulation at the torch or holder.
A gouging rod needs a solid electrical return path. Loose clamp jaws, rust, paint, scale, or a bad cable lug can stop the arc from starting.
If output is too low, the rod may only scratch without striking. Confirm the machine is set for gouging, not a low-current welding setting.
Carbon arc gouging uses air to clear the groove. Low or blocked air will not always prevent striking, but it can make the process unstable and look like a starting fault.
A damaged rod end, heavy oxidation, or the wrong diameter can prevent reliable arc initiation.
Poor contact inside the holder can stop current from reaching the rod. Check for looseness, burnt jaws, carbon buildup, or damaged internal parts.
Damaged insulation can cause erratic current flow, especially on K2000/K3000-style equipment. If the insulator assembly is cracked, carbon tracked, or heat damaged, replace it.
If the basics check out, isolate the fault by changing one item at a time.
If the setup begins striking after a part change, the removed part is likely the failure point.
If the insulator assembly is damaged on a compatible torch, use the listed replacement below. Compatibility beyond the stated torch models is Unknown (Verify).
Introducing the Arc Air 94-433-193 Insulator Assembly, a crucial component designed to enhance the performance of your K2000 and K3000 carbon arc gouging torches. This high-quality insulator assembly is essential for ensuring optimal functioning and reliability during your gouging tasks. The Arc Air insulator assembly is engineered to withstand the demanding conditions of arc gouging. It is crafted with durable ma…
View at Arc Weld StoreRelated reading:
Usually poor contact, low current, a bad work clamp, or a damaged rod end.
It can make the process unstable, but most no-strike problems are first caused by electrical contact or machine output issues.
Replace it if it is cracked, burned, carbon tracked, or loose. Use a known-compatible part only; otherwise, compatibility is Unknown (Verify).