Tag: welding cable
-
Why Does My Ground Clamp Get Hot?
“>
A hot welding ground clamp usually means resistance is too high in the return path. The clamp, jaws, cable connection, or workpiece contact is not carrying current efficiently, so heat builds at the weak point.
This can shorten cable life, damage the clamp, and create poor arc performance. If the clamp is getting hot fast, stop and inspect the circuit before continuing.
Key Takeaways
- Heat at the ground clamp usually comes from resistance, not normal operation.
- Poor metal contact, oxidation, loose hardware, damaged cable ends, or clamp wear are common causes.
- Too much amperage for the clamp rating can overheat the clamp and cable.
- Clamp location matters. Use clean bare metal with full jaw contact.
- If the clamp body, jaws, or cable lug shows discoloration, melting, or looseness, replace the part.
Why a Ground Clamp Gets Hot
A welding ground clamp gets hot when current must pass through a restricted path. The most common causes are:
- Poor contact with the workpiece — paint, rust, mill scale, slag, or dirt raises resistance.
- Oxidized or worn jaws — the contact faces no longer grip or conduct well.
- Loose cable connection — a poor lug-to-clamp connection creates heat at the termination.
- Undersized cable — cable that is too small for the application can heat along with the clamp.
- Overloaded clamp — amperage demand may be above the clamp’s intended duty. Exact limit: Unknown (Verify).
- Bad clamp placement — long return path, poor bite on rounded surfaces, or contact through moving parts can increase resistance.
Troubleshooting Steps
1. Check the workpiece contact point
Clamp directly to clean, bare metal whenever possible. Remove paint, rust, heavy oxidation, and mill scale at the contact point. A clamp attached to dirty material will run hotter.
2. Inspect the clamp jaws
Look for pitting, discoloration, spring weakness, bent jaws, and burned contact faces. If the jaws do not close firmly or the contact area is reduced, resistance rises.
3. Inspect the cable and termination
Check the cable insulation near the clamp and along the lead. Look for stiffness, cracking, darkening, or soft spots. Check the cable lug or connection point for looseness, corrosion, or heat damage.
4. Verify amperage is not excessive
If the clamp is overheating under load, compare the welding current to the clamp and cable size being used. If the setup is beyond the intended range, heat is expected. Clamp current capacity for your exact setup: Unknown (Verify).
5. Check clamp placement
Move the ground clamp closer to the weld area when practical. A shorter return path can reduce resistance and voltage drop. Avoid clamping on painted frames, oily parts, thin sheet edges, or areas with poor metal contact.
6. Compare heat across the circuit
If both the clamp and the cable get hot, the problem may be cable sizing, a loose termination, or excessive current. If only the clamp gets hot, the issue is often contact quality or clamp wear.
When to Replace the Clamp
Replace the clamp if you find any of the following:
- Jaws no longer grip firmly
- Contact faces are burned, pitted, or heavily oxidized
- Clamp body shows heat damage or distortion
- Connection point is loose and cannot be corrected
- The clamp runs hot even on clean metal at normal operating load
If a clamp has already overheated enough to discolor metal or soften adjacent insulation, replacement is usually the correct fix.
Product / Parts
For light-duty welding setups, the ArcWeld Lenco EG-300, 300 Amp, Welding Ground Clamp, Pack of (1) is listed as having a large Lenco contact area, steel construction, and copper alloy jaws. It is described as helping extend cable life and reduce energy use. Use case: light duty welding. Exact application limits beyond that description: Unknown (Verify).
Lenco EG-300, 300 Amp, Welding Ground Clamp, Pack of (1)
The EG-300 welding ground clamp is best used for light duty welding. With its large "Lenco" contact area, steel construction and copper alloy jaws, the EG-300 extends cable life and reduces energy use.
View at Arc Weld StoreSafety Notes
- Disconnect welding power before inspecting or replacing the clamp.
- Do not touch a hot clamp with bare hands or wet gloves.
- Replace damaged cable insulation before returning the machine to service.
- Do not use a clamp with visible burn damage or loose hardware.
- Keep the ground path clean and secure to reduce heat and arcing.
FAQ
Is a warm ground clamp normal?
Slight warmth can happen during high current use. A clamp that gets hot quickly, becomes uncomfortable to touch, or discolors is not normal and should be inspected.
Can a bad ground clamp cause poor welds?
Yes. High resistance in the return path can cause unstable arc behavior, poor penetration, and inconsistent results.
Will moving the clamp help?
Often yes. A shorter return path and cleaner contact point can reduce resistance and heat.
Should I clean the clamp or replace it?
Clean it first if the damage is limited to oxidation or surface contamination. Replace it if the jaws are worn, the body is heat damaged, or the connection is loose.
Sources Checked
- Weld Support Parts internal product information for Lenco EG-300 welding ground clamp
- Weld Support Parts article: Ground Clamp Replacement Guide: FGC200 200 Amp Clamp for Welding Setups
- Weld Support Parts article: Stick Welding Arc Blow Causes and Fixes: Magnetic Arc Deflection, Ground Clamp Placement, AC/DC Settings, and Weld Sequence
Related Weld Support Guides
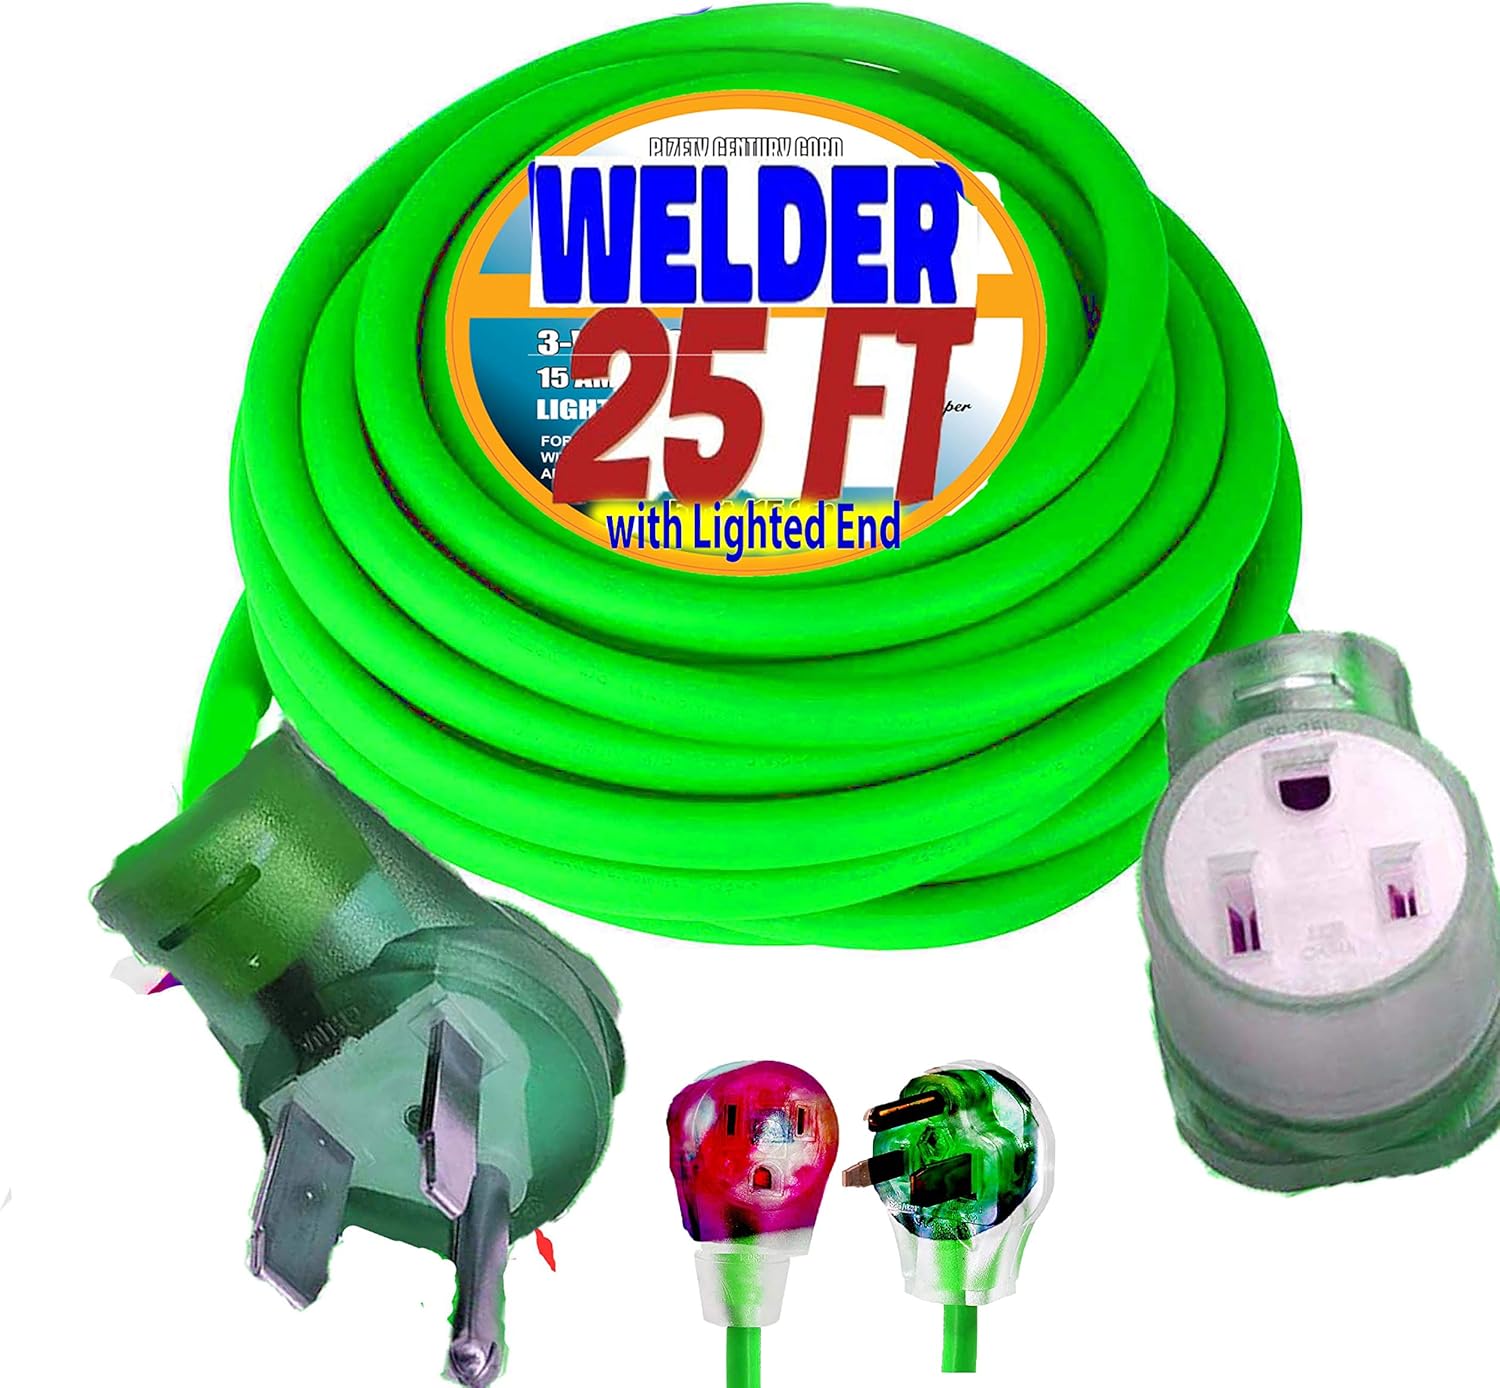
Welding Cable Connector Compatibility Guide (DINSE, Tweco, Camlock & Stud Types)
Welding cable connectors are one of the most commonly mismatched components in welding setups. Connector size, amperage rating, cable gauge, polarity configuration, and machine-side receptacle type all affect compatibility. Using the wrong connector can cause overheating, intermittent arc starts, voltage drop, damaged receptacles, or unsafe cable heating.
This guide breaks down common welding cable connector types, fitment verification steps, compatibility concerns, inspection procedures, and common wrong-part mistakes before ordering replacement connectors or cable assemblies.
Key Takeaways
- DINSE-style connectors are common on modern TIG, Stick, and multiprocess welders.
- Connector size must match both cable gauge and machine receptacle size.
- Tweco, Camlock, Stud, and DINSE connectors are not universally interchangeable.
- Overheated connectors usually indicate loose crimps, undersized cable, or worn contact surfaces.
- Always verify connector gender, amperage class, and cable size before ordering.
- Machine manufacturers may use proprietary connector configurations.
- Loose or oxidized connections increase resistance and arc instability.
What Welding Cable Connectors Do
Welding cable connectors provide a removable high-current electrical connection between the welding machine and the work lead, electrode holder, TIG torch, spool gun, or extension lead.
A properly fitted connector minimizes resistance while maintaining mechanical retention under vibration, heat, and repeated cable movement.
Poor connector fitment commonly causes:
- Hot cable ends
- Arc instability
- Hard starts
- Voltage loss
- Burned receptacles
- Intermittent output
- Melted insulation near the connector
Common Welding Cable Connector Types
| Connector Type | Common Applications | Typical Amp Range | Common Cable Sizes | Compatibility Notes |
|---|---|---|---|---|
| DINSE 10-25 | Light TIG, inverter Stick welders | Up to ~200A | #6 to #2 AWG | Small-body DINSE connector; verify receptacle diameter |
| DINSE 35-50 | Multiprocess, MIG, TIG, Stick | 200A–400A | #2 to 2/0 AWG | Common on mid-size industrial welders |
| DINSE 50-70 | Heavy industrial welding | 400A+ | 1/0 to 4/0 AWG | Larger connector body and pin diameter |
| Tweco-style | Older MIG systems | Varies | Varies | Often machine-specific |
| Camlock | Engine drives, field welding | High amperage | 1/0 to 4/0 AWG | Quick-connect field cable systems |
| Stud/Lug | Permanent machine installs | Varies | Varies | Requires proper torque and insulation protection |
Compatibility varies by manufacturer. Connector naming is not always standardized across imported welders and aftermarket cable kits.
Compatibility Notes
Before ordering a replacement cable connector, verify:
- Machine model
- Connector family (DINSE, Camlock, Tweco, Stud)
- Connector size class
- Male vs female connector orientation
- Cable gauge
- Maximum amperage
- Torch or electrode holder compatibility
- Polarity setup
- Panel receptacle diameter
- Set-screw vs crimp termination style
Unknown (Verify) if your machine uses proprietary connector dimensions or adapter systems.
Common Symptoms of Connector Problems
| Symptom | Likely Cause | Inspection Check | Recommended Fix |
|---|---|---|---|
| Connector gets hot | Loose connection or undersized cable | Inspect crimps and contact surfaces | Replace connector or upgrade cable size |
| Arc cuts out intermittently | Worn connector fit | Check connector retention and rotation | Replace worn mating pair |
| Burn marks near receptacle | High resistance connection | Inspect oxidation and spring tension | Clean or replace connector |
| Machine output unstable | Incorrect connector sizing | Verify DINSE size class | Install proper connector size |
| Cable insulation melting | Excessive resistance heat | Check lug termination and amperage load | Replace damaged cable assembly |
What Usually Wears Out First
- Connector spring tension surfaces
- Copper contact areas
- Set-screw retention points
- Cable crimp joints
- Insulation near the connector neck
- Twist-lock retention tabs
Heat cycling and repeated twisting accelerate wear on DINSE-style connectors.
Visual Wear Indicators
- Discolored copper
- Melted insulation
- Loose fit in machine receptacle
- Black carbon tracking
- Pitting on contact surfaces
- Cable jacket cracking near strain relief
- Connector wobble during insertion
Test & Inspection Steps
- Disconnect machine input power.
- Inspect connector body for heat damage or cracking.
- Verify cable gauge matches connector rating.
- Check for loose set screws or failed crimps.
- Inspect receptacle spring tension.
- Look for oxidation or contamination on mating surfaces.
- Perform low-load test weld and monitor connector heat buildup.
- Replace both mating connectors if excessive wear exists.
Field Fix vs Proper Fix
| Issue | Temporary Field Fix | Proper Repair |
|---|---|---|
| Loose connector fit | Clean contacts and tighten hardware | Replace worn connector pair |
| Overheating lug | Reduce amperage temporarily | Install properly crimped connector |
| Oxidized contact surfaces | Light cleaning | Replace damaged connector surfaces |
| Damaged cable jacket | Temporary insulation wrap | Replace cable section |
Common Wrong-Part Mistakes
- Ordering DINSE 10-25 when machine uses 35-50
- Matching connector body shape but not pin diameter
- Using undersized connectors on high-amperage leads
- Assuming imported welders use standard DINSE sizing
- Installing aluminum lugs in high-cycle copper systems
- Using set-screw connectors on fine-strand cable without proper retention
- Ignoring cable gauge compatibility
Replacement Notes
When replacing welding cable connectors:
- Replace overheated connectors immediately
- Inspect both mating halves
- Verify cable flexibility and strand condition
- Use proper crimp tooling where required
- Maintain clean copper contact surfaces
- Match amperage class to machine duty cycle
Related Failure Paths
- Arc instability from voltage drop
- Burned machine receptacles
- Electrode holder overheating
- Work clamp resistance issues
- TIG torch hard-start problems
- Premature cable insulation failure
Safety Notes
- Never handle energized connectors.
- Replace connectors showing thermal damage.
- Improper cable repairs can create fire hazards.
- Loose connections increase resistance heat rapidly under load.
- Always disconnect machine power before inspection.
- Use properly rated PPE when testing live welding circuits.
Internal Links
- Welding Cable & Connector Kits (25–50ft Heavy-Duty)
- Welding Cable Guide: Lead Length & Sizes Explained
- Welding Electrode Holder: Choose the Best for Stick Welding
- STARTECWELD TIG 17F Series TIG Torch Support
- Weldtec WT-17F Torch Kit Compatibility Notes
FAQ
Are all DINSE connectors interchangeable?
No. DINSE connectors vary by size class and pin diameter. Verify connector series before ordering.
Can I use a larger connector on smaller cable?
Possibly, but cable retention and current transfer may suffer if the connector is not sized correctly.
Why does my connector get hot during welding?
Usually due to resistance caused by loose crimps, oxidation, undersized cable, or worn contact surfaces.
Should both connector halves be replaced together?
Recommended when wear or overheating exists on both mating surfaces.
Do imported inverter welders always use standard DINSE sizes?
Unknown (Verify). Some imported machines use non-standard receptacle dimensions.
Next Step
Before ordering replacement welding cable connectors, verify machine receptacle size, cable gauge, amperage class, and connector family. Connector mismatch is one of the most common causes of overheating and intermittent welding performance problems.
Sources Checked
- Manufacturer welding cable documentation
- DINSE connector sizing references
- Welding machine service manuals
- Weld Support Parts technical articles
- AWS welding cable handling guidance
- OSHA electrical safety guidance
Why a Stick Welding Electrode Holder Gets Hot or Loses Grip
A stick welding electrode holder that gets hot, slips rods, or makes the arc unstable is more than an annoyance. It can point to loose cable connections, worn jaws, undersized leads, damaged insulation, poor work return, or a holder being used beyond its rating. This guide focuses on 300-amp stick welding electrode holders such as the Tweco WeldSkill WS732 and similar medium-duty SMAW stingers.
If the rod is sticking before the holder heats up, start with WSP’s guide on why stick welding electrodes keep sticking. If the return path is suspect, compare the symptoms with the ground clamp replacement guide before replacing the stinger.
Key Takeaways
- A hot electrode holder is commonly caused by loose cable connections, worn jaws, over-amperage use, duty-cycle abuse, undersized welding cable, or poor work return.
- The Tweco WeldSkill WS732 is listed as a 300-amp electrode holder with 7/32-inch electrode capacity, 10-inch length, brass alloy body, and up to 2/0 cable compatibility.
- Do not keep welding with cracked insulation, exposed current-carrying parts, loose jaws, or a holder that becomes too hot to control safely.
- OSHA requires manual electrode holders to be designed for arc welding and capable of safely handling the required current.
- Before replacing the holder, inspect the full welding circuit: electrode holder, cable lug, welding lead, work clamp, machine terminals, and electrode size.
Problem / Context
The electrode holder is the hand-held connection between the welding lead and the stick electrode. When it works correctly, the jaws clamp the rod tightly, the handle stays manageable, and the arc responds consistently. When it starts failing, the operator may notice heat at the handle, intermittent arc starts, rod movement in the jaws, melted insulation near the cable connection, or a holder that feels weak after only a few rods.
This failure often gets blamed on the holder alone, but the full circuit matters. A loose work clamp, wrong cable size, corroded lug, or poorly seated cable inside the stinger can all create resistance. Resistance turns into heat, and heat makes the holder less reliable over time.
Root Causes
1. Loose cable connection inside the holder
A loose cable connection is one of the most common reasons an electrode holder overheats. The cable may look attached from the outside, but poor contact inside the handle can create resistance. That resistance can heat the holder, weaken the insulation, and make the arc feel inconsistent.
2. Worn or dirty jaws
If the jaws are worn, contaminated, or no longer spring tightly, the rod may move during welding. Poor jaw contact can make the arc flicker and can heat the contact area. This is especially noticeable when running larger electrodes or when the rod is clamped at an awkward angle.
3. Holder rating does not match the welding current
A 300-amp holder should not be treated as unlimited. Actual safe use depends on amperage, electrode size, cable size, duty cycle, connection quality, and working conditions. Running near the top of the rating for long periods can make a medium-duty holder heat faster than expected.
4. Welding cable is undersized or damaged
Undersized cable increases voltage drop and heat. Damaged cable, stiff insulation, exposed strands, or repaired sections near the holder can make the problem worse. For cable sizing and lead-length planning, see WSP’s welding cable guide for lead length and sizes.
5. Poor work return connection
A weak work clamp or dirty return path can make the whole welding circuit unstable. The arc may start poorly, rods may stick, and the operator may increase amperage to compensate. That extra current can add heat to the holder and cable system without fixing the real problem.
6. Electrode size is too large for the setup
Large electrodes require more current and place more load on the holder. The WS732 is listed with a 7/32-inch electrode capacity, but that does not mean every machine, cable, work clamp, and duty cycle combination is appropriate for extended use at the upper end. Verify the electrode manufacturer’s amperage chart and the welding machine duty cycle.
Solution
- Disconnect power before inspecting the holder, cable, or work clamp.
- Remove the electrode and inspect the jaws for looseness, carbon tracking, melted spots, and poor spring tension.
- Open the cable connection area if the holder design allows service, then verify that the cable is seated correctly and tightened to the manufacturer’s instructions.
- Check welding lead size against amperage, duty cycle, and lead length. Do not assume a short cable and a long cable can carry the same current without added voltage drop.
- Clean the work clamp location to bare metal and confirm the clamp is rated for the current being used.
- Match electrode diameter to the machine output and holder rating. Do not oversize the rod to compensate for poor starts.
- Replace the holder if insulation is cracked, jaws are loose, the body is heat-damaged, or current-carrying parts can contact the operator.
For 7018-specific current questions, WSP’s guide on using AC or DC with 7018 and 7018AC electrodes is a useful adjacent reference. Rod selection and amperage mistakes can look like a bad holder when the real cause is an unstable arc setup.
Specs / Verification Notes
| Item | Verified / Checkpoint | Notes |
|---|---|---|
| ASIN | B01M0QPTXK | Verified as Tweco WeldSkill 300-amp electrode holder on Amazon regional results. |
| Model | WS732 | Listed by Airgas and other welding suppliers as Tweco WeldSkill WS732. |
| Amperage rating | 300 A | Do not exceed the holder, cable, clamp, connector, or machine duty-cycle limits. |
| Maximum electrode capacity | 7/32 in | Verify electrode amperage requirements before use. |
| Length | 10 in | Supplier-listed dimension. |
| Body material | Brass alloy | Supplier-listed material. |
| Maximum cable size | 2/0 | Verify cable fit and connection method before installation. |
| Replacement insulator availability | Available for A-732 style holder | Arc Weld Store lists Tweco A-732-1P replacement insulators. Verify compatibility with the exact holder before ordering. |
| Machine compatibility | Unknown (Verify) | Confirm welding output, polarity, cable size, and duty cycle. |
Product Section
The Tweco WeldSkill WS732 is a 300-amp stick welding electrode holder suited for SMAW setups where the machine output, cable size, and work clamp are matched to the holder rating. It is most relevant when the existing holder has worn jaws, damaged insulation, loose cable connection hardware, or recurring heat problems after the rest of the circuit has been checked.
Arc Weld Store related maintenance option:
$25.95 In Stock
TWECO A-732-1P Replacement Insulator Pack of 2 – Medium Duty, 300 A for Stick Welding, Easy to Replace

300 AMP WELD SKILL ELECTRODE HOLDER
- 6 Position Jaw Pattern
- Max: 300 Amp
- Max: 2/0 Cable
- Max Electrode Size: 7/32″
- 10″ Overall Lenght
Last update on 2026-07-14 / Affiliate links / Images from Amazon Product Advertising API
Comparison Table
| Symptom | Likely Cause | Check First | Corrective Action |
|---|---|---|---|
| Holder gets hot near cable end | Loose or high-resistance cable connection | Cable seating, lug condition, set screw or connector hardware | Disconnect power, inspect connection, repair or replace damaged parts. |
| Rod slips in jaws | Worn jaws or weak spring tension | Jaw grip at several rod angles | Clean jaws if serviceable or replace the holder. |
| Arc flickers while welding | Poor jaw contact or weak work return | Rod grip and ground clamp contact | Clean contact points, tighten connections, replace worn clamp or holder. |
| Handle insulation is cracked | Heat damage, age, impact, or overload | Full handle and jaw insulation | Remove from service and replace damaged components. |
| Rods keep sticking | Low amperage, poor ground, damp rods, or worn holder | Machine setting, electrode condition, work clamp, holder jaws | Correct setup first, then replace holder if grip remains weak. |
Related Failure Paths
- Electrodes sticking at arc start: often caused by low amperage, poor ground, dirty base metal, damp rods, or worn holder jaws.
- Arc blow or wandering arc: may relate to magnetic fields, cable routing, work clamp position, or DC polarity setup.
- Work clamp overheating: usually points to poor contact, undersized clamp, corroded jaws, or current above the clamp rating.
- 7018 porosity or restart trouble: may be caused by damp electrodes, wrong current, dirty steel, or poor arc length control.
Safety Notes
- Use only manual electrode holders designed for arc welding and rated for the current required by the electrode.
- Current-carrying parts through the hand-grip area and the outer jaw surfaces must be insulated against the maximum voltage encountered to ground.
- Use welding cables that are fully insulated, flexible, and capable of handling the maximum current required for the work and duty cycle.
- Do not use an electrode holder with cracked insulation, exposed conductors, loose jaws, or heat damage.
- Remove electrodes from the holder and place the holder safely when welding is paused for a substantial period.
- Wear welding gloves, flame-resistant clothing, helmet filter shade appropriate to the process, and eye protection under the hood when required.
FAQ
Why does my stick welding holder get hot?
The most common causes are loose cable connection, worn jaws, undersized welding cable, poor work return, or using the holder beyond its current and duty-cycle limits.
Is a 300-amp electrode holder enough for 1/8-inch 7018?
Usually the holder rating is not the limiting factor for common 1/8-inch 7018 amperages, but the full setup still matters. Verify machine output, duty cycle, cable size, work clamp rating, and electrode manufacturer amperage recommendations.
Can worn jaws make rods stick?
Yes. Weak jaw contact can create unstable current transfer. That can cause flickering starts, rod movement, and more sticking, especially when the work clamp or amperage setting is already marginal.
Can the insulator be replaced instead of the whole holder?
Sometimes. Arc Weld Store lists Tweco A-732-1P replacement insulators, but compatibility must be verified against the exact holder model and condition. If jaws, internal conductors, or cable connection areas are damaged, replacing only the insulator may not solve the problem.
Should the electrode holder be warm during welding?
Some warmth can occur during normal welding, but it should not become too hot to hold through welding gloves, smell burnt, soften insulation, or discolor near the cable connection. Those signs require inspection before more welding.
Next Step
Inspect the holder and welding circuit in order: jaws, handle insulation, cable connection, cable size, work clamp, machine terminals, electrode size, and duty cycle. If the holder is worn or heat-damaged after those checks, the verified WS732 ASIN box above is a relevant replacement path, while the Arc Weld Store insulator listing may help only when the exact holder is compatible and otherwise serviceable.
Sources Checked
- Amazon regional product result for ASIN B01M0QPTXK.
- Airgas: Tweco WeldSkill WS732 300 Amp Brass Electrode Holder.
- AWISCO: Tweco WeldSkill Electrode Holder WS732-300 AMP.
- WeldingOutfitter: Tweco WS732 9110-1182 300A WeldSkill Electrode Holder.
- Arc Weld Store: Tweco A-732-1P Replacement Insulator Pack of 2.
- OSHA 1926.351 Arc Welding and Cutting.
- eCFR 29 CFR Part 1926 Subpart J Welding and Cutting.
- Existing WSP posts on sticking electrodes, ground clamps, welding cable sizing, 7018 AC/DC selection, and electrode holder selection.