Introduction
The STARTECWELD TIG 17F is a mid-range air-cooled TIG torch kit designed for welders who need reliable performance without premium pricing. It features a flexible head for maneuverability, a 25 ft power cable, and includes the 105Z57 connector for broad compatibility. This post breaks down what you get, how it compares to alternatives, and whether it fits your welding setup.
Key Takeaways
- 150 amp rating supports most hobby and semi-professional TIG welding tasks
- Flexible head design improves access in tight or awkward positions
- 25 ft cable length reduces the need for extension hoses
- Includes 105Z57 connector; verify your machine’s input before ordering
- Price-to-performance ratio competitive in the $200–$250 range
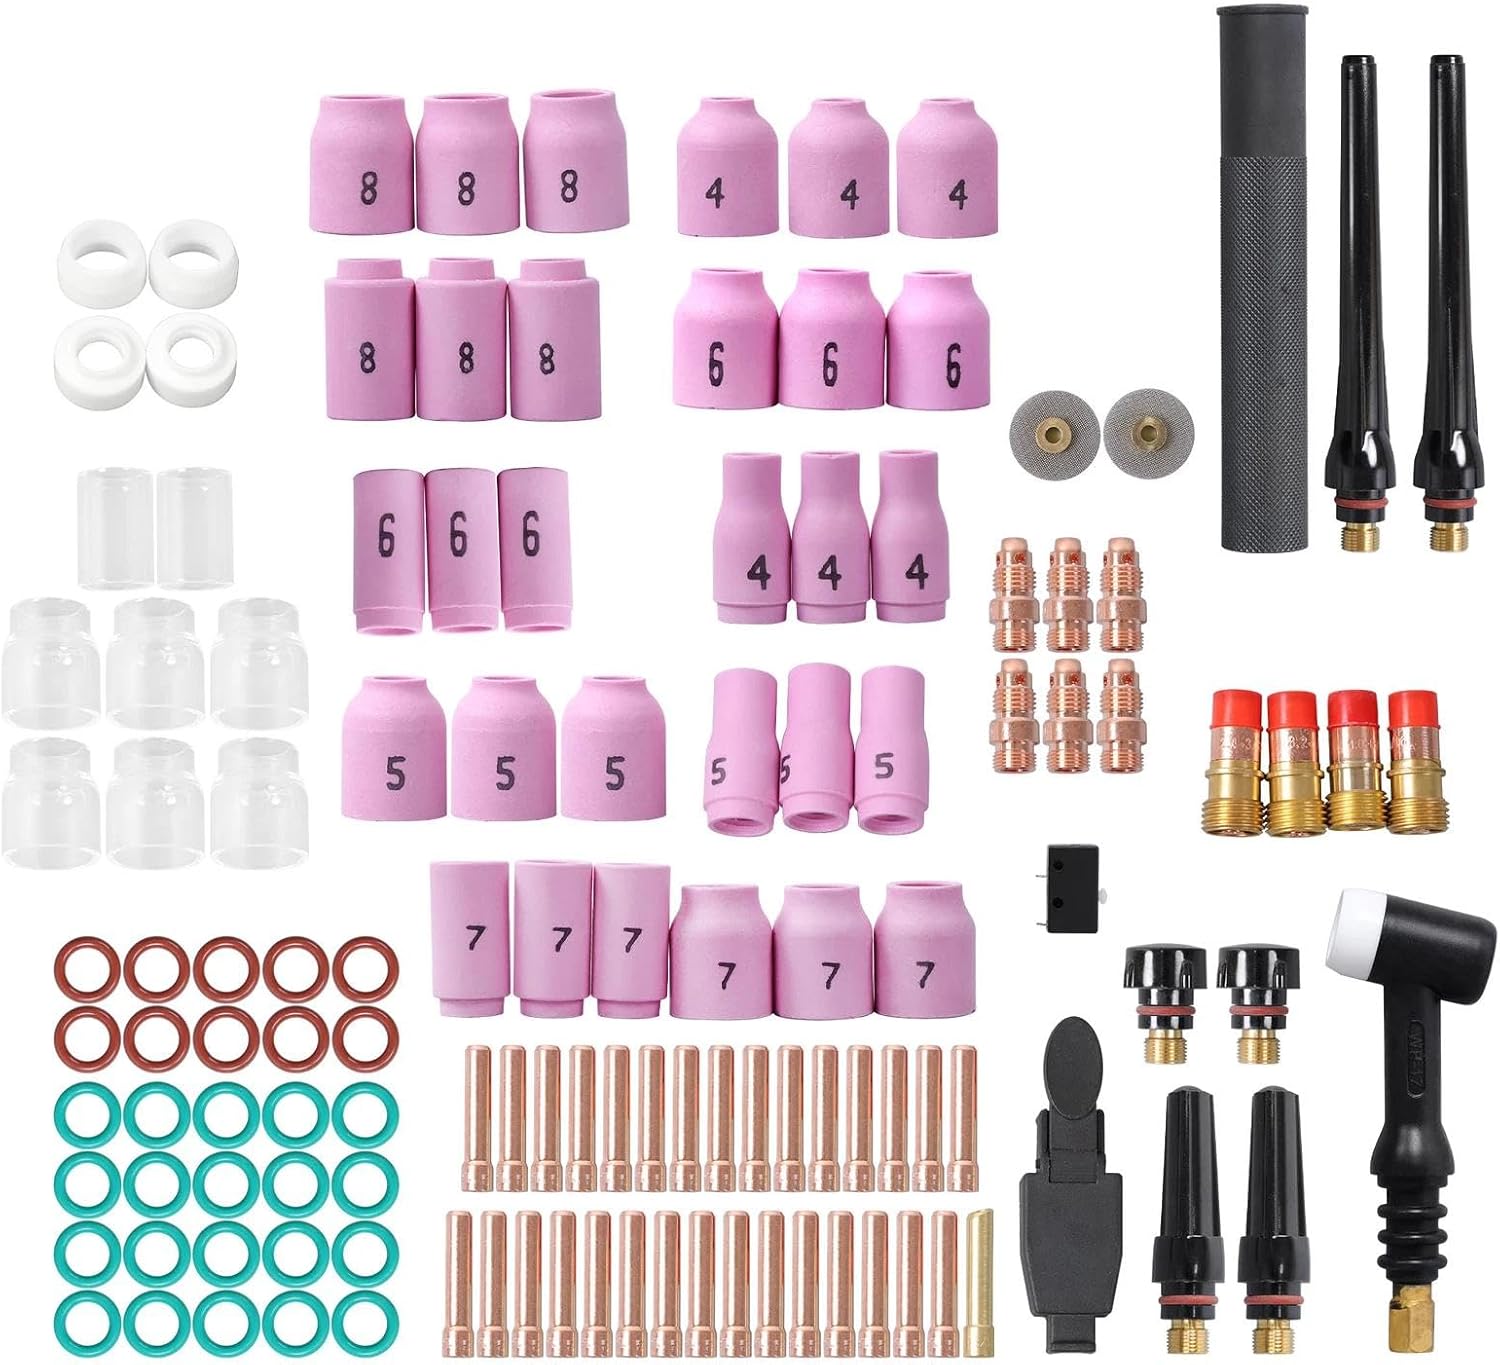
What’s Included
The STARTECWELD TIG 17F kit ships with:
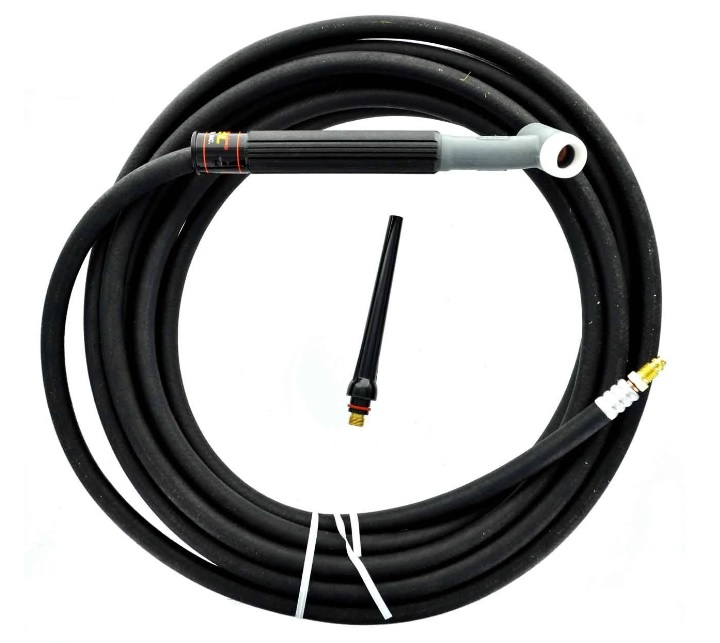
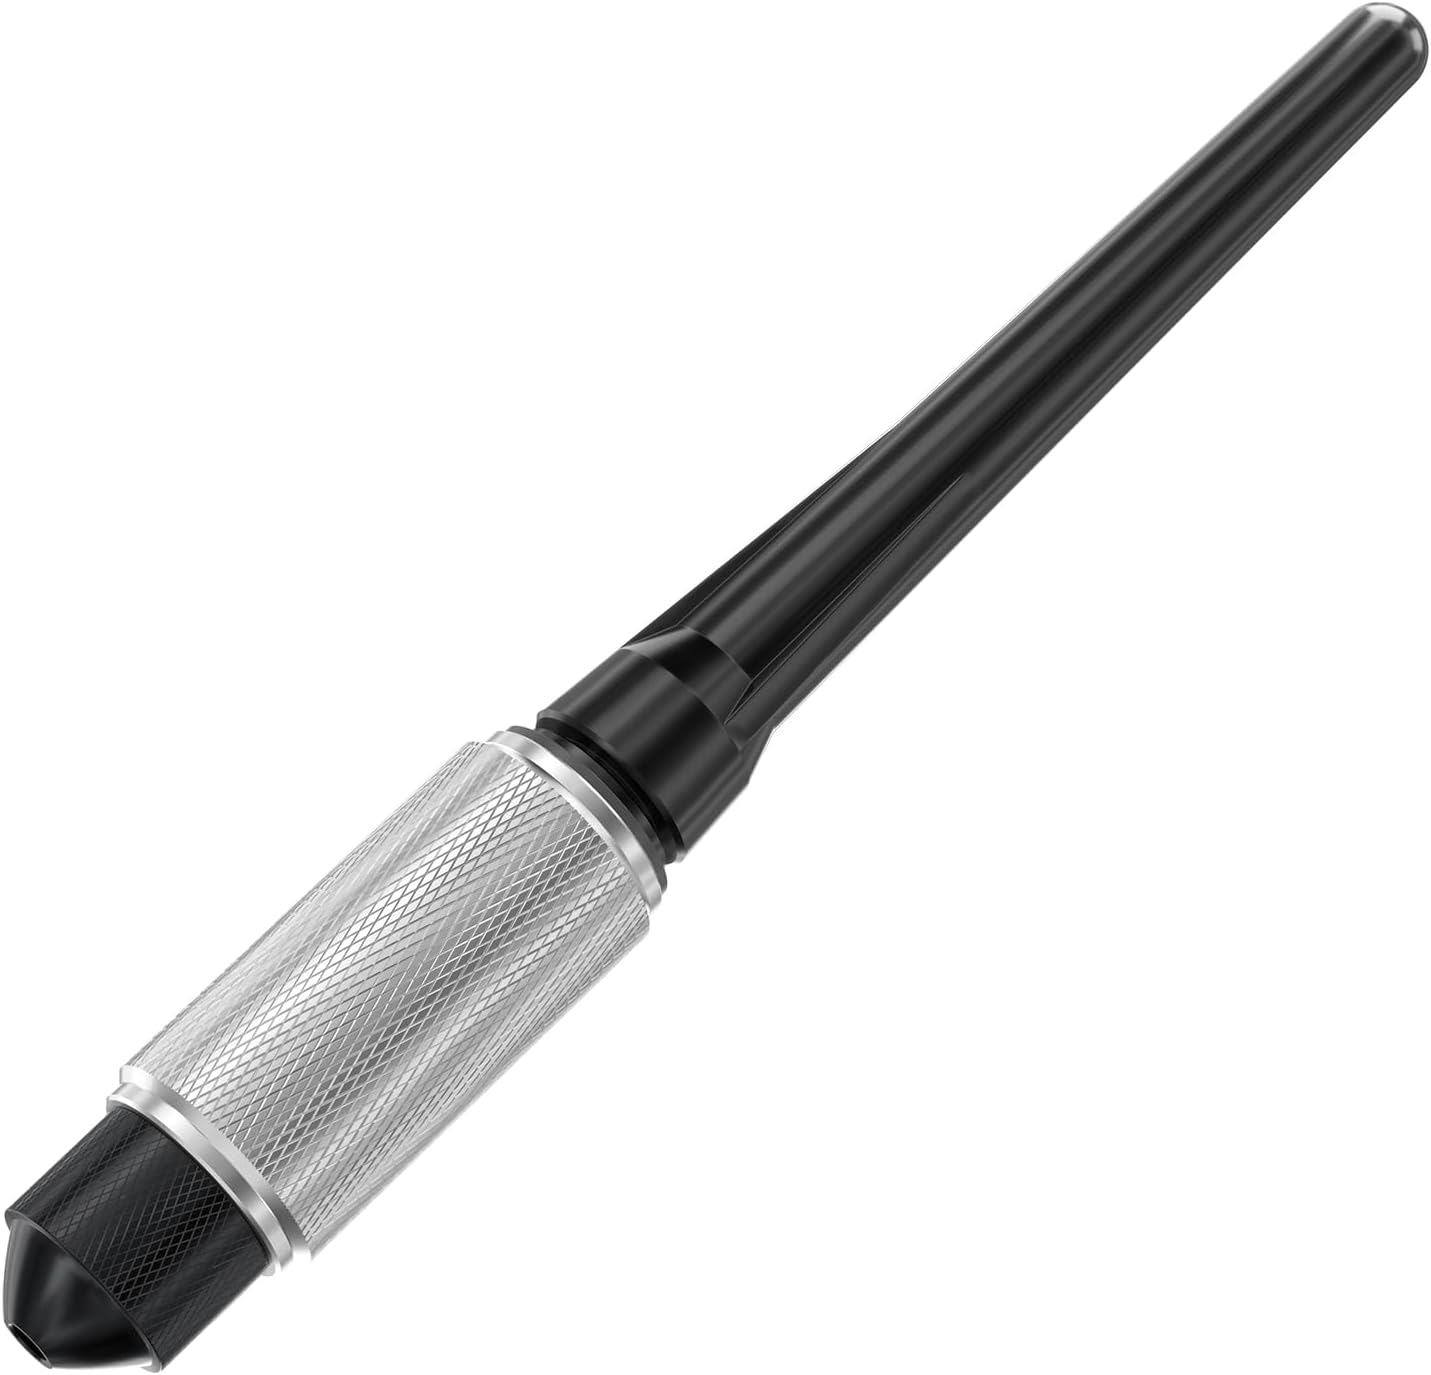
- TIG torch body (WP17F-25R-ST model)
- 25 ft power cable with rubber insulation
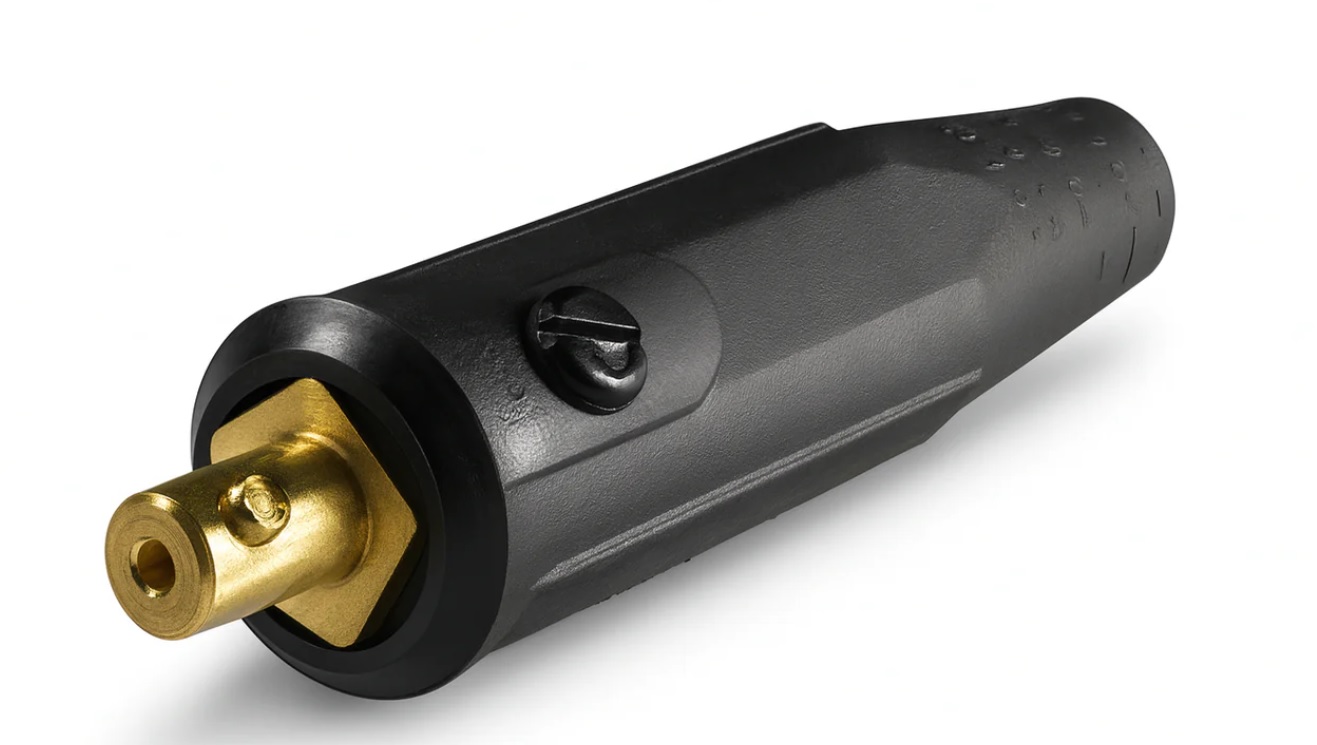
- 105Z57 connector/adapter for machine compatibility
- Flexible head design (60° articulation for tight spaces)
- Handle with ergonomic grip
Torch Specifications
| Specification | Value |
|---|---|
| Amperage Rating | 150 A |
| Cooling Method | Air-cooled |
| Cable Length | 25 ft |
| Head Type | Flexible |
| Connector | 105Z57 (Dinse) |
| Wire Size Compatibility | 10–25 mm² |
| Duty Cycle | Depends on machine; verify with your welder |
Performance & Use
The 150 amp rating handles aluminum, stainless steel, and mild steel in the 1/16″ to 3/16″ thickness range. The flexible head is a practical feature for welding inside corners, around tubing, or in confined spaces where a rigid torch would be awkward.
Air cooling is sufficient for intermittent to moderate duty cycles. If you’re running continuous high-amperage passes, monitor the torch for heat buildup; water-cooled alternatives exist for heavy production work.
Cable & Connector Notes
The 25 ft cable reduces hose clutter and eliminates the need for extension hoses in most shop setups. The 105Z57 connector is standard on many Hobart, Miller, and aftermarket machines, but verify your machine’s input before purchasing. Some machines use different connectors (e.g., Tweco, Stud, or proprietary fittings).
What to compare before you buy
- Machine compatibility: Confirm your welder accepts 105Z57 connectors; if not, you’ll need an adapter or different torch.
- Cable length: 25 ft is standard; if your machine is farther from the work area, consider extension hoses or a longer cable option.
- Amperage headroom: 150 A is mid-range; verify your machine can deliver this amperage and that your power supply is adequate.
- Cooling method: Air-cooled torches are lighter and cheaper but generate more heat than water-cooled alternatives; choose based on your duty cycle.
- Flex vs. rigid head: Flexible heads are convenient for tight spaces but slightly less rigid; rigid heads offer better control for precision work.
Comparable Amazon picks (optional)
- WeldingCity 150-amp WP-17FV TIG Torch with 25 ft Cable & Adapter — Similar spec, slightly different brand; verify ASIN before purchase.
- CK150 Air-Cooled TIG Torch Kit (12.5 ft, Flex Valve) — Shorter cable, established brand (CK Worldwide); higher price point.

- Tig Welding Torch WP17F 150Amp 25FT Cables Air Cooled, with 105Z57 Connector
- TIG 17F Series – 150 Amp – Air Cooled – TIG Torch Flexible Head
- 1-Piece 25 FT Cable with 105Z57 Cable Connector/Power Block
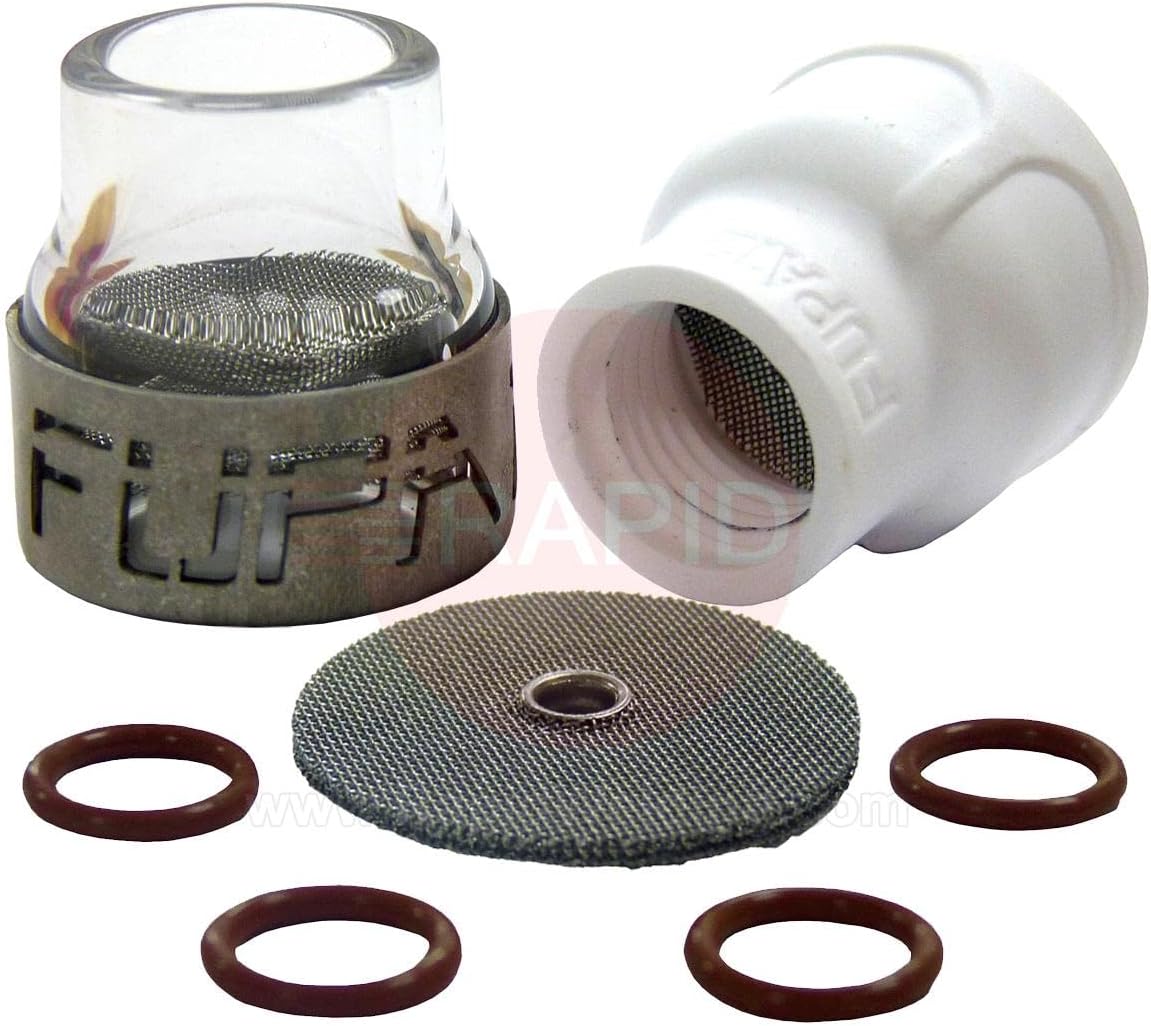
- Accessory Kit: Collet, Collet Body, Alumina Nozzle, Back Cap
- Heavy-Duty Nylon Cable Cover
Last update on 2026-04-08 / Affiliate links / Images from Amazon Product Advertising API
Safety Considerations
Always inspect the torch cable for cracks, burns, or exposed wire before use. Damaged cables can cause electrical hazards and poor arc quality. Keep the torch dry and store it away from moisture and extreme temperatures.
Ensure your machine is properly grounded and that all connectors are tight. Loose connections can cause arcing, overheating, and equipment damage.
Verdict
The STARTECWELD TIG 17F offers solid value for welders stepping up from 110V equipment or looking for a secondary torch. The flexible head and 25 ft cable are practical features, and the price is competitive. The main caveat: verify connector compatibility before ordering. If your machine uses a different connector type, you’ll need an adapter or a different torch.