Washington Alloy 7018 Electrode Review & Buying Guide
_Whether you’re fabricating heavy structural components or running critical repair welds in the field, the Washington Alloy 7018 welding electrode stands out as a dependable choice for Shielded Metal Arc Welding (SMAW). In this guide, we’ll take a hard look at what makes the 7018 from Washington Alloy—specifically ASIN=B071VYV1CC—a go-to for professionals and students alike._
—
Introduction
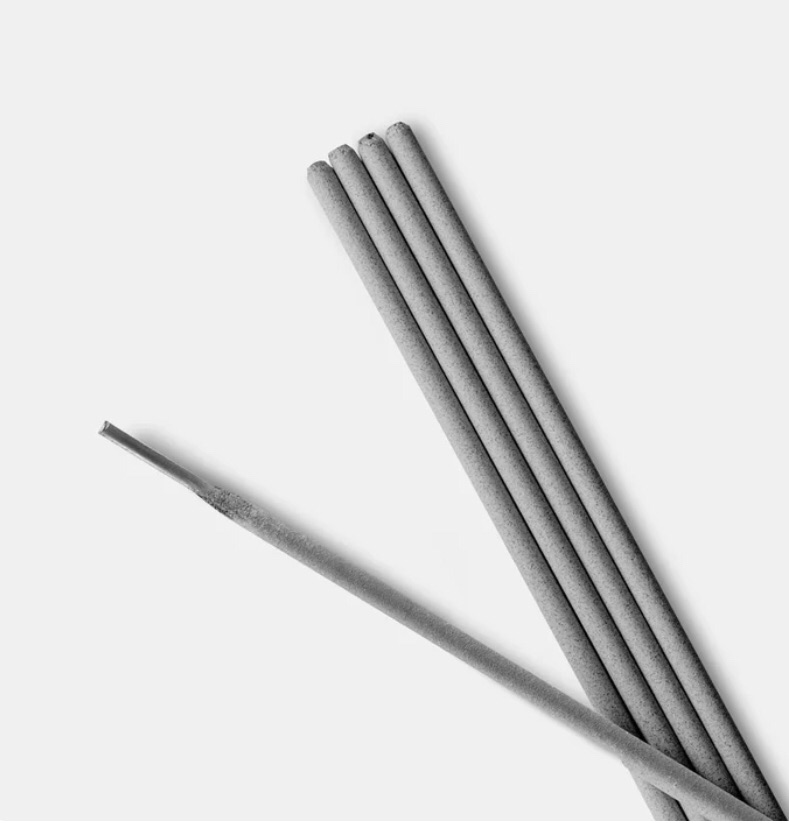
The Washington Alloy 7018 Electrode is a low-hydrogen, iron powder-coated arc welding rod designed for high-strength carbon and low-alloy steels. Offering superior crack resistance, excellent arc stability, and strong mechanical properties, it’s a staple for many structural welding applications.
This product is especially popular among:
– Certified welders working on bridges, buildings, and pipelines
– Fabricators engaged in load-bearing assemblies
– Engineering professionals overseeing critical welding specs
– Students and apprentices preparing for AWS qualification tests
Its role is clear: to provide solid, high-quality welds with excellent impact strength—especially in vertical or overhead positions where performance matters most.
—
Types / Variants / Models
The Washington Alloy 7018 comes in various sizes and packaging options, each suited for different project scales and welding machines.
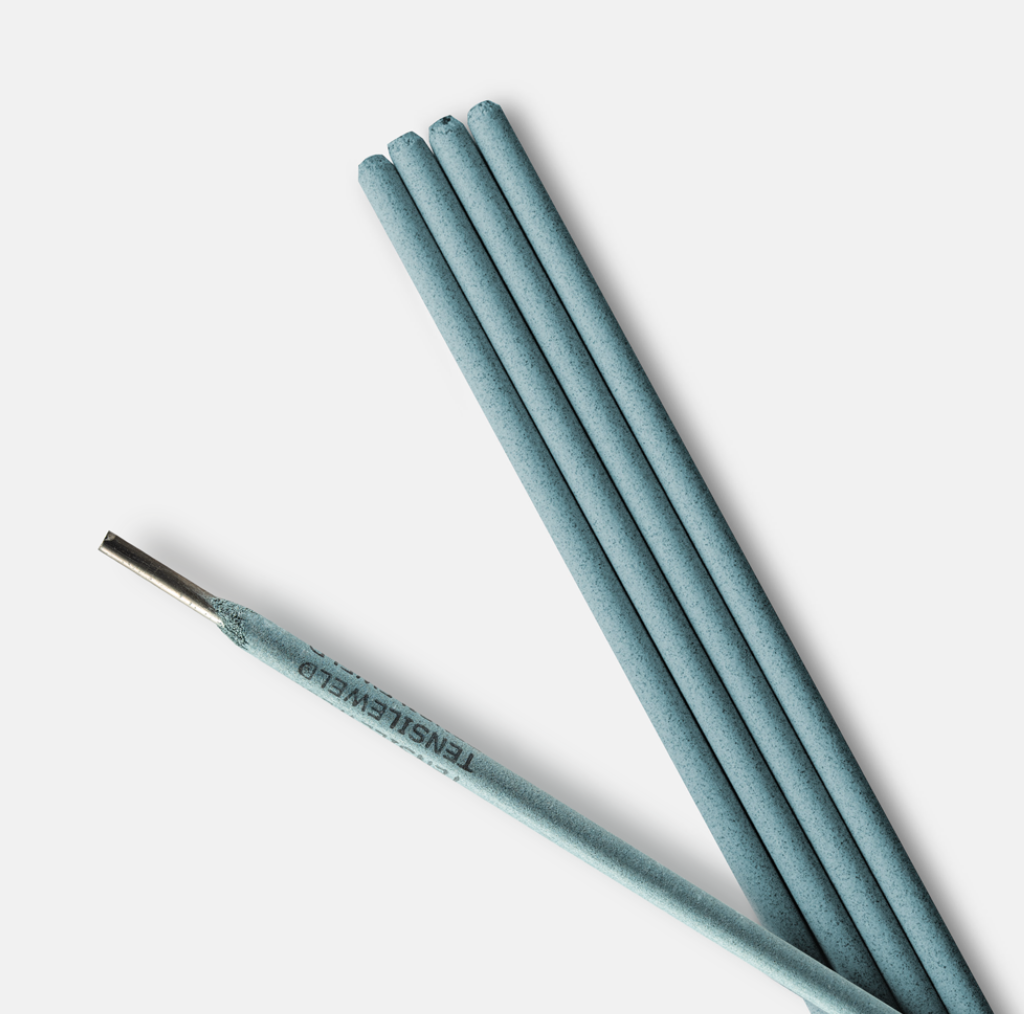
Common Rod Diameters:
– 3/32” (2.4mm) – Ideal for sheet metal and light-gauge work.
– 1/8” (3.2mm) – Most versatile; common in both shop and field use.
– 5/32” (4.0mm) – Suitable for thicker plate welding and structural joints.
Package Quantities:
– 1-lb Sample Packs – Great for testing or small repair jobs.
– 5-lb, 10-lb, and 60-lb Packs – Efficient for high-volume professional use.
Depending on your amperage capacity and material thickness, you should choose the appropriate rod size. Larger electrodes require higher travel speeds and amperage settings but deliver deeper weld penetration.
—
Key Features or Specifications
Here are the core specs and what they mean for real-world users:
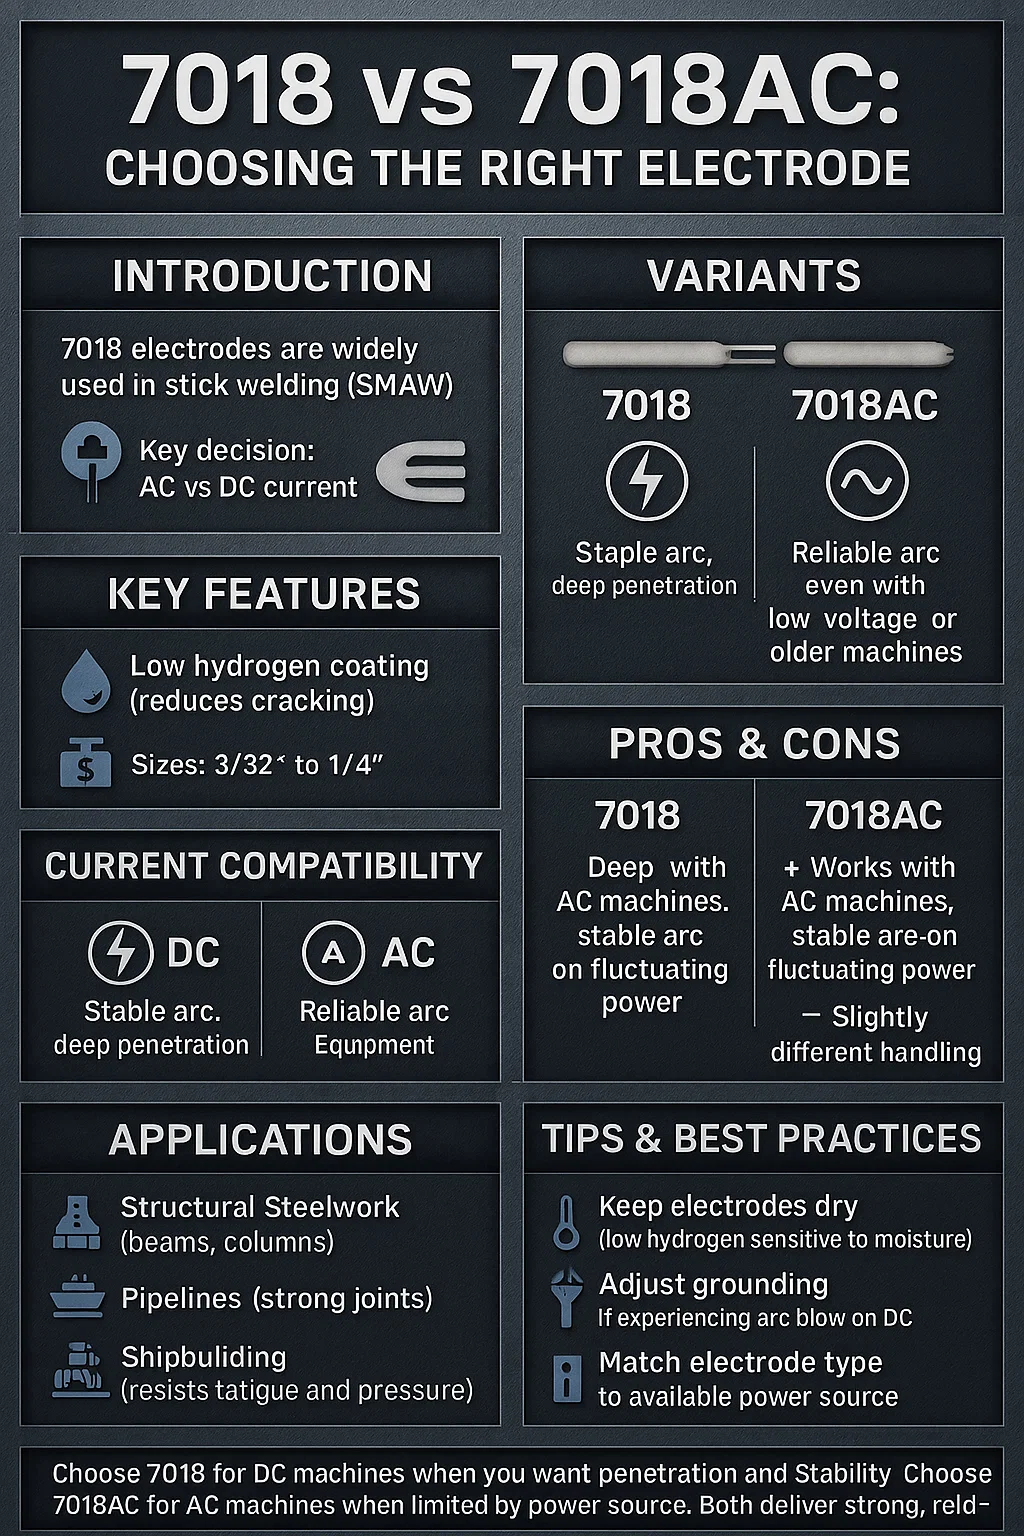
– Classification: AWS A5.1 E7018 — guarantees low-hydrogen properties for high-strength welds
– Diameter (ASIN=B071VYV1CC): 1/8″ – perfect balance of deposition rate and control
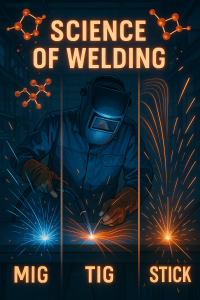
– Compatible Processes: SMAW (Shielded Metal Arc Welding)
– Current Type: AC or DCEP (Direct Current Electrode Positive)
– Tensile Strength: 70,000 psi — ensures high-load bearing capacity
– Impact Toughness: Charpy V-Notch >20 ft-lbs @ -20°F — maintains ductility in cold environments
– Coating Type: Low Hydrogen Iron Powder — reduces risk of hydrogen-induced cracking
– Certifications: Meets AWS, ASME, and often used in mil-spec and DOT environments
Why It Matters:
The low hydrogen content makes it perfect for welding high-strength steels, while its iron powder flux enhances deposit rates, making it a productivity booster in larger operations.
—
Usage & Compatibility
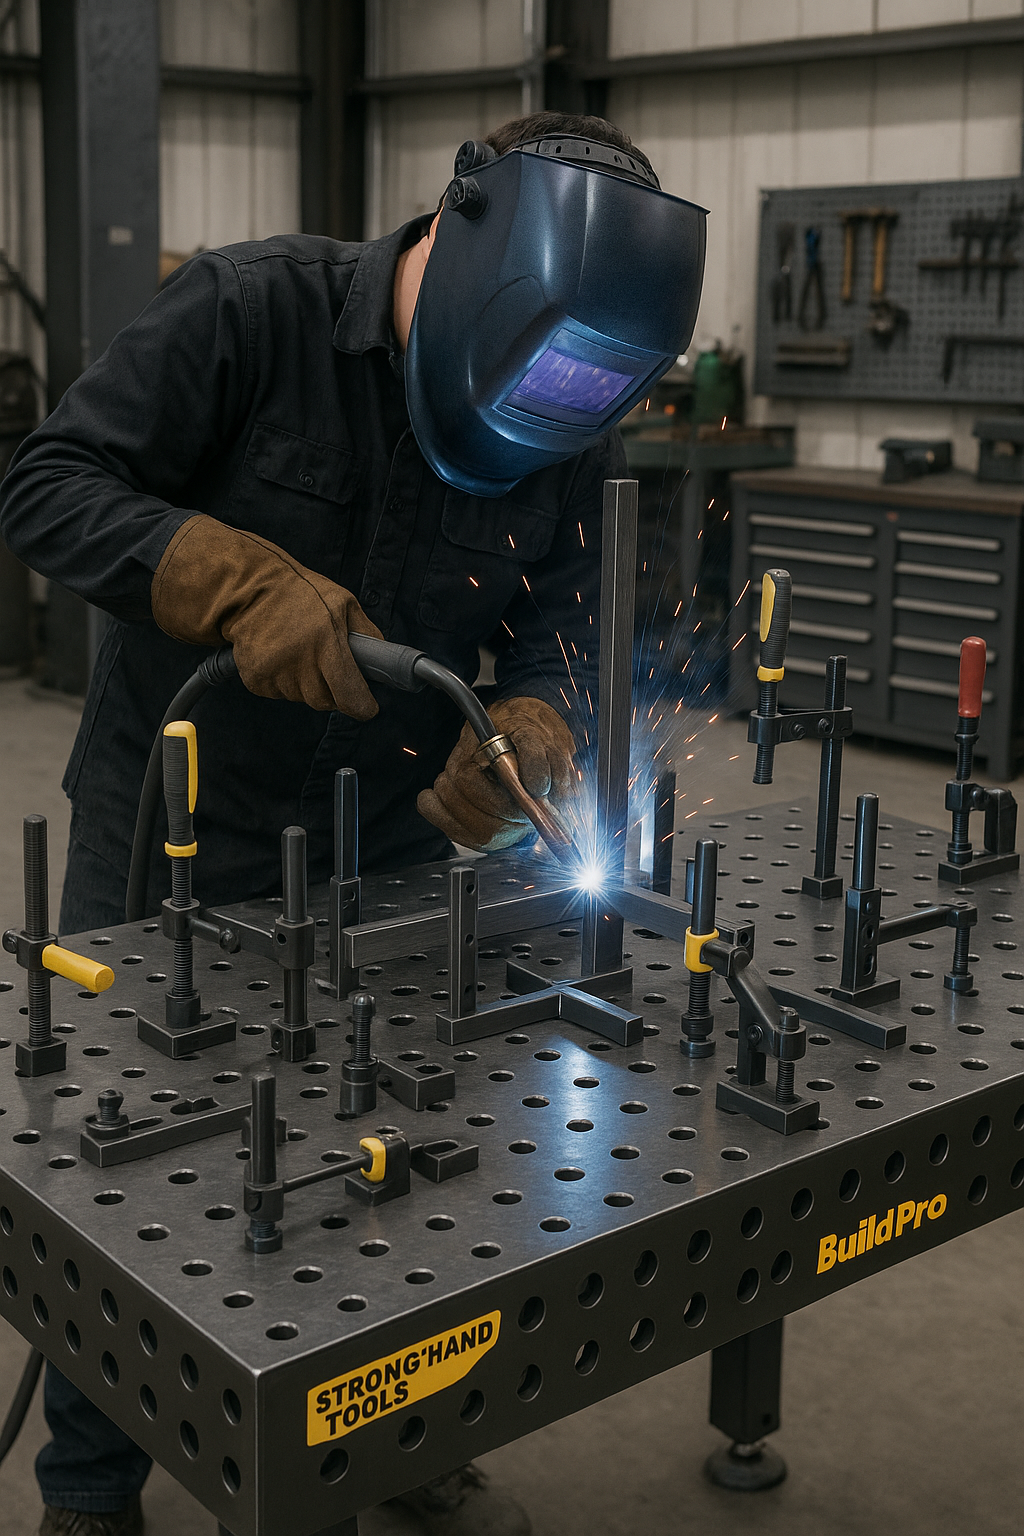
The 7018 series from Washington Alloy is used exclusively with SMAW, commonly called stick welding. Here’s what you need to know for proper usage:
Compatible Welding Machines:
– AC or DC stick welders with adjustable amperage control
– Inverters and transformer-based SMAW machines
– Machines with hot start or arc force features—for better arc initiation
Tips for Optimal Use:
– Maintain amperage between 90–150A depending on rod size and material thickness
– Use DC+ (DCEP) for smoother arc and deeper penetration
– Preheat thicker base metals if welding cold or high-carbon steels
Pros:
– Easy arc starts
– Clean, stable arc
– Minimal spatter
– Smooth bead appearance
Cons:
– Requires dry storage or rod ovens for maximum performance
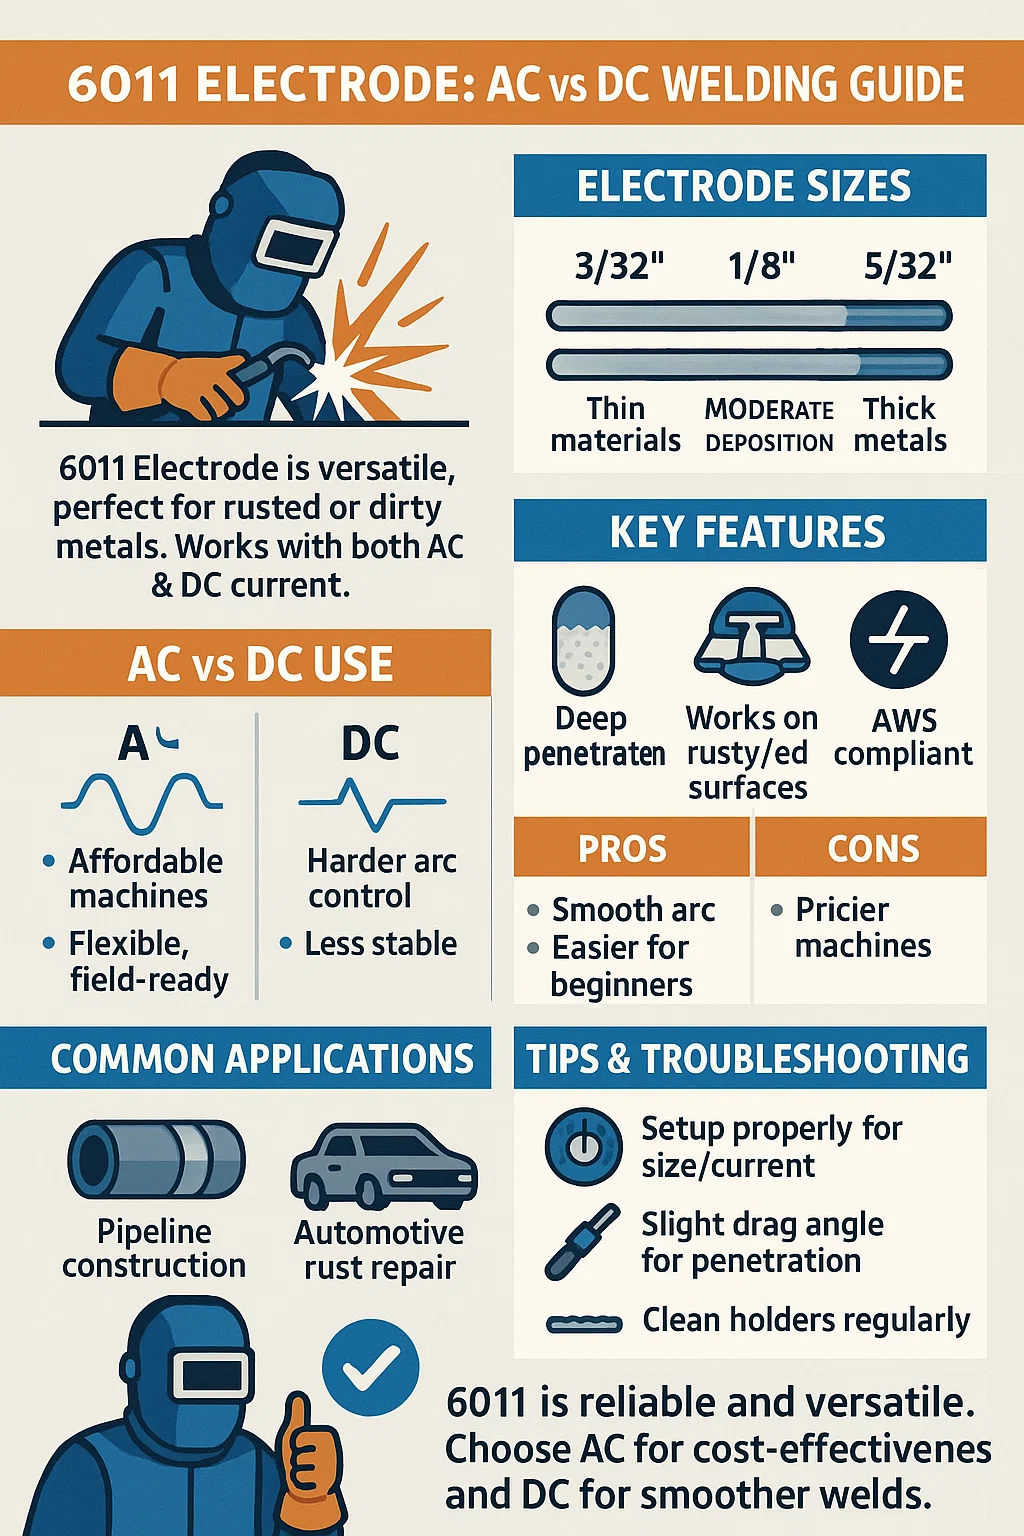
– Less effective on rusty or galvanized materials compared to 6010 rods
—
Common Applications
The Washington Alloy 7018 is frequently selected in environments demanding structural integrity and reliable mechanical performance.
Typical Use Cases Include:
– Structural steel fabrication (bridges, buildings)
– Pipeline welding
– Shipbuilding and marine welding
– Heavy equipment repair
– Pressure vessel fabrication
– Steel stairs and platform installations
Its strong mechanical bonding, especially in vertical and overhead positions, makes it ideal for multi-pass welds in critical joints that experience dynamic loading.
—
Tips & Best Practices
To get the most from your Washington Alloy 7018 rods, follow these practical tips:
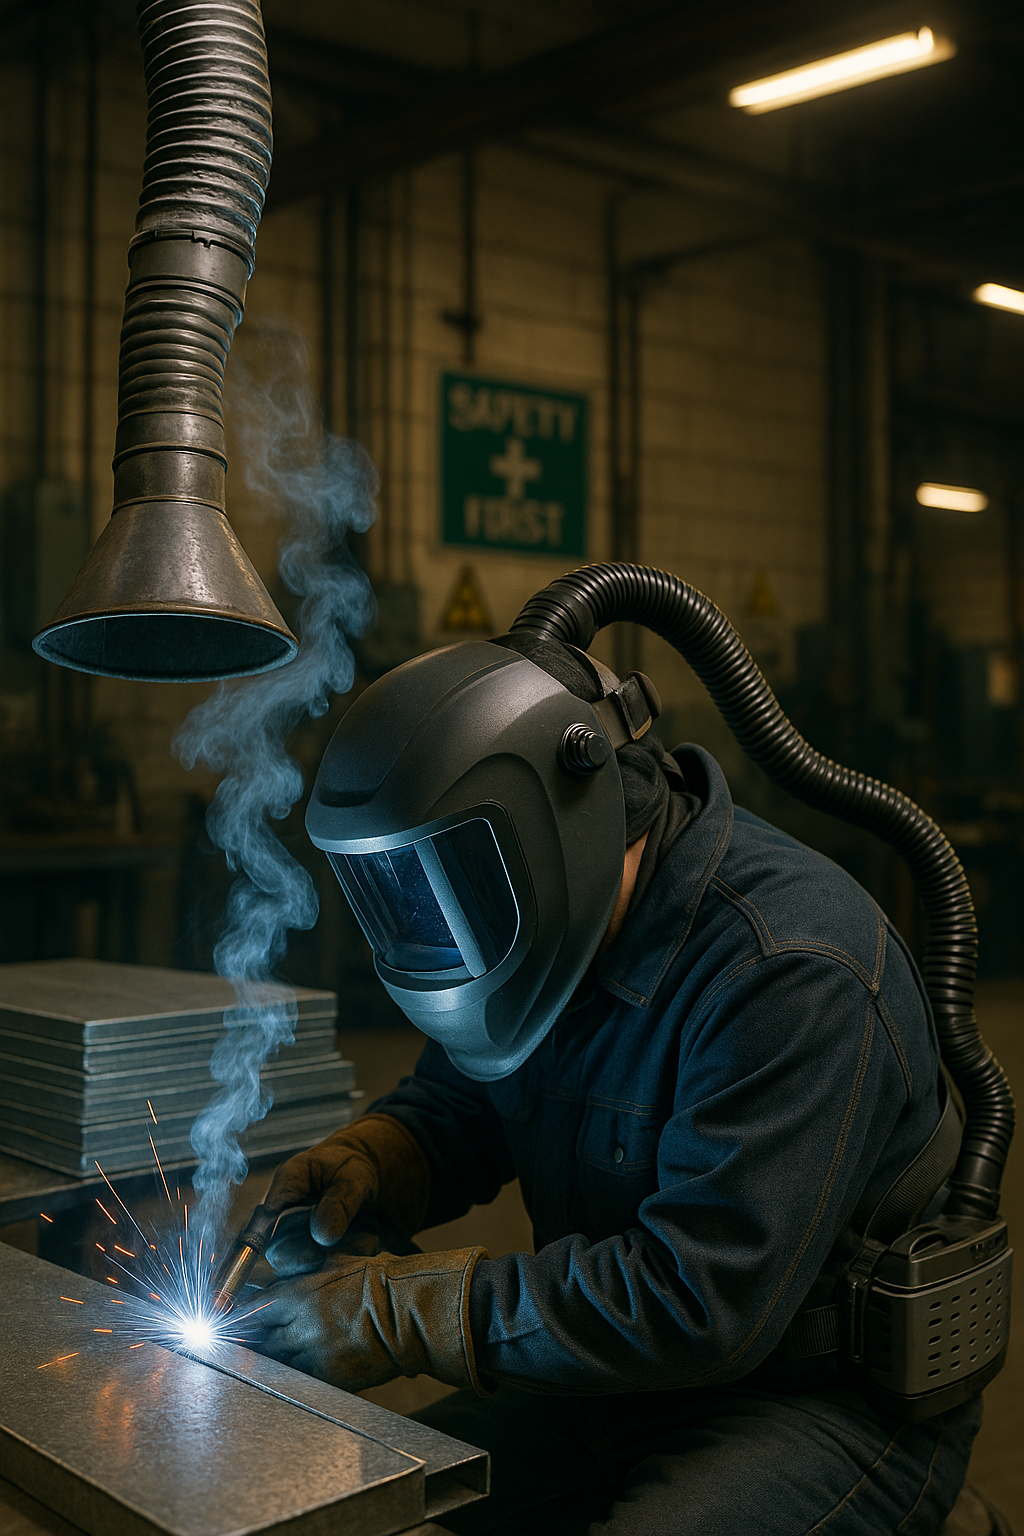
Storage & Handling:
– Store in dry, airtight packaging or rod oven at 250°F
– Avoid using rods exposed to humidity—this can introduce porosity and cracking
Welding Best Practices:
– Maintain steady arc length—too short causes sticking; too long reduces arc stability
– Use stringer beads instead of weaving in vertical-up passes for stronger penetration
– Clean the base metal well to ensure clean fusion
Troubleshooting:
– Porosity or cracking? Rod may be moisture-contaminated
– Hard arc starts? Try switching polarity or slightly increasing amperage
—
Conclusion
The Washington Alloy 7018 electrode—especially the standard 1/8″ model (ASIN=B071VYV1CC)—delivers consistent, durable welds for demanding applications. Its combination of low-hydrogen flux, compatibility with both AC and DC machines, and structural-grade tensile strength makes it indispensable for modern welders.
Whether you’re welding in the field, at a job site, or prepping for your AWS D1.1 test, this is a stick electrode you can trust.
—
Affiliate Call to Action
Check the latest price, ratings, and customer reviews on Amazon:

- Yield Strength (PSI): 72,000
- Tensile Strength (PSI): 86,000
- Elongation in 2″ (%): 31
- Charpy V-Notch at -20 degrees F (ft. lbs): 65
Last update on 2026-03-06 / Affiliate links / Images from Amazon Product Advertising API
—
Note for Readers:
This post may contain affiliate links. If you purchase through them, we may earn a small commission at no cost to you. Thank you for supporting our site.

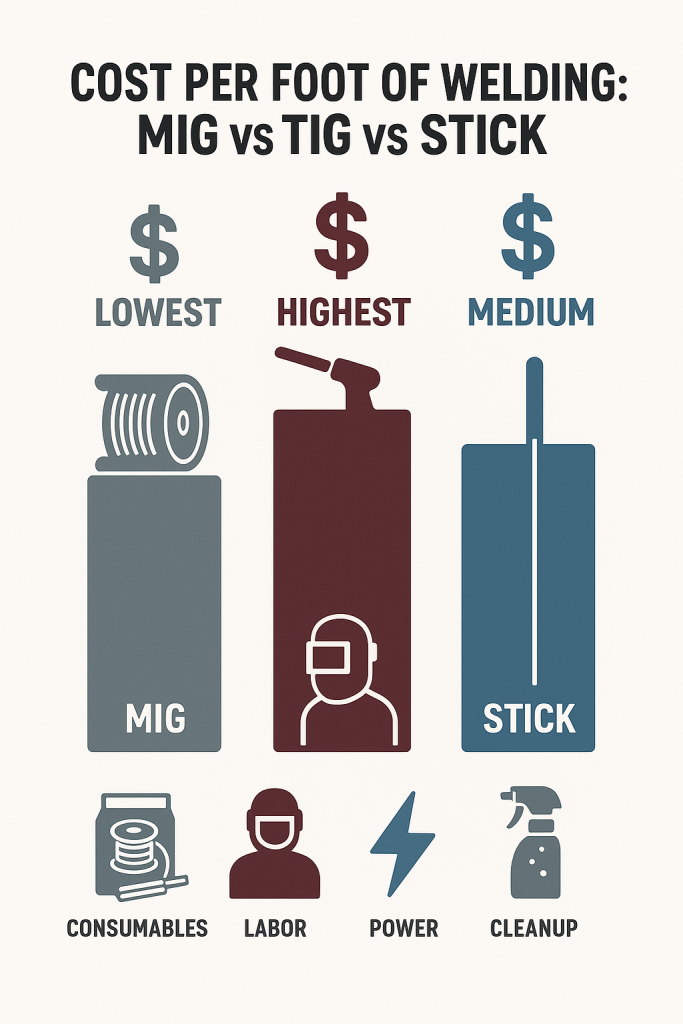
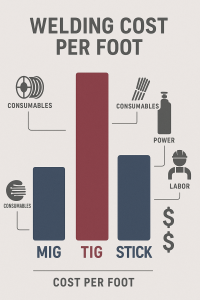
 MIG Welding (GMAW) – High Speed, Low Cost
 Assumptions:
 MIG Welding Cost Example
 $0.89/ft