Note for Readers: This post may contain affiliate links. If you purchase through them, we may earn a small commission at no cost to you. Thank you for supporting our site.
Introduction
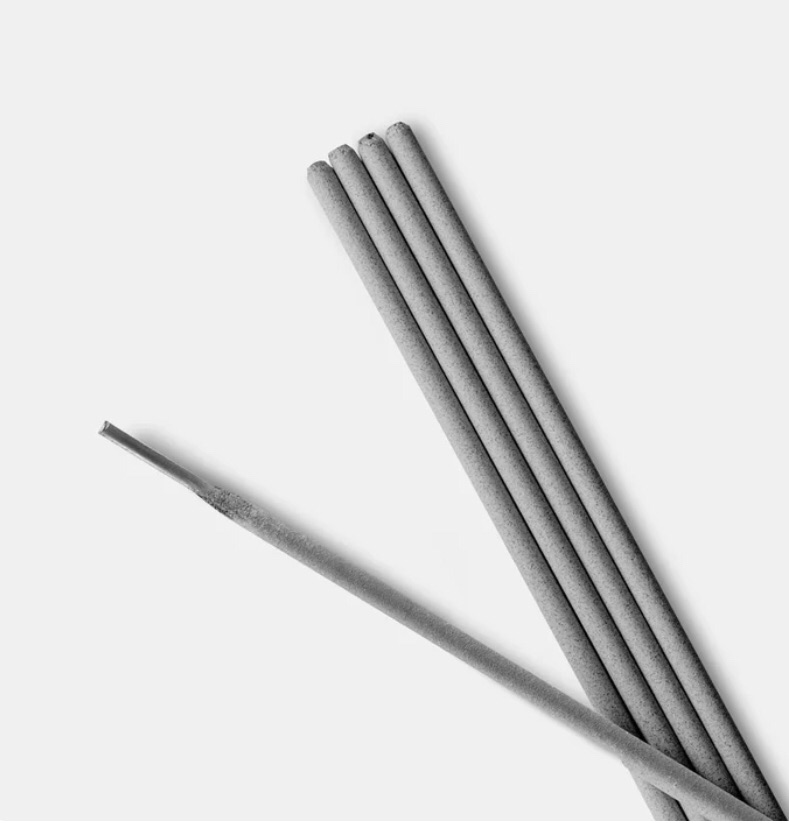
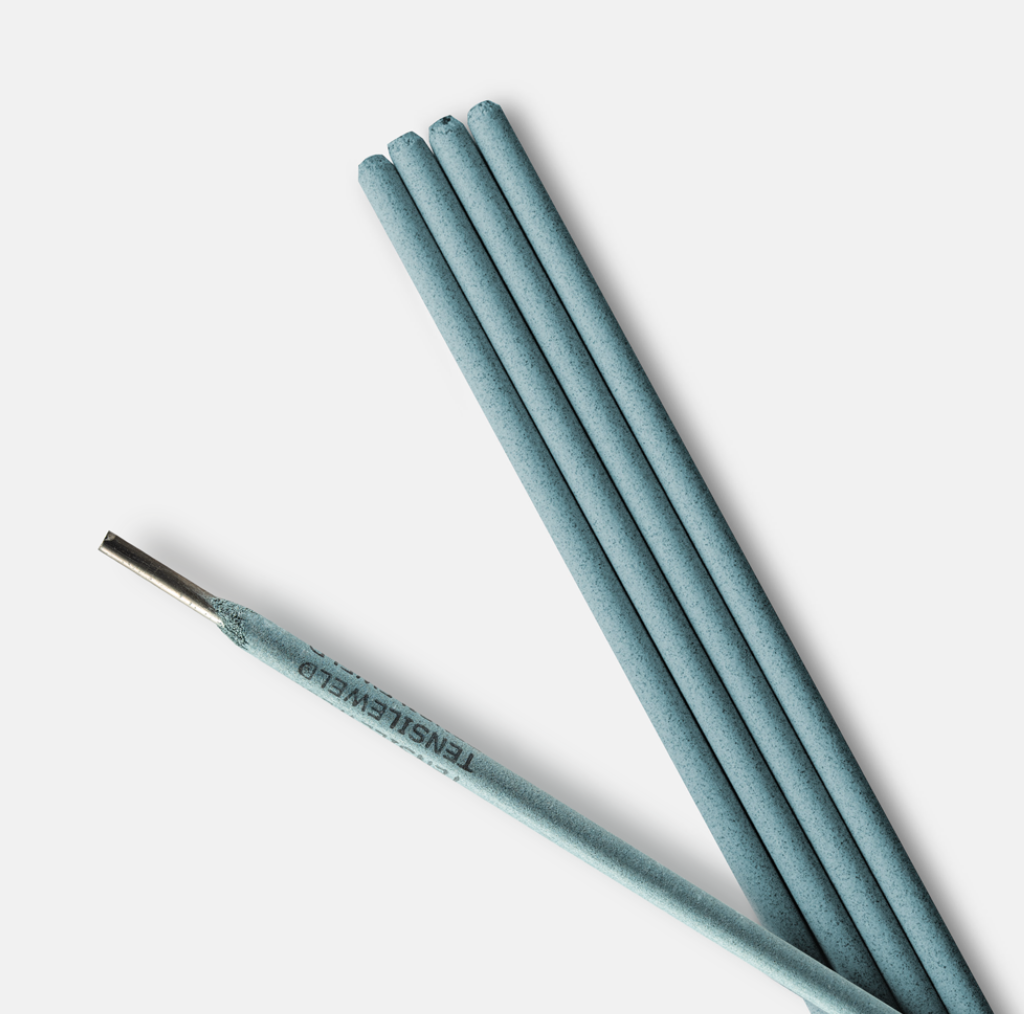
The Washington Alloy 7014 Stick Electrode is a high-deposition, iron powder-coated rod designed for shielded metal arc welding (SMAW). Known for its smooth arc, minimal spatter, and excellent bead appearance, E7014 is widely used in structural and general fabrication.
This electrode conforms to AWS A5.1: E7014 specifications, with a tensile strength rating of 70,000 psi, making it suitable for a wide range of light-to-heavy fabrication tasks. Its ease of use makes it popular with both professionals and welding students.
Who uses 7014 most often?
-
Industrial repair welders working on structural steel and machinery
-
Fabricators handling mid-strength steel components
-
Apprentices & students learning flat and horizontal techniques
-
Maintenance teams in construction and manufacturing
Types / Variants / Sizes
Washington Alloy 7014 electrodes are available in common diameters to match different amperages and material thicknesses:
-
3/32” (2.4 mm) – For thin materials and light fabrication
-
1/8” (3.2 mm) – Most popular all-around size for shop and field work
-
5/32” (4.0 mm) – Higher deposition for heavier applications like machinery or frames
-
3/16” (4.8 mm) – Used where large amounts of weld metal are needed quickly
Each size has specific amperage ranges, which should be followed for best arc stability and bead quality.
Key Features and Specifications
-
AWS Classification: E7014 — 70,000 psi tensile strength
-
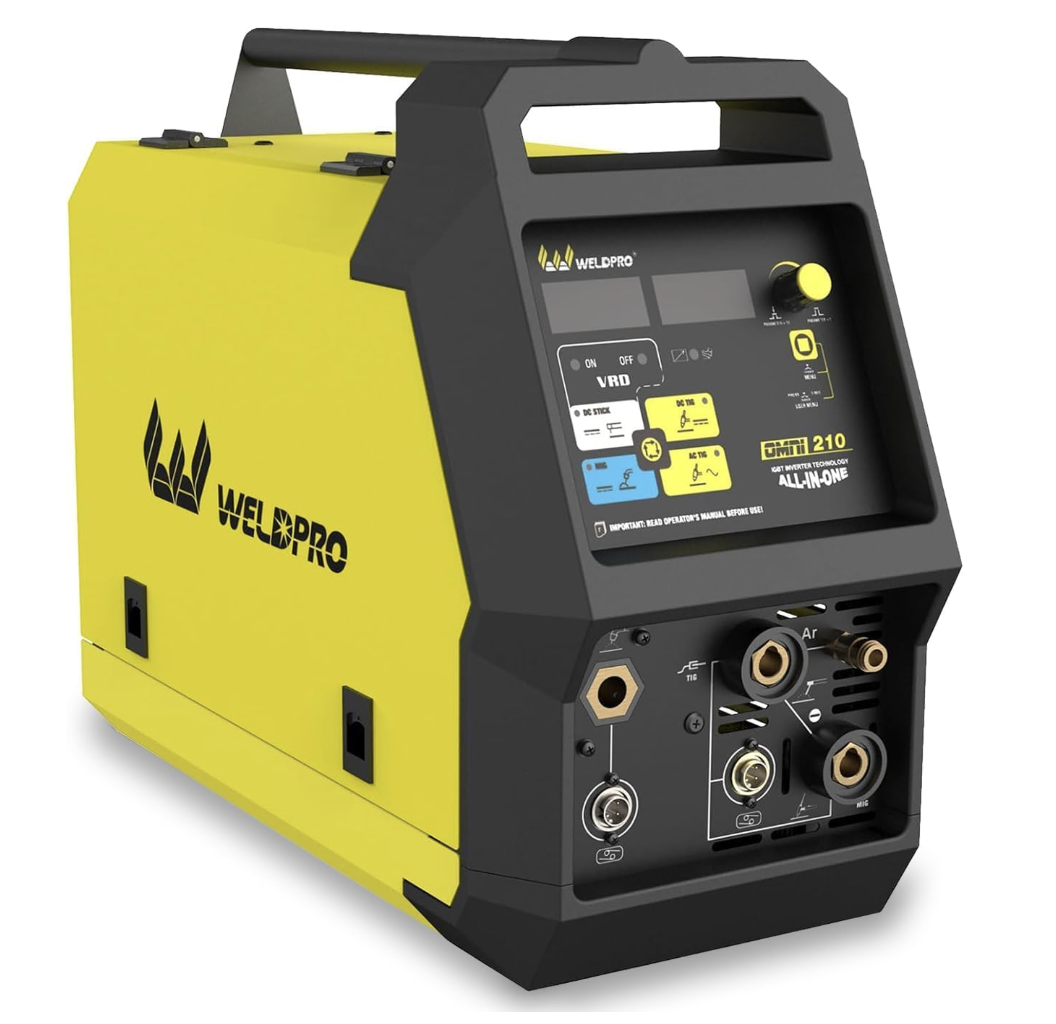
Polarity: Runs on AC, DCEN, or DCEP — compatible with virtually all stick welders
-
Iron Powder Coating: Boosts deposition rate, producing wide, flat beads
-
Welding Positions: Flat and horizontal fillet (not suited for vertical or overhead)
-
Coating Type: Titania iron powder — improves arc stability, slag release, and reduces spatter
-
Typical Amperage Ranges:
-
3/32” → 90–130 amps
-
1/8” → 110–165 amps
-
5/32” → 150–210 amps
Certifications
-
Meets AWS A5.1 E7014 classification
-
Often accepted under ANSI/ASME code for mild steel work (check project specs for critical joints)
-
CE-rated for consistency in international markets
Usage & Compatibility
The Washington Alloy 7014 is designed for SMAW stick welding and requires no external shielding gas.
Compatible With:
-
AC or DC welding machines (transformer or inverter)
-
Standard electrode holders
-
Work on clean to lightly rusted or scaled mild steel surfaces
Pros:
Cons:
Common Applications
Because of its smooth bead appearance and high deposition rate, Washington Alloy 7014 is a go-to rod for:
-
Structural fabrication – beams, plates, frames, and trusses
-
General shop welding – trailers, tanks, brackets, and equipment
-
Maintenance & repair – farm implements, machinery, and worn steel components
-
Construction & field welding – non-critical reinforcement and patch jobs
7014 excels where appearance, speed, and ease of use matter more than deep penetration.
Tips & Best Practices
Setup:
-
Polarity: AC or DC (DCEP recommended for better penetration)
-
Storage: Keep rods dry; if moisture is absorbed, recondition at ~300°F for 1 hour
-
Prep: Remove oil/grease; light rust or scale is acceptable
Technique:
-
Drag or use a light weave in fillet welds
-
Maintain a short arc length for best stability and low spatter
-
Use slightly higher amps than 6013 for proper bead wetting
Troubleshooting:
-
Porosity or wormholes → check for contamination or long arc length
-
Slag inclusions → adjust travel angle and maintain consistent speed
-
Rod sticking → raise amperage slightly or reduce arc force setting (on inverters)
Conclusion
The Washington Alloy 7014 Stick Electrode is a reliable, user-friendly rod for flat and horizontal mild steel welding. With its iron powder coating, smooth bead profile, and easy slag removal, it’s an excellent choice for welders who want high deposition rates without sacrificing appearance.
Best suited for structural steel, farm repairs, shop projects, and training programs, Washington Alloy 7014 is a staple electrode that combines productivity with ease of use.
No products found.
Check current price, size availability, and reviews on Amazon.
The Washington Alloy 7014 Stick Electrode is a high-deposition, iron powder-coated welding rod designed for shielded metal arc welding (SMAW) applications. This electrode is particularly known for delivering strong, clean welds with minimal spatter and excellent arc stability. It conforms to AWS A5.1/A5.1M: E7014 standards, making it a trusted selection across a range of light and heavy fabrication jobs.
This type of electrode is used extensively by:
- Professional welders for industrial repair work and structural steel projects
- Metal fabricators handling mid-range strength steel components
- Welding students and apprentices are learning flat and horizontal welding techniques
- Engineers and maintenance personnel in manufacturing and construction settings
Washington Alloy’s 7014 offers ease-of-use and versatility that make it ideal for both field and shop welding environments.
Types / Variants / Models
Washington Alloy 7014 is principally consistent in terms of core composition, but it is available in a variety of diameter sizes, each intended for different welding requirements and amperage ranges. These variations allow welders to tailor their tool selection for the thickness and position of the workpiece.
Common Size Variants:
- 3/32” (2.4 mm) – For light fabrication, sheet metal, and thinner materials
- 1/8” (3.2 mm) – A general-purpose size for structural steels and machine parts
- 5/32” (4.0 mm) – High-deposition use in heavy-duty applications like tractor parts, steel frames
- 3/16” (4.8 mm) – For highly demanding builds requiring deeper penetration and heavier welds
Each size has specific amperage recommendations, which must be observed to ensure arc stability and bead quality.
Key Features or Specifications
Here’s a technical breakdown of the most essential specifications that define the performance of the Washington Alloy 7014 Stick Electrode:
- AWS Classification: E7014 – indicates a tensile strength of 70,000 psi, suitable for structural steel applications
- Polarity: AC, DCEN or DCEP – Compatible with all current types, adding flexibility for different welding machines
- Iron Powder Content: High – Enhances deposition rate and results in a smooth, flat bead appearance
- Welding Positions: 1G, 2F (Flat & Horizontal only) – Not designed for vertical or overhead welding
- Coating Type: Titania Iron Powder – Improves slag control, arc stability, and minimal spatter
- Amperage Range:
- 3/32”: 90–130 amps
- 1/8”: 110–165 amps
- 5/32”: 150–210 amps
- Certifications:
- AWS A5.1 E7014
- Meets relevant ANSI and ASME code standards for structural and maintenance welding
- CE-rated for product consistency in international applications
These technical specifications translate into tangible real-world benefits—faster travel speed, smoother beads, and less cleanup.
Usage & Compatibility
The Washington Alloy 7014 Stick Electrode is specifically optimized for Shielded Metal Arc Welding (SMAW). Unlike electrodes used in GMAW (MIG) or GTAW (TIG), E7014 does not require shielding gas, relying instead on its flux coating.
Compatible Equipment:
- AC or DC stick welding machines
- Transformer or inverter-type welding power sources
- Electrode holders suitable for high-duty cycle operations
Pros:
- Easy slag removal
- Clean arc start and restart
- Suitable for rusty or mill-scaled steel surfaces
Cons:
- Not suitable for vertical or overhead welds
- Moderate penetration – not ideal for thick cross-sections without beveling
Welders appreciate its low learning curve, making it a popular electrode for vocational programs and field repair work alike.
Common Applications
Washington Alloy 7014 excels in mild steel welding projects and finds frequent use in sectors where time efficiency and bead appearance are crucial:
- Structural steelwork – Beams, trusses, plates
- General fabrication – Tanks, trailers, farm implements
- Maintenance & repair – Machinery rebuilds, worn parts build-up
- Light manufacturing – Auto body, brackets, frames
- Construction equipment – Reinforcements and patching in non-critical areas
Its high-rate deposition efficiency makes it ideal for large weldments that benefit from faster welding speeds with less downtime for rod changes or slag clearing.
Tips & Best Practices
Here’s how to get the best performance when working with Washington Alloy 7014:
Setup:
- Polarity: AC or DC (electrode positive recommended for deeper penetration)
- Dry Electrode Storage: Keep rods dry; if exposed to moisture, recondition at 300°F for 1 hour
- Workpiece Prep: Clean off oil/grease; light rust is acceptable due to the electrode’s forgiving nature
Usage Tips:
- Use a drag or light weave technique on flat or fillet welds
- Maintain short arc length to reduce spatter and ensure arc stability
- Use slightly higher amperage compared to E6013 for optimal melt characteristics
Troubleshooting:
- Porosity or worm tracking? Check for contamination or excessive arc length
- Slag inclusion? Adjust travel angle and maintain uniform speed
- Rod sticking? Lower arc force setting (if using an inverter), or up amperage slightly for thick sections
Conclusion
The Washington Alloy 7014 Stick Electrode is a solid performer in flat and horizontal stick welding applications—offering high deposition rates, excellent bead aesthetics, and user-friendly handling. Its compatibility with AC and DC currents and its ability to work over rusty or scaled surfaces without gas shielding make it a valuable tool in any welder’s inventory.
This electrode is ideal for fabricators, welders-in-training, maintenance crews, and small-shop professionals needing an efficient, reliable rod for mild steel work.
Last update on 2026-03-06 / Affiliate links / Images from Amazon Product Advertising API
Last update on 2026-03-06 / Affiliate links / Images from Amazon Product Advertising API
Last update on 2026-03-06 / Affiliate links / Images from Amazon Product Advertising API