Category: Cutting Products

  • Choosing Cutting Products for Shop Fabrication

    Choosing Cutting Products for Shop Fabrication

    Arc Air Gouging Rod Selection

    Shop fabrication depends on matching the cutting method to the job. The wrong consumable or support tool can slow work, increase rework, and create poor edge quality. When evaluating cutting products for metal fabrication, start with the material type, thickness, cut quality required, and whether the process will be used for straight cuts, beveling, gouging, or cleanup.

    For many shops, the main decision is not whether a tool can cut metal, but whether it cuts the specific joint or part efficiently and consistently. That means checking consumables, torch compatibility, current range, electrode life, and the support items that keep the process stable. If the setup is unclear, verify the tool and consumable match before production starts.

    Key Takeaways

    • Choose cutting products based on process fit: plasma, carbon arc gouging, oxy-fuel, or related shop methods.
    • Check consumable wear before blaming power source performance.
    • Verify torch, rod, electrode, and nozzle compatibility before use.
    • Use support tools and inspection steps to control edge quality and reduce downtime.
    • When technical details are not confirmed, mark them as Unknown (Verify) and check the source documentation.

    What to Compare in Cutting Products

    For fabrication shops, the practical comparison points are consistent. First, identify the cut type. Thin sheet, plate cutting, bevel prep, slotting, gouging, and severing all place different demands on the tool. Second, check the duty cycle and operating environment. A bench-cutting setup may need different consumables than a field repair job. Third, confirm the wear part path. If you cannot source the right nozzle, electrode, or rod, the whole system becomes harder to support.

    Also compare maintenance burden. Some cutting methods are forgiving when parts are slightly worn; others are not. If edge appearance matters, you may need finer control and more frequent inspection. If speed matters more than finish, a heavier cutting method may be acceptable. The best choice is the one the crew can run repeatably with the parts on hand.

    Troubleshooting and Support Checks

    When cut quality drops, do not assume the machine has failed. Work through the consumables and setup first.

    Check: inspect the nozzle, electrode, tip, or rod for heat damage, erosion, spatter, and uneven wear. Look for burn marks, cracking, and contamination.

    Inspect: confirm air flow, gas flow, cable condition, lead connections, and torch cleanliness. A restricted path or loose connection can create poor arc starts, rough edges, or inconsistent performance.

    Verify: confirm the process settings match the material and consumable being used. If the current, gas, or pressure values are not confirmed in the source documentation, treat them as Unknown (Verify) and do not guess.

    If the cut is heavily drossed or angled, check travel speed, torch standoff, and consumable alignment. If the arc will not start or is unstable, inspect the electrode and torch body first, then verify the power source output and lead condition. If gouging results are inconsistent, check rod wear and operator angle before changing the power source.

    WSP Lookup Reference

    The provided Weld Support Parts lookup page for rod and torch support is here: Arc Air Gouging Rod Selection. Use it to confirm the available rod and slice-torch support information before ordering or specifying parts. The page title indicates Arc Air Slice Rod Selection, Arc Air Slice Rods, Exothermic Cutting Rods, and Slice Torch Rods. Any detailed fitment, compatibility, or performance claim not shown on the lookup page should be treated as Unknown (Verify).

    For shops that use arc-air style gouging or slice-rod cutting support, this kind of reference is useful for reducing ordering mistakes. Match the rod type to the torch system and confirm the intended use in the source page or the product listing before the job starts.

    Support Tool Selection for Fabrication Shops

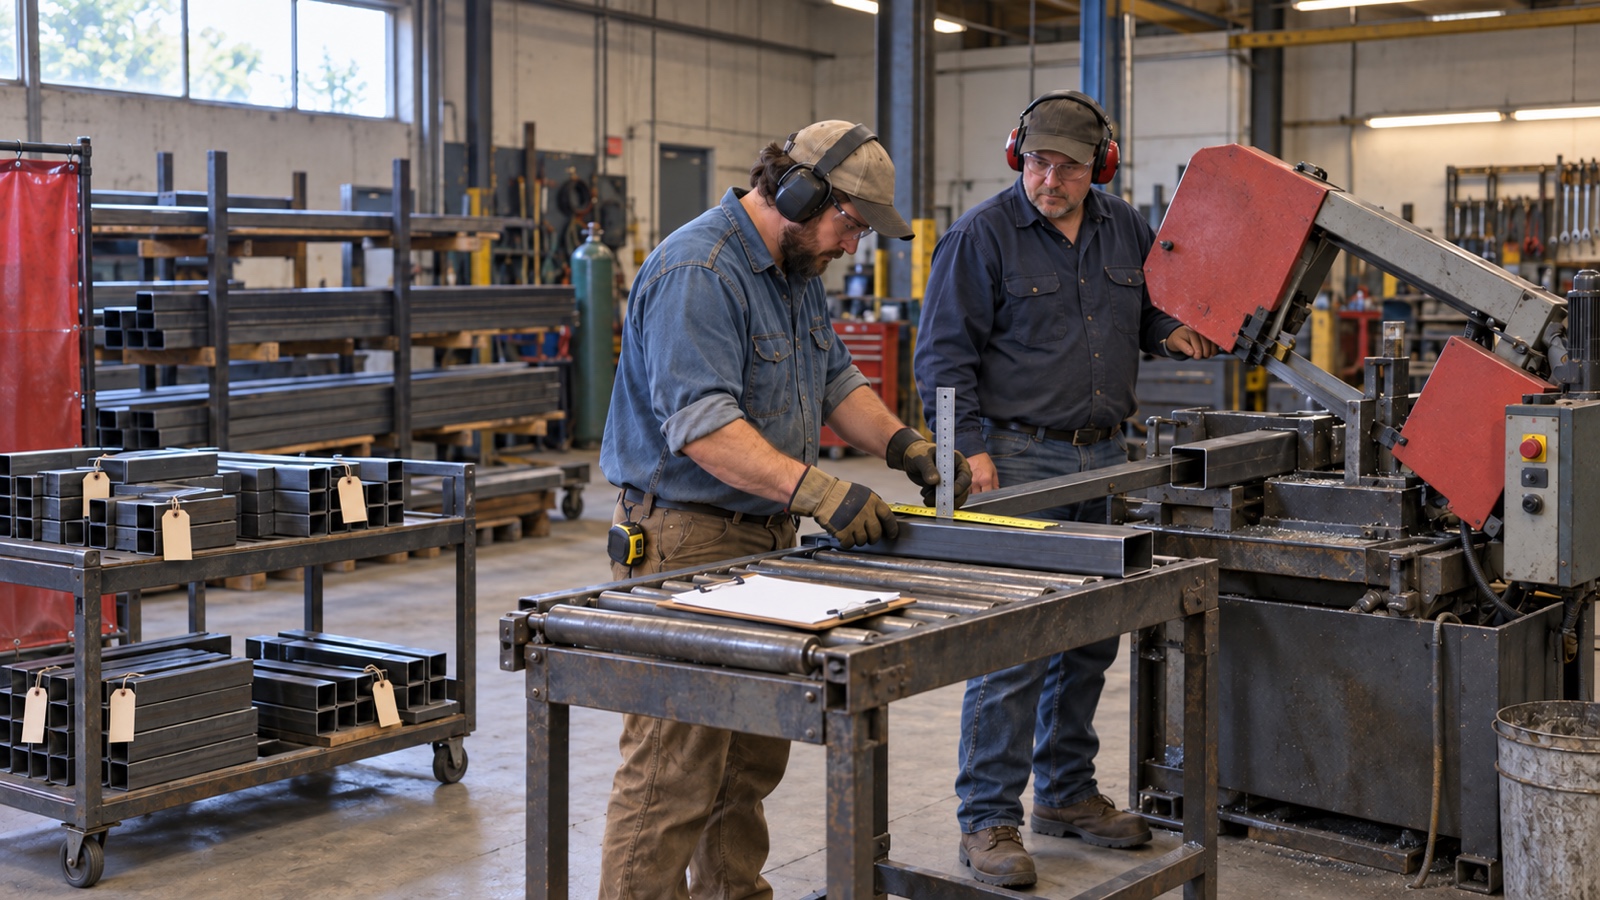
    Cutting products are not limited to the consumable itself. Support tools matter because they affect consistency and safety. Common support items include holders, leads, regulators, carts, guide rails, clamps, layout tools, and replacement wear parts. A shop may have the correct cutter but still struggle if the support gear is worn, damaged, or mismatched.

    When selecting support items, check whether the tool helps with cut control, consumable life, or operator access. For example, a guide or straightedge may improve repeatability on long cuts. A clamp may be more useful than an extra hand on certain layouts. A clean work surface and proper work lead contact can reduce troubleshooting time. Verify the role of each item before adding it to stock.

    Safety Notes

    • Wear the required PPE for the cutting process in use, including eye, face, hand, body, and hearing protection as required by the task.
    • Inspect hoses, leads, torch bodies, and connections before use.
    • Keep flammables, dust, and scrap away from the cutting area.
    • Assume hot metal remains hazardous after the cut is complete.
    • If a setting, consumable, or compatibility detail is not confirmed, mark it Unknown (Verify) and check the manufacturer or source listing before use.

    FAQ

    What is the first thing to check when a cut gets rough?
    Check the consumable condition first. Nozzle or rod wear is a common cause of rough edges, poor arc stability, and inconsistent cut quality.

    How do I know which cutting product is right for fabrication work?
    Match the process to the job: thickness, material, cut type, and finish requirements. Then verify the torch and wear part compatibility before buying or running production.

    Can I assume a rod or consumable will fit because it looks similar?
    No. Do not assume fitment from appearance alone. Verify part type, torch system, and source documentation. If the detail is not confirmed, it is Unknown (Verify).

    What should maintenance buyers track for cutting support items?
    Track wear part usage, replacement frequency, torch condition, lead damage, and the specific process each item supports. That helps avoid stockouts and wrong-part issues.

    Sources Checked

    Use a simple rule in the shop: verify the process, verify the wear parts, then cut. That approach reduces guesswork and keeps fabrication moving.

    Disclosure: As an Amazon Associate, Weld Support Parts may earn from qualifying purchases.

    Related Weld Support Guides

  • Why Metal Cutting Results Are Rough

    CGW 35517 Metal Cut Off Wheel 6" X .045" X 7/8", Pack of 25 for High-Precision Cutting
    “>CGW 35517 Metal Cut Off Wheel 6" X .045" X 7/8", Pack of 25 for High-Precision Cutting

    Rough cut edges usually come from the cutting process, the consumable, or the setup. Start with the basics: material condition, tool condition, feed rate, travel speed, angle, and heat control. In many cases, the cut is not failing because the machine is weak. It is failing because the process is out of balance.

    Key Takeaways

    • Rough edges are often caused by worn consumables, poor travel speed, or incorrect cut angle.
    • Heat buildup and inconsistent hand movement can leave dross, bevel, or heavy burrs.
    • Material surface condition matters. Rust, mill scale, paint, and debris affect cut quality.
    • Use the correct cutting method for the job. Abrasive cutoff, plasma, and oxy-fuel do not fail the same way.
    • If cut quality drops suddenly, inspect the setup before changing the whole process.

    Troubleshooting Rough Metal Cutting

    1. Check the consumable first

    Worn or damaged wheels, nozzles, tips, or electrodes can leave a rough edge before other settings are the real problem. Look for glazing, uneven wear, chipping, or buildup. Replace consumables that no longer cut cleanly. If the cut surface gets worse as the job continues, consumable wear is a likely cause.

    2. Verify travel speed

    Travel that is too slow can overheat the edge and create heavy dross or wide kerf damage. Travel that is too fast can leave a narrow, ragged cut with incomplete separation. Hold a steady pace and watch the cut trail. If sparks or molten metal are dragging behind the cut instead of exiting cleanly, adjust speed.

    3. Confirm angle and alignment

    A crooked torch, tilted grinder, or off-angle cutoff wheel can create bevel and uneven edges. Keep the tool aligned with the cut line. For hand cutting, small angle errors can show up as one rough side and one cleaner side. For guided setups, check rails, fences, and workholding.

    4. Inspect material condition

    Heavy rust, paint, oil, mill scale, and debris can interfere with the cut path. Clean the cut line when possible. Dirty surfaces do not always prevent cutting, but they can increase roughness and make it harder to maintain a stable cut.

    5. Watch for heat buildup

    Excess heat can warp thin stock, harden the cut edge, or leave slag that bonds to the part. If the workpiece is heating too fast, reduce dwell time, improve cutting sequence, or allow cooling between passes. Thin material is especially sensitive to heat input.

    6. Check power and gas delivery where applicable

    For plasma and oxy-fuel work, poor gas flow, incorrect pressure, or restricted delivery can reduce cut quality. Weak arc stability or poor flame shape can leave a rough, inconsistent edge. Verify the machine settings and delivery path against the equipment manual. Unknown (Verify) if the setup has recent maintenance issues or modified consumables.

    7. Review the base process

    Different cutting methods leave different edge conditions. Abrasive cutoff work may leave a burr or heat tint. Plasma can leave dross if settings are wrong. Oxy-fuel can leave slag if speed, preheat, or oxygen balance is off. Match the troubleshooting step to the process in use.

    Support Section: What to Check by Symptom

    • Heavy burrs: Tool speed too high, worn wheel, or poor deburring step.
    • Dross on the bottom edge: Travel speed, torch standoff, gas setup, or cut angle.
    • Beveled cut: Misalignment, hand angle, or inconsistent feed.
    • Blue or heat-tinted edge: Too much heat or too much dwell time.
    • Ragged, torn edge: Dull consumable, fast travel, or unstable workholding.

    Parts and Consumables

    For abrasive cutting jobs, a clean-cut wheel in good condition helps reduce edge damage. The CGW 35517 Metal Cut Off Wheel 6″ x .045″ x 7/8″, Pack of 25 is listed for high-precision cutting.

    CGW 35517 Metal Cut Off Wheel 6" X .045" X 7/8", Pack of 25 for High-Precision Cutting

    CGW 35517 Metal Cut Off Wheel 6" X .045" X 7/8", Pack of 25 for High-Precision Cutting

    Experience premium precision and performance with the CGW 35517 Metal Cut Off Wheel, expertly designed to meet all your metal cutting needs. Crafted specifically for durability and efficiency, this 6" x 0.045" x 7/8" metal cut off wheel is ideal for a wide range of applications, making it a vital tool for both professionals and hobbyists. Each pack contains 25 high-quality wheels, ensuring you have enough supply f…

    View at Arc Weld Store

    Use the correct wheel size and arbor fit for the tool. Verify the wheel rating, machine speed, and application before use.

    Safety Notes

    • Wear eye protection, face protection, gloves, and suitable clothing.
    • Keep hands clear of the cut line and rotating parts.
    • Clamp the work securely before cutting.
    • Do not use damaged wheels, tips, or nozzles.
    • Let hot material cool before handling or measuring.
    • Follow the equipment manual and site safety rules.

    FAQ

    Why is my cut rough on one side?

    One-sided roughness usually points to angle error, uneven travel, or misalignment in the cut path.

    Does faster cutting always improve edge quality?

    No. Too much speed can make the cut ragged or incomplete. Too little speed can cause heat buildup and slag.

    Can dirty metal cause rough cuts?

    Yes. Rust, paint, oil, and scale can all reduce cut consistency and increase edge cleanup.

    When should I replace the consumable?

    Replace it when wear, chipping, or unstable cut quality appears. Do not wait for a complete failure.

    Sources Checked

    • Provided ArcWeld product data for CGW 35517 Metal Cut Off Wheel 6″ x .045″ x 7/8″, Pack of 25
    • Topic brief: troubleshoot cut edge quality across abrasive plasma and oxy-fuel basics
    • Internal link list: none provided
  • Cutting Products Guide: Choosing the Right Tools for Plasma, Carbon Arc & More

    Overview: At Arc Weld Store, we carry a full range of cutting products for welders of all experience levels. Whether you’re plasma cutting thin sheet metal or slicing through thick carbon rods, having the right torch and consumables makes all the difference.

    What you’ll find in our cutting category:

    • Plasma Cutting: Torches, kits and replacement parts for brands like Hypertherm and Miller.
    • Plasma Consumables: Shields, nozzles and cartridges to keep your torch running smoothly.
    • Plasma Equipment: Complete plasma systems for shop or field use.
    • Air Drying: Filters and dryers to ensure clean, dry air for your plasma cutter.
    • Carbon Arc / Slice Torch: Tools and accessories for carbon arc gouging and slice torches.

    Ready to upgrade your cutting gear? Check out our full catalog on ArcWeld.Store: https://www.arcweld.store/collections/plasma-cutting

  • Try Amazon Prime Free